1. Inleiding
This manual provides essential information for the safe and efficient installation, operation, and maintenance of your BERNSTEIN R18W White Steel Bathroom Towel Radiator. Please read these instructions carefully before installation and retain them for future reference. This radiator is designed for use with standard central heating systems and can also be adapted for electric operation (electric heating element not included).
2. Veiligheidsinstruksies
- Installation must be performed by a qualified professional in accordance with local building and wiring regulations.
- Ensure the radiator is securely mounted to a suitable wall structure capable of supporting its weight when filled with water.
- Do not cover the radiator with flammable materials.
- Keep children and pets away from the radiator when it is hot to prevent burns.
- Before any maintenance or cleaning, ensure the radiator is cool and, if connected to an electrical supply, disconnected from power.
- Do not use abrasive cleaners or solvents on the radiator's surface.
- The radiator is designed for heating towels and warming the bathroom space. Do not use it for purposes other than its intended function.
3. Pakketinhoud
Kontroleer asseblief dat alle komponente teenwoordig en onbeskadig is voordat u met die installasie voortgaan.
- BERNSTEIN R18W Towel Radiator (1200x500mm)
- Wall mounting brackets and fixings
- Straight towel rail accessory
- Luguitlaatprop
- Blankprop
Let wel: A connection kit (valves, electric heating element) is nie ingesluit nie and must be purchased separately if required.
4. Produk verbyview
The BERNSTEIN R18W is a modern white steel towel radiator designed for bathrooms. It features a rectangular shape with horizontal tubes and vertical D-profiles, providing both efficient heating and a stylish appearance.
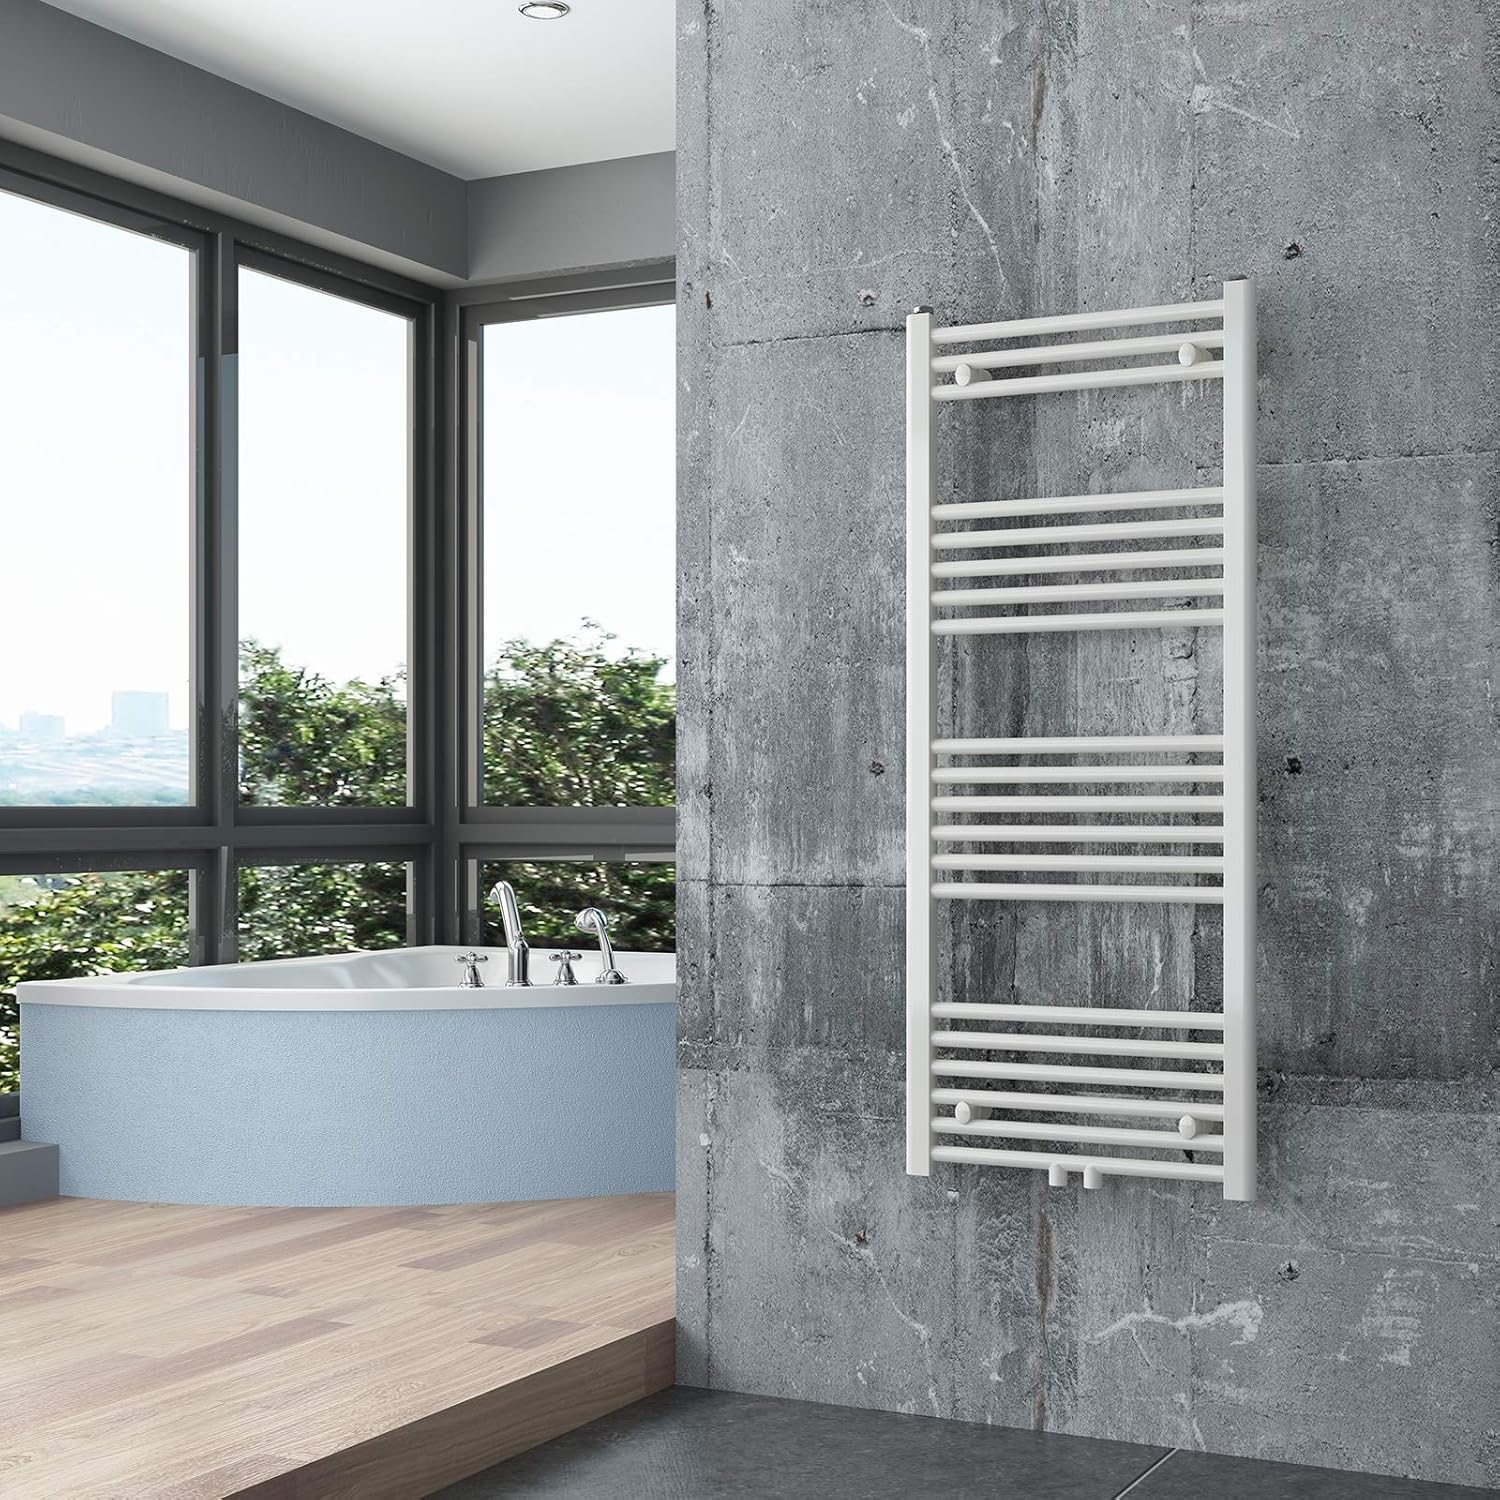
Image 1: BERNSTEIN R18W towel radiator in a bathroom setting.

Beeld 2: Voorkant view of the BERNSTEIN R18W radiator, highlighting its 1200x500mm dimensions.
The radiator is finished in White RAL9016 and includes a straight towel rail for added functionality.
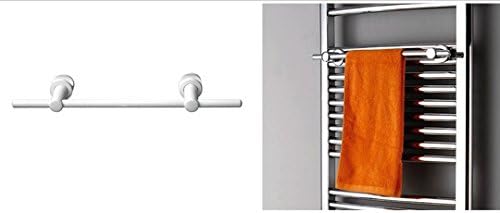
Image 3: The included straight towel rail accessory and an example of a towel on a radiator.
5. Installasie
5.1 Voor-installasie tjeks
- Verify that the wall where the radiator will be mounted is structurally sound and can support the weight of the radiator when filled with water.
- Ensure adequate space around the radiator for proper heat distribution and access for maintenance.
- Confirm that the plumbing connections (lateral or central, G1/2" connectors) are correctly positioned.
5.2 Muurmontering
- Refer to the technical drawing for precise dimensions and mounting point locations.
- Mark the drilling points on the wall using the provided mounting brackets as a template.
- Drill holes and insert appropriate wall plugs (ensure they are suitable for your wall type).
- Bevestig die monteerhakies aan die muur.
- Carefully lift the radiator and position it onto the secured brackets.
- Tighten any retaining screws on the brackets to firmly hold the radiator in place.

Image 4: Technical drawing with detailed dimensions and connection options.
5.3 Loodgieterverbindings
The radiator offers both lateral and central connection options with G1/2" connectors. Connect the radiator to your central heating system using appropriate valves (not included). Ensure all connections are sealed properly to prevent leaks.

Beeld 5: Nabyskoot view of the top connection point.
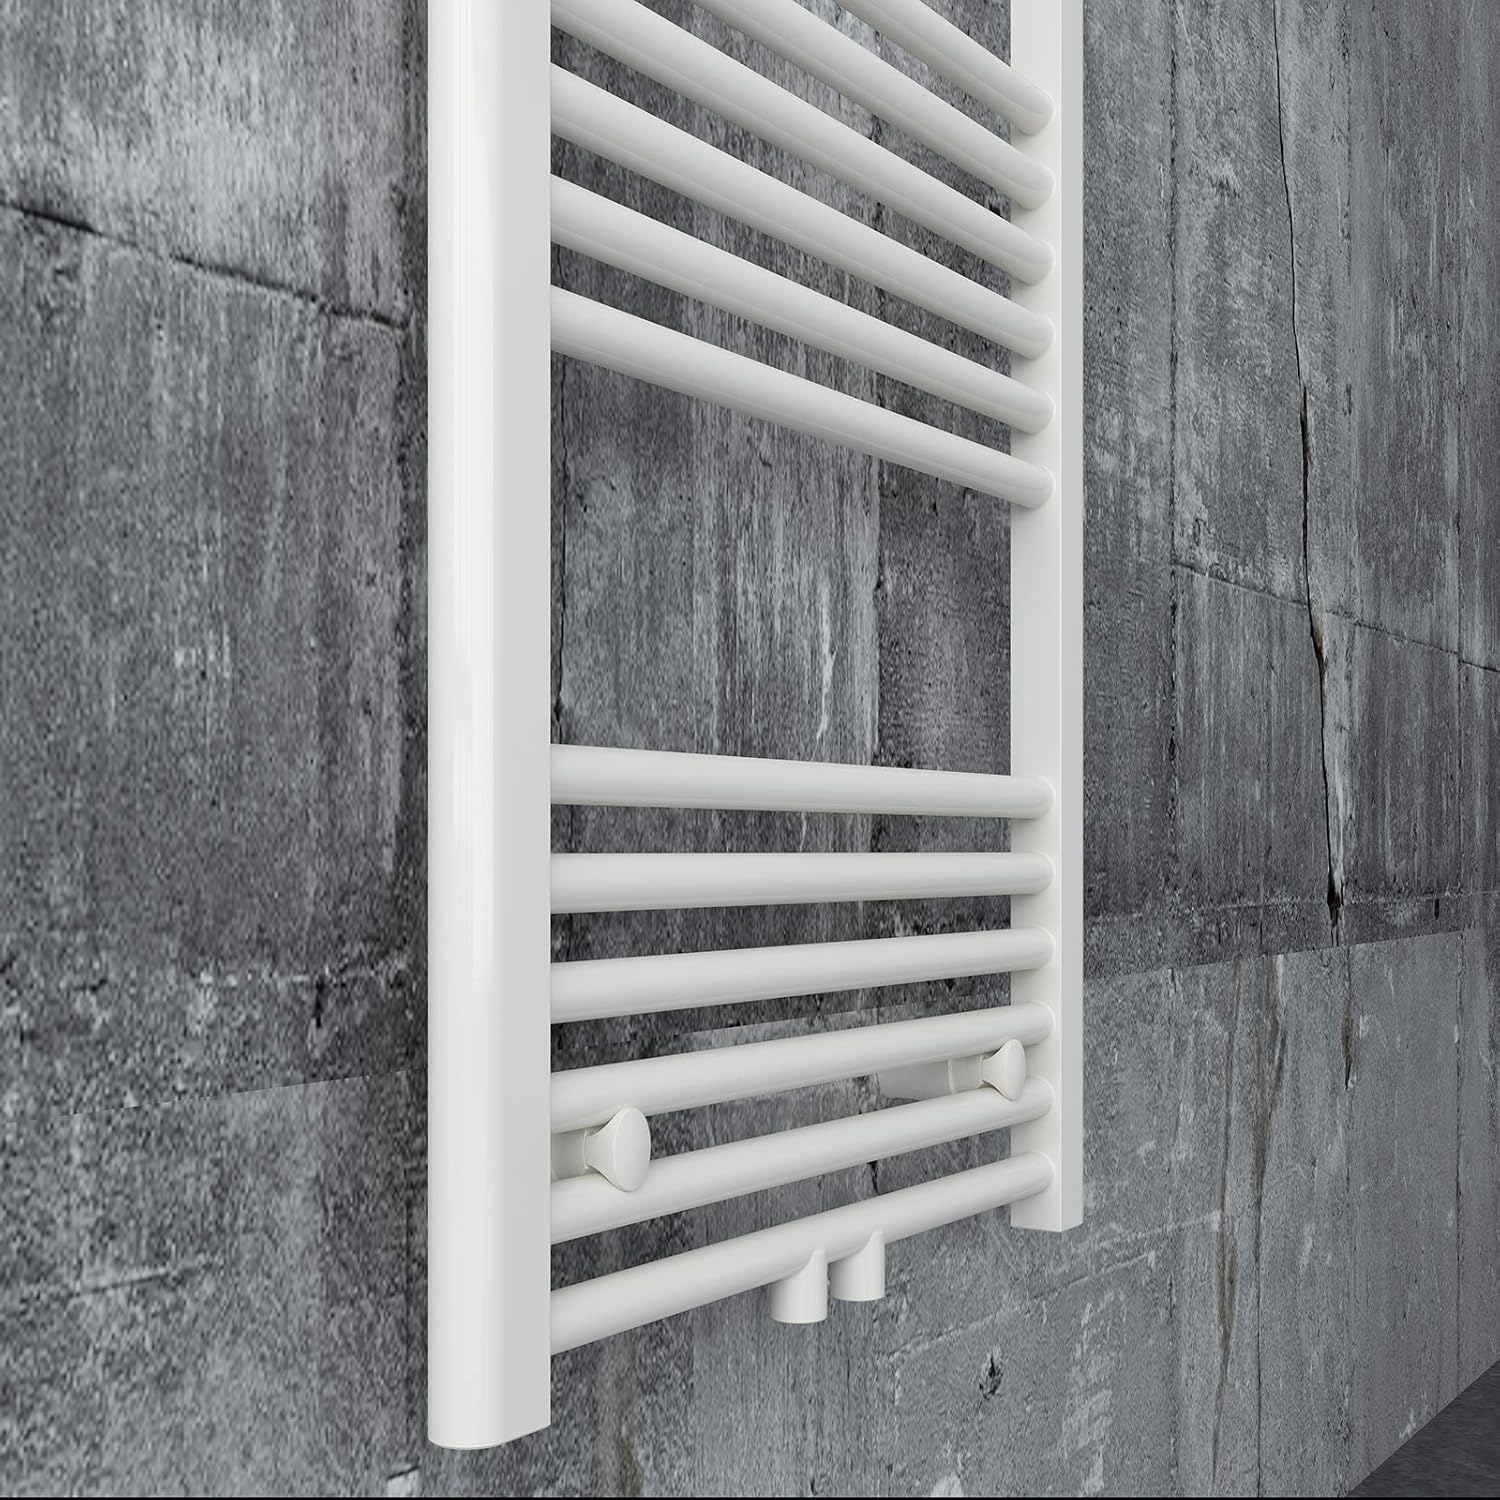
Beeld 6: Nabyskoot view of the bottom connection points.
5.4 Filling and Bleeding
- Once plumbing connections are secure, slowly fill the central heating system.
- Open the air vent plug at the top of the radiator using a radiator key to release trapped air.
- Close the air vent plug once water starts to emerge steadily.
- Kontroleer alle verbindings vir lekkasies.
6. Operasie
6.1 Central Heating Operation
The BERNSTEIN R18W radiator operates as part of your existing central heating system. Adjust the heat output using the radiator valves (not included) or your central heating thermostat.
6.2 Electric Operation (Optional)
This radiator can be converted for electric-only operation by installing a suitable electric heating element (not included) and filling it with a heat transfer fluid. This modification must be carried out by a qualified electrician and plumber, adhering to all electrical safety standards.
7. Onderhoud
7.1 Skoonmaak
Clean the radiator regularly with a soft, damp cloth. For stubborn marks, a mild soap solution can be used. Rinse thoroughly and dry immediately. Avoid abrasive cleaners, scouring pads, or chemical solvents as these can damage the finish.
7.2 Bleeding the Radiator
If the top of the radiator feels cold while the bottom is hot, it indicates trapped air. Bleed the radiator as described in Section 5.4 to ensure efficient operation.
7.3 Jaarlikse Tjeks
Periodically check all connections for any signs of leaks or corrosion. Ensure mounting brackets remain secure.
8. Probleemoplossing
| Probleem | Moontlike oorsaak | Oplossing |
|---|---|---|
| Radiator not heating up fully (cold at top) | Trapped air | Bleed the radiator using the air vent plug. |
| Radiator not heating at all | Valves closed, central heating system off, or system fault | Check radiator valves are open. Ensure central heating system is operational. Consult a heating engineer if system fault is suspected. |
| Water wat uit verbindings lek | Loose connections or faulty seals | Tighten connections (do not overtighten). Replace seals if necessary. Consult a plumber. |
9. Spesifikasies
| Handelsmerk | Bernstein |
| Model | R18W |
| Afmetings (Hoogte x Breedte) | 1200 mm x 500 mm |
| Materiaal | Staal |
| Voltooi | Wit RAL9016 |
| Horizontal Tubes | Ø 22 mm, straight |
| Vertikale Profiles | D-profiles: 30 x 40 mm |
| Verbindingsopsies | Lateral or central, G1/2" connectors |
| Installasie metode | Muurmontering |
| Sertifiserings | CE gesertifiseer |
| Bykomstighede ingesluit | Straight towel rail, wall mounting kit, air vent plug, blanking plug |
| Connection Kit | Nie ingesluit nie |
10. Waarborg en Ondersteuning
For warranty information and customer support, please refer to the documentation provided at the point of purchase or visit the official BERNSTEIN webwebwerf. Bewaar u bewys van aankoop vir enige waarborgeise.