Daytech Model 3
Daytech Wireless Security Alarm System User Manual
Model: Model 3
Brand: Daytech
1. Produk verbyview
The Daytech Wireless Security Alarm System provides reliable security and emergency alert capabilities for homes, retail stores, and other environments. This system features a loud 120dB strobe siren, panic buttons, and SOS alert functionality. Designed for ease of use, it includes two remote controls and two call buttons, offering a comprehensive solution for immediate alerts.
Key features include a 120dB siren with flash, long-range wireless communication, and a cancel/off function for managing alerts. The system is designed to operate even during power outages thanks to its built-in battery backup.

Beeld: Oorview of the Daytech Wireless Security Alarm System, showing the main siren unit, two square call buttons, and two remote key fobs.
2. Komponente ingesluit
- 1 x Daytech Wireless Strobe Siren Receiver
- 2 x Wireless Call Buttons
- 2 x afstandbeheerders
3. Opstelling en installering
3.1 Aanvanklike opstelling
The Daytech Wireless Security Alarm System is pre-paired at the factory for immediate use. Simply plug in the siren receiver to a standard power outlet. The built-in battery provides approximately 10 hours of standby time, ensuring continued operation during power outages.

Image: The siren unit plugged into a wall socket, illustrating its built-in battery backup for up to 10 hours of operation during power outages.
3.2 Pairing Additional Transmitters
One siren unit can be paired with up to 8 transmitters, including additional call buttons and remote controls. Follow the instructions below to pair new devices.
Video: Demonstrates the process of pairing the alarm siren with a wireless call or cancel switch. This video is provided by Daytech co.,Ltd.
3.3 Installation of Call Buttons
The call buttons are waterproof and can be installed in various locations, including washing rooms or bedside. They can be fixed to a surface using adhesive or screws (not included).

Image: Illustrates the waterproof design of the call button, suitable for use in bathrooms and other wet environments.
4. Operasie
4.1 Aktivering van die alarm
To activate the alarm, press the 'CALL' button on the wireless call unit or the 'ON' button on the remote control. The siren will sound at 120dB and flash, alerting nearby individuals.
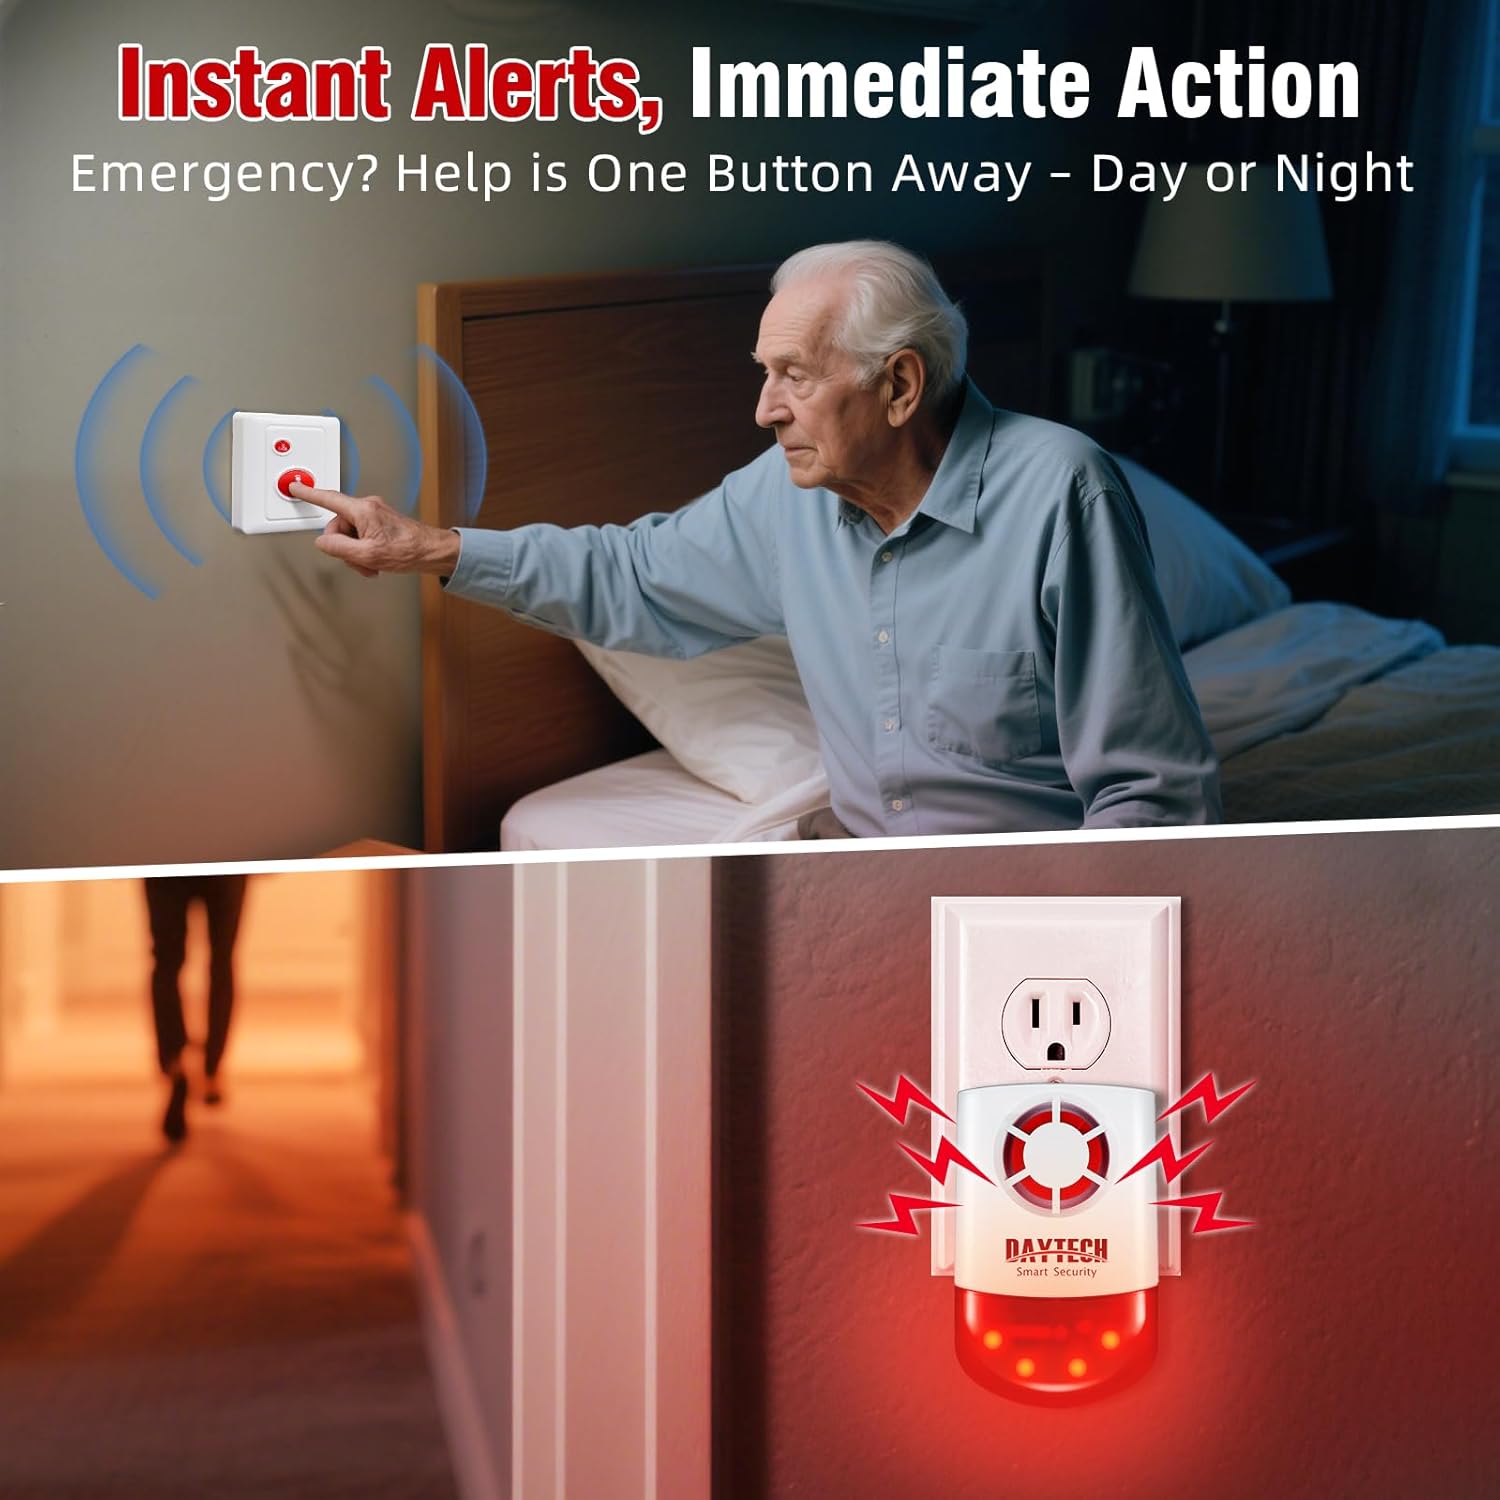
Image: Depicts the immediate alert function, showing a call button being pressed for emergency assistance.
4.2 Alarm Range
The call button and receiver have a working range of up to 330 feet (approximately 100 meters) in open areas and 130 feet (approximately 40 meters) with obstacles. The remote control has an operating range of 65 feet (approximately 20 meters).
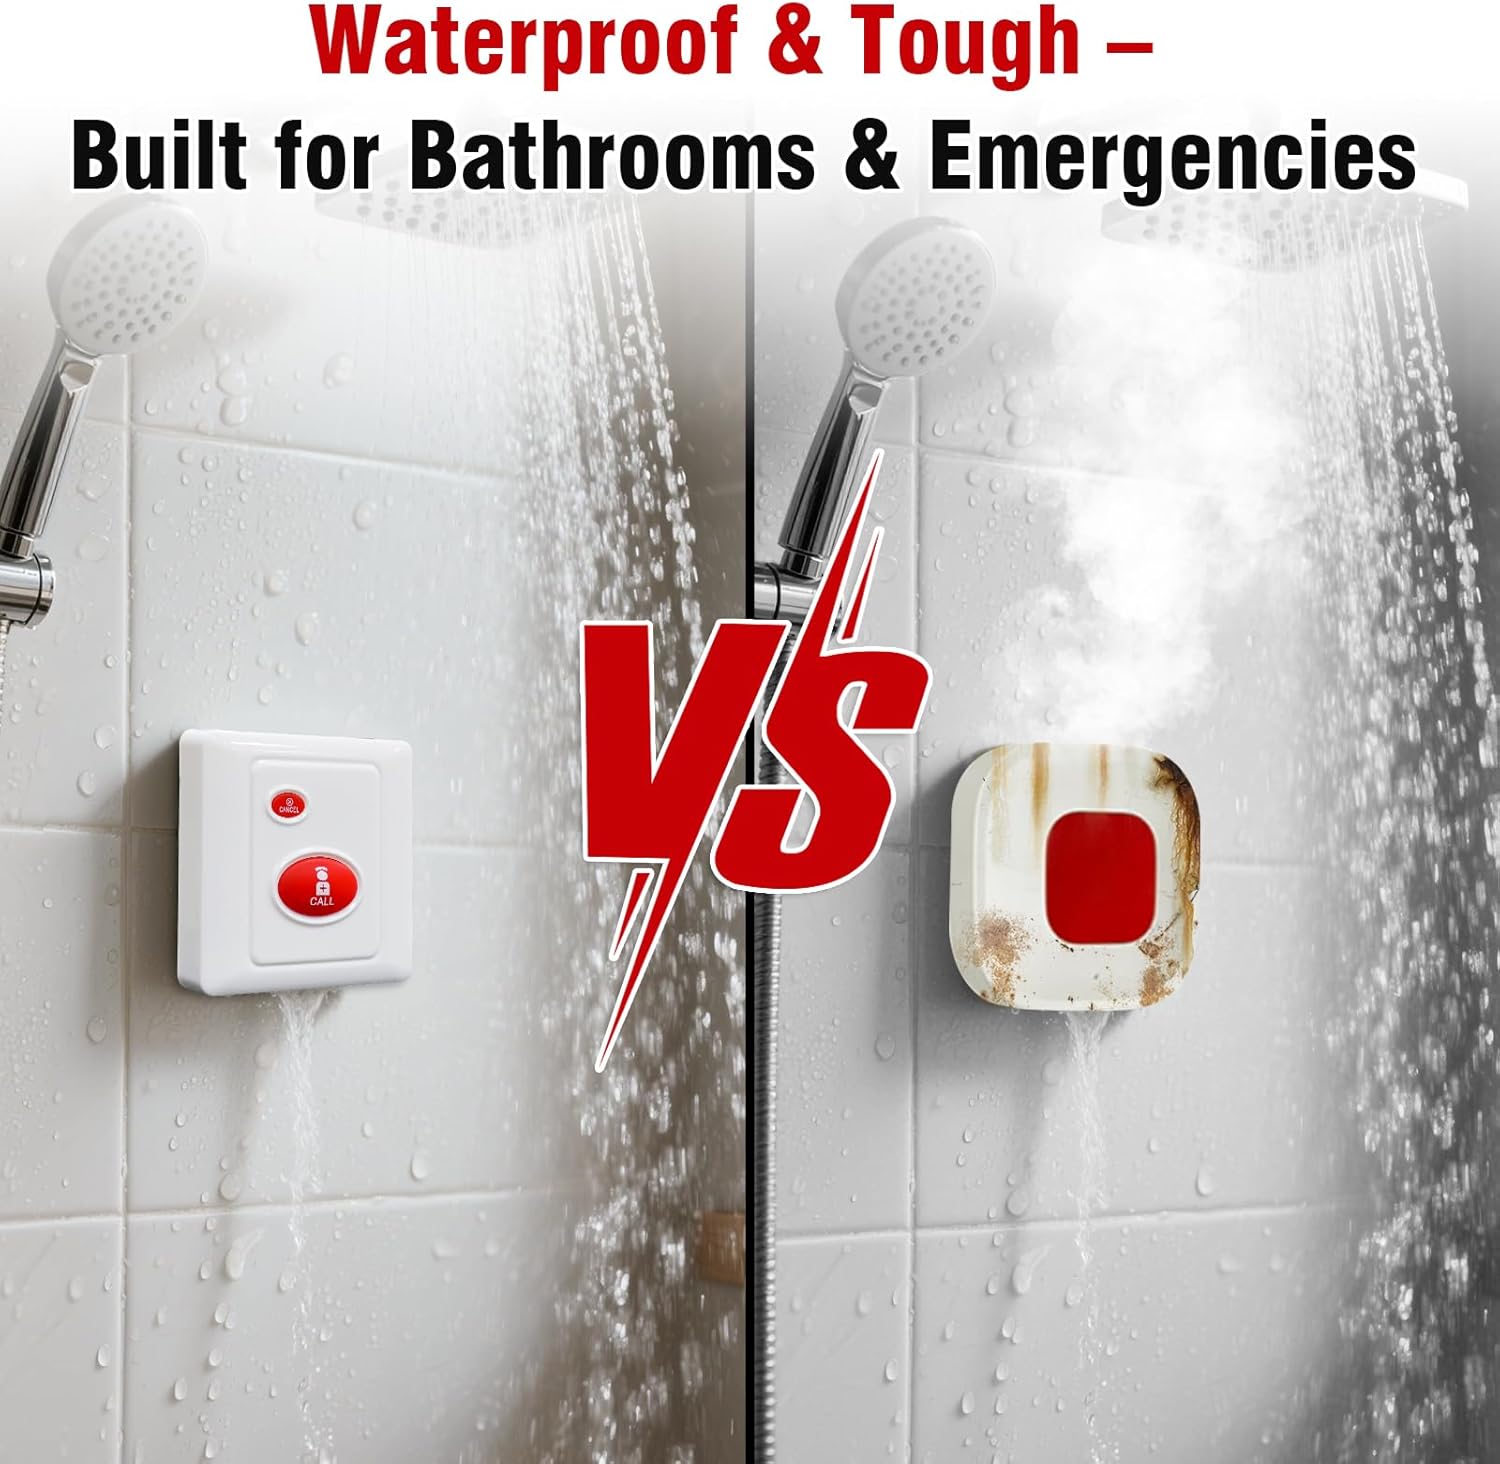
Image: Visual representation of the system's effective range, showing the siren and call button communicating over a significant distance.
4.3 Cancelling the Alarm
If the alarm has been triggered and assistance is no longer needed, press the 'CANCEL' button on the call unit or the 'OFF' button on the remote control to silence the alarm. The siren will emit two short beeps to confirm deactivation.
Image: Shows how to cancel an alert using the 'Cancel' button on the call unit.
5. Onderhoud
5.1 Battery Replacement for Call Units
The call units are powered by a 1*23A 12V battery. When the battery is low, the unit's performance may be affected. Refer to the video below for instructions on how to replace the batteries in the call units.
Video: Provides a step-by-step guide on how to replace the batteries in the Daytech call units. This video is provided by Daytech co.,Ltd.
6. Probleemoplossing
- Alarm not sounding or flashing:
- Ensure the siren receiver is properly plugged into a working power outlet.
- Check if the siren's internal battery is charged (if operating on battery backup).
- Verify that the call button or remote control is within the effective operating range.
- Confirm that the call button or remote control batteries are not depleted. Refer to Section 5.1 for battery replacement.
- Re-pair the transmitter (call button/remote) with the siren receiver. Refer to Section 3.2.
- Beperkte reeks:
- Obstacles such as thick walls, metal structures, or other electronic devices can interfere with the wireless signal. Try repositioning the siren or transmitters.
- Ensure there are no strong electromagnetic interference sources nearby.
- Check battery levels of transmitters, as low battery can reduce range.
- Siren sounds when removed from wall:
- This is a built-in tamper alarm feature. To prevent this, ensure the alarm is disarmed or powered off before removing it from its mounted position.
7. Spesifikasies
| Kenmerk | Detail |
|---|---|
| Handelsmerk | Daytech |
| Modelnommer | Model 3 |
| Montage tipe | Muurmontering |
| Maximum Range (Call Button to Receiver) | 330 feet (open areas), 130 feet (with obstacles) |
| Maximum Range (Remote to Receiver) | 65 voet |
| Geraasvlak | 120 dB |
| Kragbron | Battery Powered (built-in backup) |
| Battery sel tipe | Alkaline (for call buttons) |
| Item gewig | 1.35 pond |
| Pakket afmetings | 6.3 x 4.6 x 4.1 duim |
| Land van oorsprong | China |
| UPC | 729530768470 |
8. Waarborg en Ondersteuning
For product support, please contact Daytech co.,Ltd., the manufacturer and seller of this product. Information regarding specific warranty terms may be available through your purchase documentation or by contacting the seller directly.
Optional protection plans are available for purchase to extend coverage beyond the standard warranty. These include:
- 3-jaar beskermingsplan
- 4-jaar beskermingsplan
- Volledige Beskerming (maandelikse plan wat in aanmerking komende aankope dek)
Please refer to the specific terms and conditions of these protection plans at the time of purchase.
Ask a question about this manual
Ask about setup, troubleshooting, compatibility, parts, safety, or missing instructions. Manuals+ will review the question and use this page’s manual context to help answer it.