1. Produk verbyview
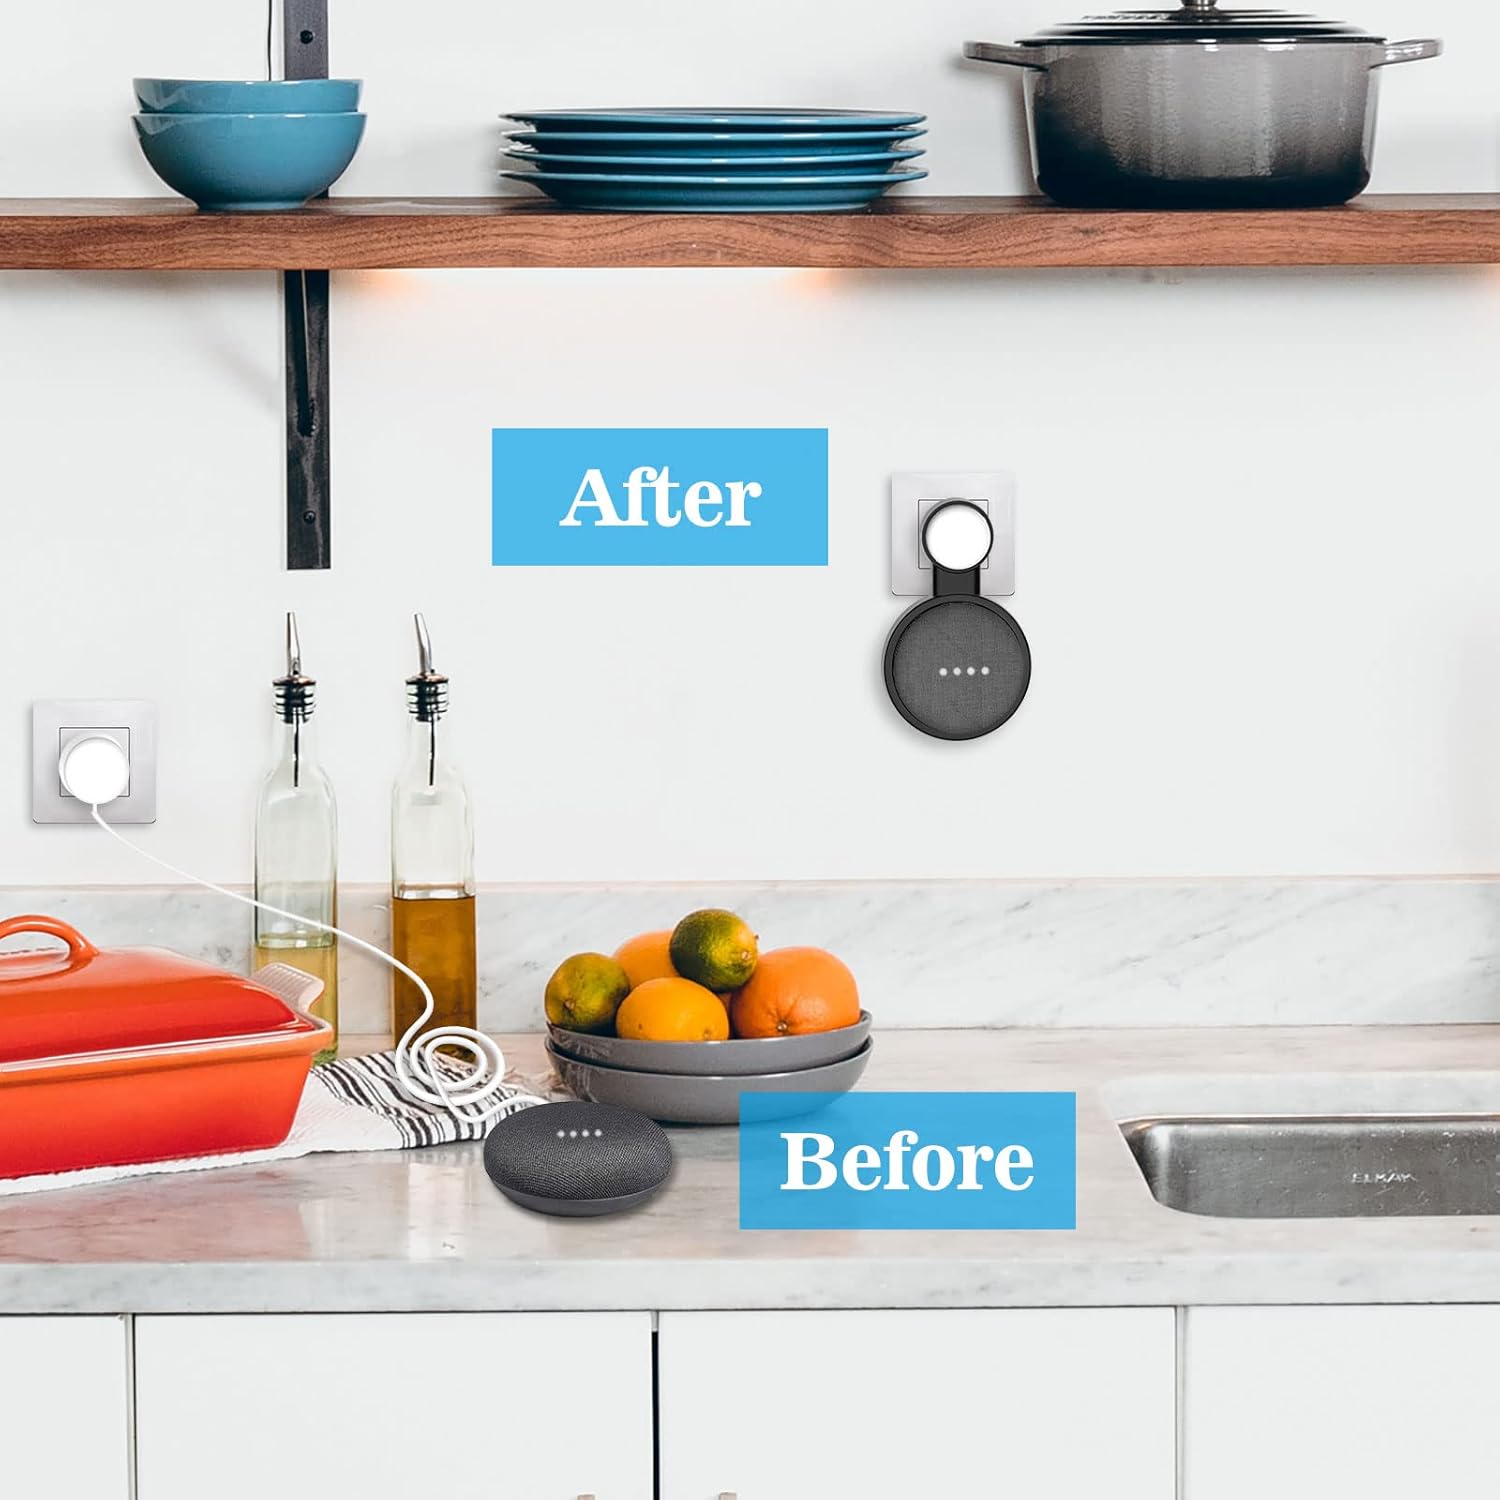
The HomeMount Wall Mount is designed to securely hold your Google Home Mini or Google Nest Mini (2nd Gen) smart speaker, providing a space-saving solution and enhancing audio projection. This mount integrates seamlessly with standard electrical outlets, eliminating messy cables and freeing up counter space.
It features dual compatibility, accommodating both Google Nest Mini and Google Home Mini devices. A small adapter ring is included for the Google Home Mini to ensure a snug fit.

Image: The HomeMount Wall Mount securely holding a Google Nest Mini in a wall outlet, demonstrating its space-saving design.
2. Pakketinhoud
- HomeMount Wall Mount (Black)
- Adapter Ring for Google Home Mini (for first generation devices)
- Instruksie Handleiding

Image: The HomeMount Wall Mount and its included adapter ring, ready for assembly with a smart speaker.
Beeld: 'n Gedetailleerde view of the adapter ring, which ensures compatibility with the Google Home Mini (1st Gen).
3. Installasiehandleiding
Follow these steps to install your HomeMount Wall Mount:
- Berei jou toestel voor: If you are using a Google Home Mini (1st Gen), insert the provided adapter ring into the mount. For Google Nest Mini (2nd Gen), the adapter ring is not needed.
- Insert the speaker: Gently press your Google Home Mini or Google Nest Mini into the circular opening of the mount until it is secure.
- Koppel die kragkabel: Plug the power cable into your smart speaker.
- Route the cable: Carefully wind the excess power cable around the integrated cable management channels within the mount. Ensure the cable is neatly tucked away to prevent tangles and maintain a clean appearance.
- Attach the power adapter: Insert the power adapter into the designated slot at the top of the mount.
- Steek in die stopcontact: Plug the entire assembly into any standard electrical outlet. No tools or screws are required for installation.

Image: Demonstrates how to neatly wrap the power cable within the mount's integrated cable management system.
Installasie video
Video: A step-by-step guide on how to install the HomeMount Wall Mount with your Google Home/Nest Mini device.
Changing Plug Orientation
The mount allows for flexible plug orientation. You can adjust the direction of the power adapter by aligning it with the grooves on the side of the mount.
Video: Demonstrates how to change the plug orientation of the HomeMount Wall Mount for different outlet configurations.
4. Optimal Placement and Usage
Mounting your smart speaker at eye level can improve interaction and sound quality. The HomeMount Wall Mount is suitable for various rooms:
- Kombuis: Keep your counter space clear while enjoying music or recipes.
- Slaapkamer: Convenient access for alarms, music, or smart home control.
- Badkamer: Enjoy audio without worrying about splashes.
- Living Room/Office: Maintain a tidy and organized environment.

Image: The mount in a kitchen, illustrating how it saves counter space.
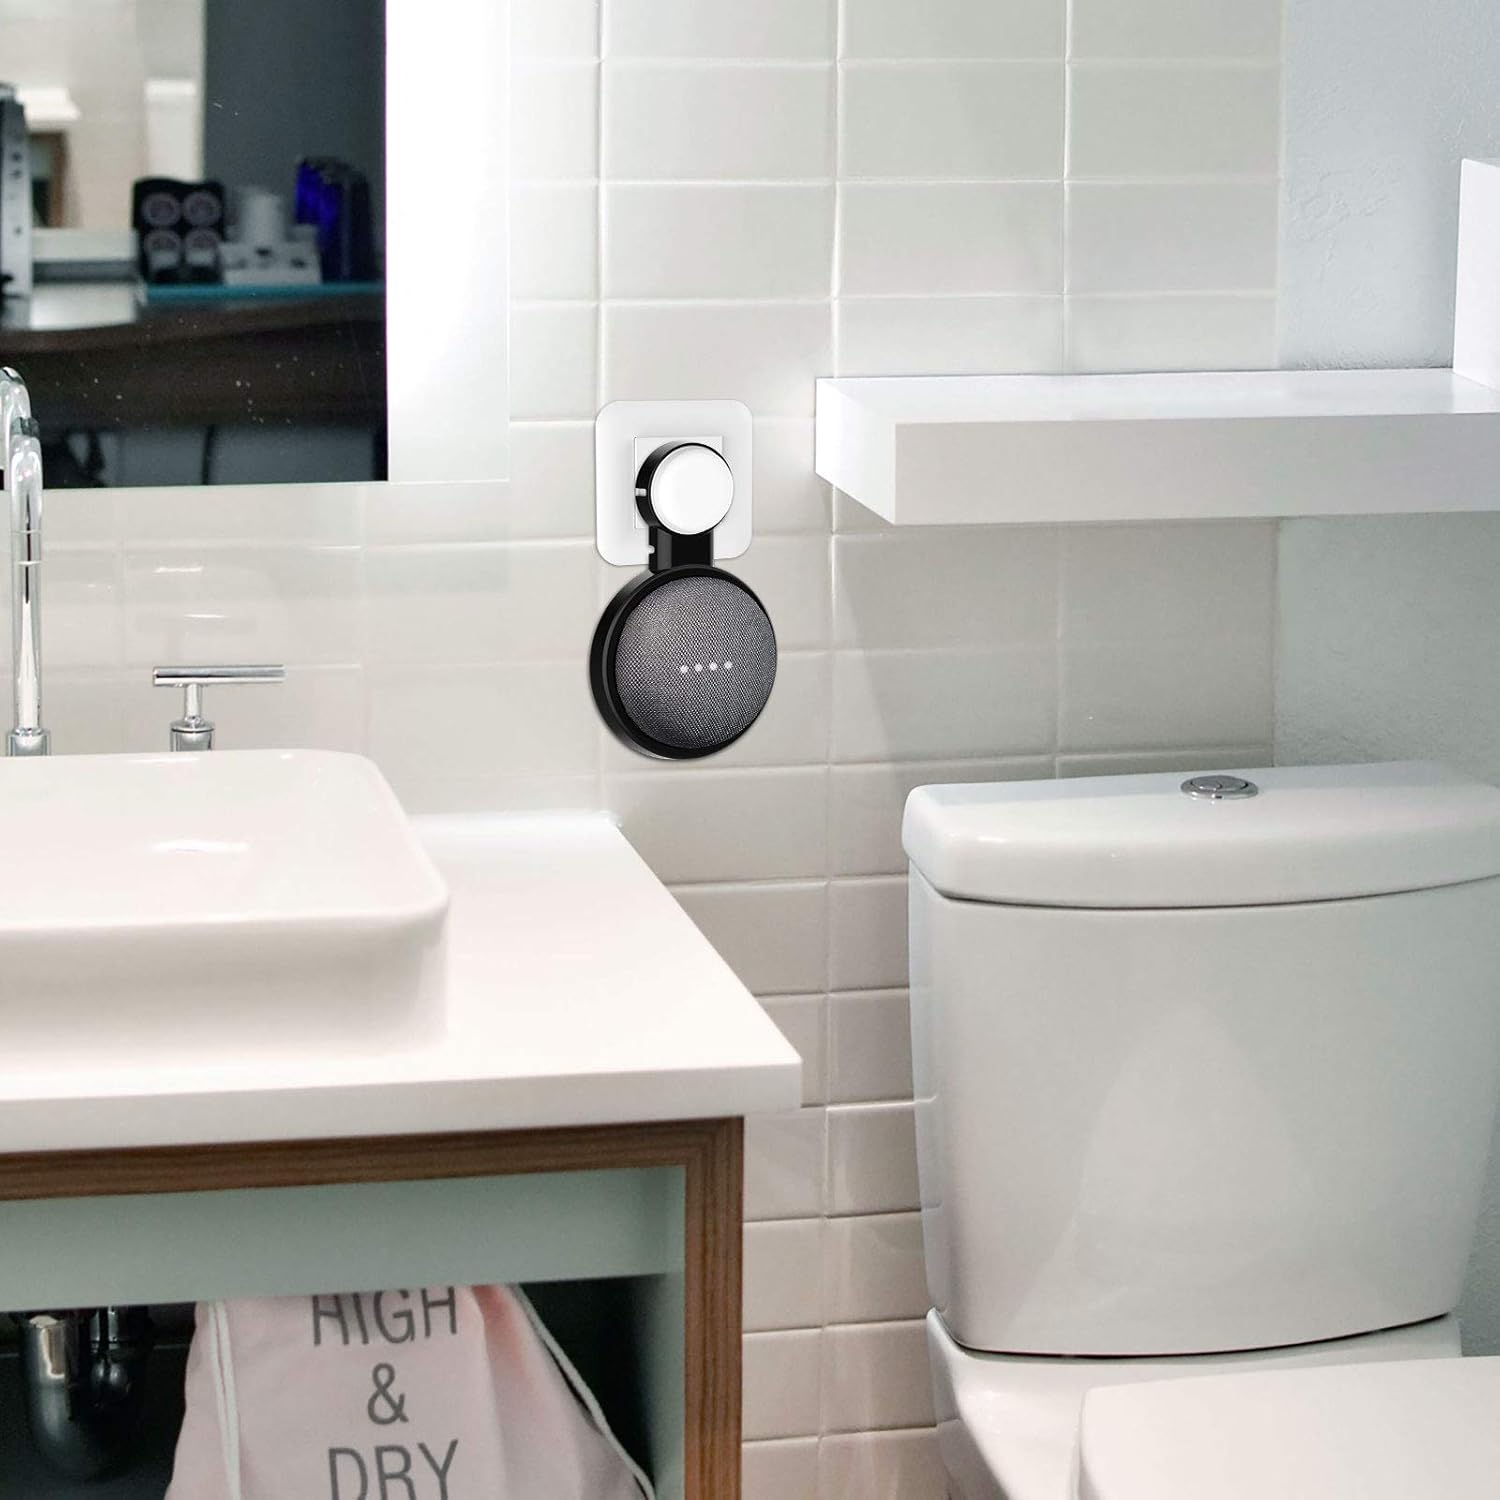
Image: The mount in a bedroom, providing convenient access to the smart speaker.

Image: The mount in a bathroom, keeping the speaker safe from water.
5. Onderhoud
The HomeMount Wall Mount is constructed from strong, durable, and stretchy ABS material designed to prevent scratching your device. To maintain its appearance and functionality:
- Wipe the mount regularly with a soft, dry cloth to remove dust.
- Avoid using harsh chemicals or abrasive cleaners, as these may damage the material.
- Ensure the mount is securely plugged into the outlet and the speaker is firmly seated.
6. Probleemoplossing
- Speaker not fitting securely: Ensure you are using the correct adapter ring for your Google Home Mini (1st Gen). For Google Nest Mini (2nd Gen), no adapter ring is needed. Press firmly but gently until the speaker clicks into place.
- Cable not staying in channels: Make sure the cable is fully inserted into the winding channels. Start from the speaker connection point and work your way around.
- Mount feels loose in outlet: Verify that the power adapter is fully inserted into the mount and that the entire assembly is pushed firmly into the wall outlet.
7. Spesifikasies
| Handelsmerk | HomeMount |
| Model Naam | HMUS-ST30-BK |
| Kleur | Swart |
| Versoenbare toestelle | Google Home Mini, Google Nest Mini (2nd Gen) |
| Montage tipe | Muurmontering |
| Materiaal | Akrielnitril Butadieen Styreen (ABS) |
| Item afmetings | 7.4 x 4.3 x 0.6 duim |
| Bykomende kenmerke | Krasbestand |
8. Waarborg en Ondersteuning
HomeMount is committed to providing high-quality products and excellent customer service. Our customer service team is available to assist with pre-sales inquiries, after-sales support, and product installation consulting services.
For assistance, please refer to the contact information provided with your purchase or visit the official HomeMount webwebwerf.