Inleiding
Thank you for choosing the Bontempi iGirl Showtime Stage Microphone with 2 Microphones. This manual provides essential information for the safe and correct use of your product. Please read it thoroughly before use and retain it for future reference.

Figure 1: Bontempi iGirl Showtime Stage Microphone with 2 Microphones. This image shows the complete microphone stand assembly with two microphones and the main control unit.
Veiligheidsinligting
- Ouderdomsaanbeveling: Hierdie produk is geskik vir ouderdomme 3 en ouer.
- Batteryveiligheid: Use only recommended battery types. Do not mix old and new batteries, or different types of batteries. Insert batteries with correct polarity. Remove exhausted batteries promptly.
- Verstikkingsgevaar: Hou klein onderdele weg van jong kinders.
- Elektriese veiligheid: Moenie die eenheid aan water of vog blootstel nie. Moenie probeer om die eenheid self uitmekaar te haal of te herstel nie.
- Skoonmaak: Maak slegs skoon met 'n droë, sagte lap.
Pakketinhoud
Verifieer dat alle items in die pakket teenwoordig is:
- 1 x Main Microphone Stand Unit
- 2 x Dynamic Microphones
- 1 x MP3 Connection Cable (Auxiliary cable)
- Instruksie Handleiding

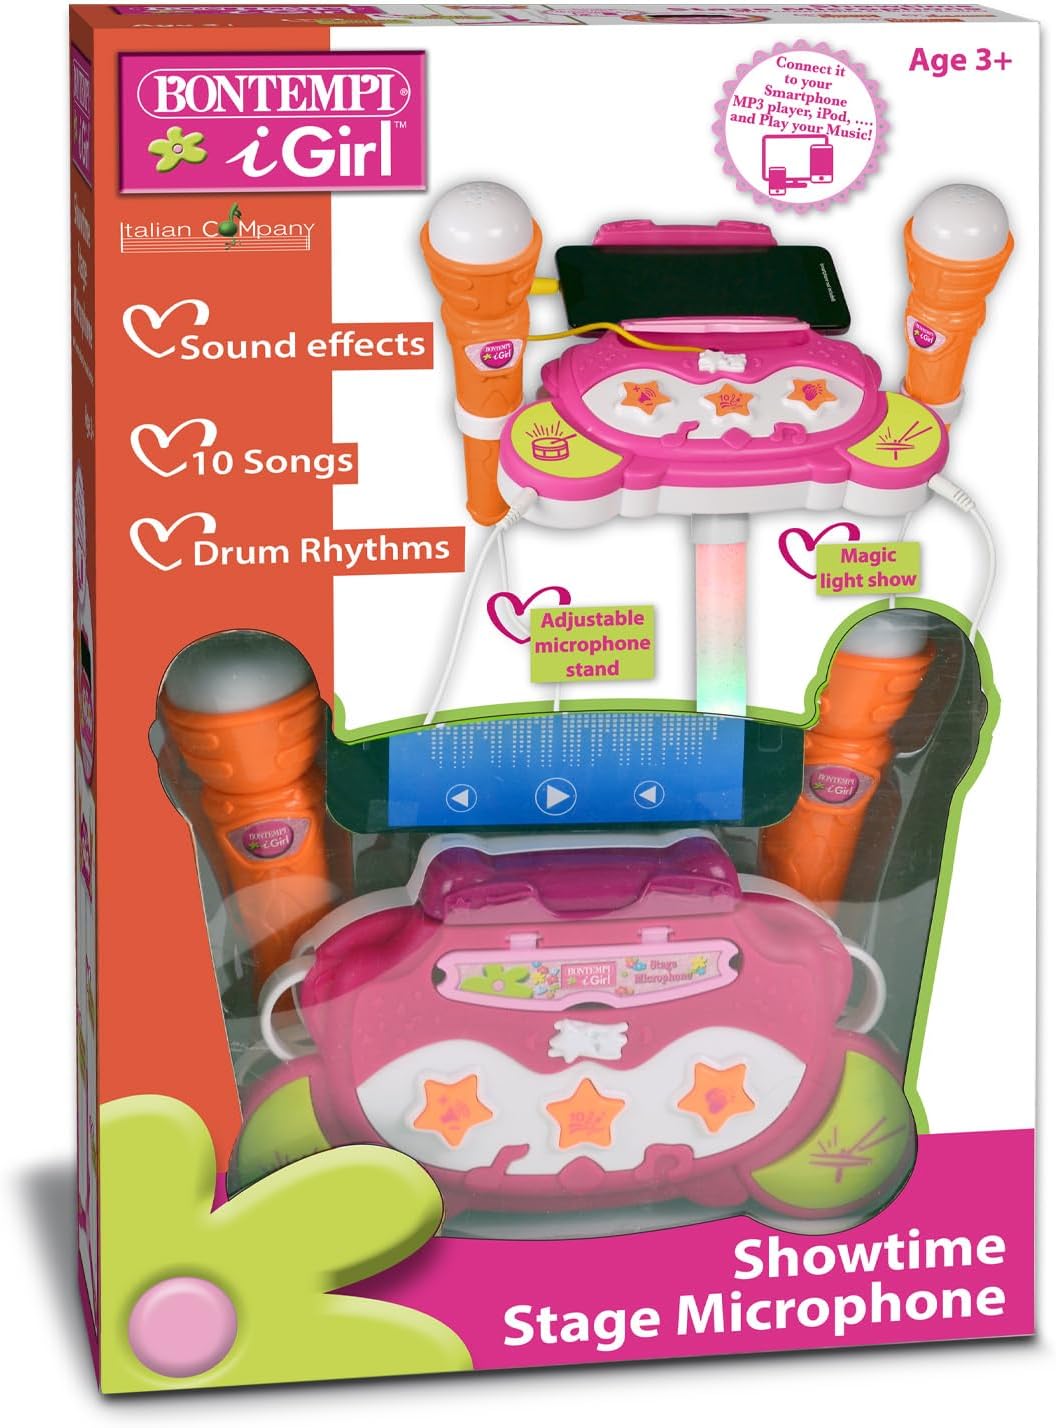
Figure 2: Product packaging showing included components. This image displays the product in its retail packaging, highlighting features like sound effects, 10 songs, drum rhythms, and the adjustable microphone stand.
Opstelling
1. Assembling the Microphone Stand
- Verwyder alle komponente versigtig uit die verpakking.
- Attach the base of the stand to the main pole. Ensure it clicks securely into place.
- Connect the main control unit to the top of the pole.
- Insert the two microphones into their designated holders on the control unit.
- Adjust the height of the microphone stand by loosening the adjustable knob on the pole, extending or retracting the pole, and then tightening the knob.
2. Installering van batterye
The unit requires batteries for operation. Locate the battery compartment on the underside of the main control unit.
- Maak die deksel van die batterykompartement oop met 'n skroewedraaier.
- Insert the required number of 1.5V "AA" batteries (not included), ensuring correct polarity (+/-).
- Plaas die deksel van die batterykompartement terug en maak dit met die skroef vas.
Figuur 3: Close-up view of the control panel and microphone connections. This image provides a detailed look at the main unit, showing the various buttons for sound effects, songs, drum rhythms, and the MP3 connection port.
Bedryfsinstruksies
1. Skakel aan/af
Locate the power button on the main control unit. Press it once to turn the unit on. Press it again to turn it off.
2. Gebruik van die mikrofone
The unit comes with two dynamic microphones. Simply speak or sing into the microphone to amplify your voice. Ensure the microphones are securely plugged into their respective ports.
3. Sound Effects and Songs
The main control unit features buttons for various sound effects and pre-recorded songs. Press the corresponding buttons to activate them. Refer to the labels on the unit for specific functions.
- Klankeffekte: Press the 'Sound Effects' button to cycle through available effects.
- Liedjies: Press the 'Songs' button to play pre-loaded melodies.
- Tromritmes: Press the 'Drum Rhythms' button to add a beat to your performance.
4. MP3 Connection
Connect an external audio device (e.g., smartphone, MP3 player) to the unit using the provided auxiliary cable to play your favorite music through the speaker.
- Plug one end of the auxiliary cable into the MP3 input jack on the main control unit.
- Plug the other end into the headphone jack of your external audio device.
- Start playing music on your external device. The music will now play through the microphone stand's speaker.
- Adjust the volume on your external device for optimal sound.
5. Magic Light Show
The microphone stand features a built-in magic light show. This will activate automatically when the unit is powered on and music or sound effects are playing, adding a visual element to your performance.
6. Volumebeheer
Adjust the overall volume using the dedicated volume controls on the main control unit. There may be separate controls for microphone volume and music volume.
Onderhoud
- Skoonmaak: Wipe the unit and microphones with a soft, dry cloth. Do not use abrasive cleaners or solvents.
- Berging: Wanneer dit nie gebruik word nie, bêre die eenheid op 'n koel, droë plek, weg van direkte sonlig en uiterste temperature.
- Battery vervanging: Replace batteries when sound quality diminishes or the unit stops functioning. Always replace all batteries at the same time.
Probleemoplossing
- Geen klank:
- Maak seker dat die eenheid aangeskakel is.
- Gaan die installering van die battery na en vervang indien nodig.
- Verify microphone connections.
- Verhoog die volume.
- Verwronge klank:
- Verlaag die volume.
- Check the MP3 connection cable for damage.
- MP3 Music Not Playing:
- Ensure the auxiliary cable is fully inserted into both the unit and the external device.
- Check the volume on your external device.
- Verify that music is playing on your external device.
Spesifikasies
- Modelnommer: 40 1472
- Handelsmerk: Bontempi
- Materiaal: Plastiek
- Aantal mikrofone: 2
- Verbinding: Auxiliary (MP3 connection)
- Kragbron: Battery-aangedrewe (Batterye nie ingesluit nie)
- Produk afmetings: Ongeveer 14.17 x 35.04 x 14.17 duim (36 x 89 x 36 cm)
- Item gewig: Ongeveer 2.07 pond (0.94 kg)
- Aanbevole ouderdom: 3+ jaar
Waarborg en Ondersteuning
Bontempi products are designed for quality and durability. For any issues or support, please refer to the contact information provided on the product packaging or visit the official Bontempi webwebwerf. Bewaar asseblief u bewys van aankoop vir waarborgeise.