Ematic EMP-720
Ematic LED Projector (EMP-720)
Gebruikershandleiding
1. Inleiding
Dankie vir die aankoopasing the Ematic LED Projector. This manual provides essential information for setting up, operating, and maintaining your projector to ensure optimal performance and longevity. Please read this manual thoroughly before using the product and retain it for future reference.
2. Veiligheidsinligting
Om brand of elektriese skok te voorkom, moenie hierdie toestel aan reën of vog blootstel nie. Om elektriese skok te vermy, moenie die kas oopmaak nie. Verwys slegs na gekwalifiseerde personeel vir onderhoud.
- Moenie direk in die projektorlens kyk wanneer die lamp is aan.
- Verseker behoorlike ventilasie rondom die projektor. Moenie ventilasie-openinge blokkeer nie.
- Gebruik slegs die kragadapter wat saam met die projektor voorsien word.
- Keep the projector away from water or any liquids.
- Do not place the projector on an unstable surface.
- Ontkoppel die projektor van die kragtoevoer tydens weerligstorms of wanneer dit vir lang tye nie gebruik word nie.
3. Pakketinhoud
- Ematic LED Projector
- Afstandbeheer
- Kragadapter
- Gebruikershandleiding
- AV Cable (if included)
4. Produk verbyview
4.1 Voorkant View
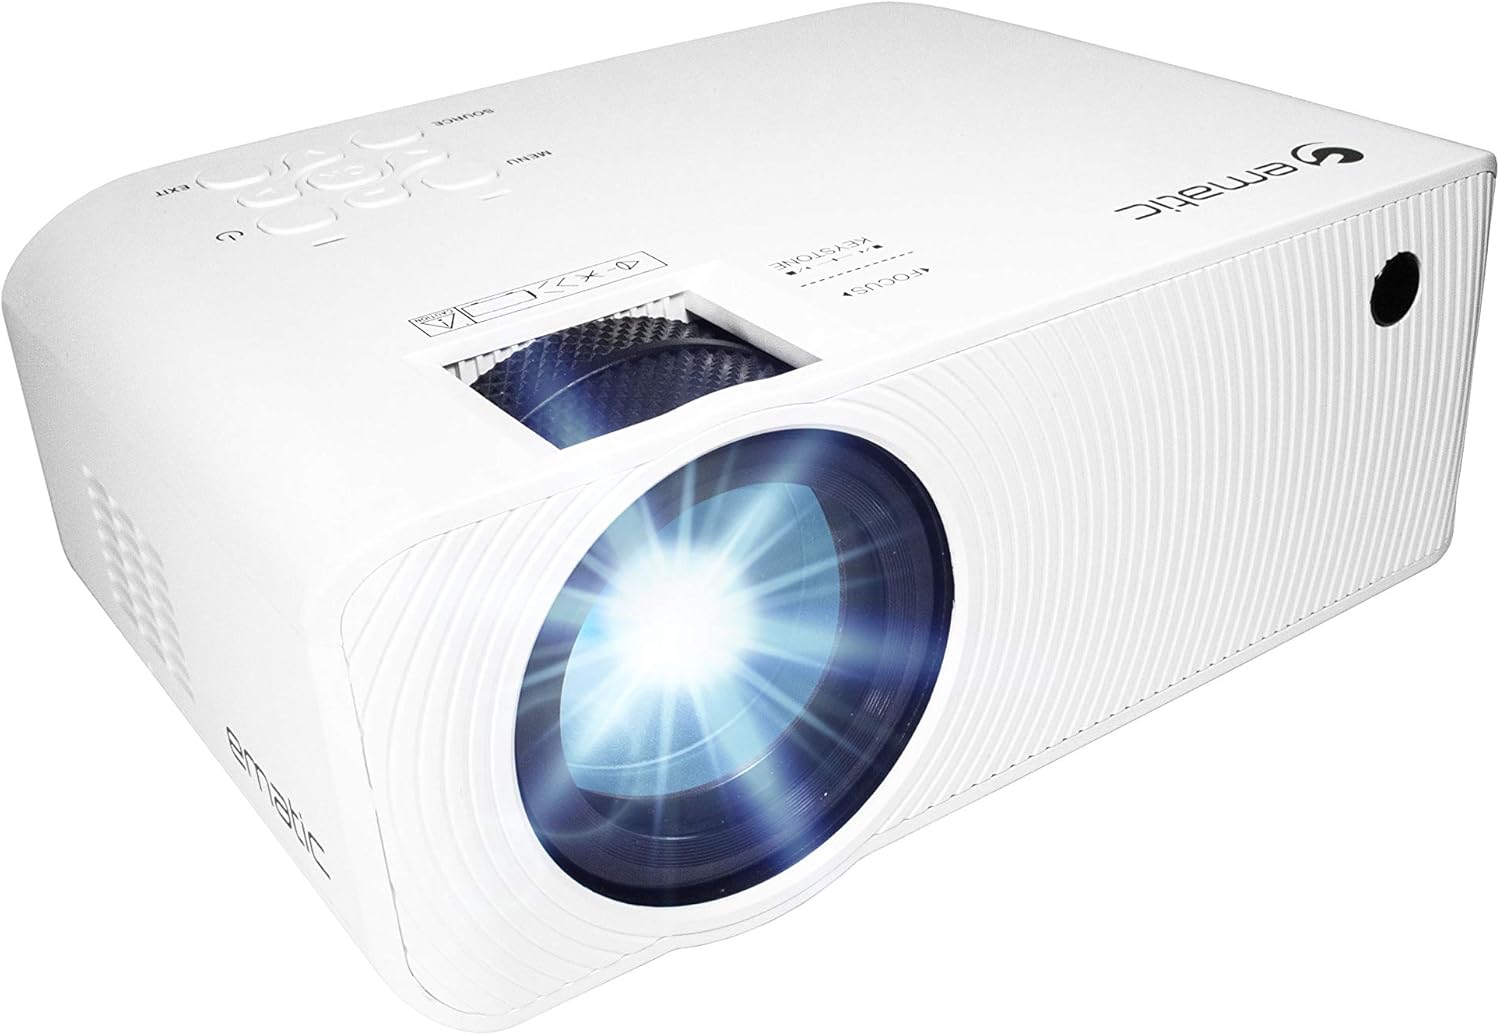
Figuur 4.1: Voorkant view of the Ematic LED Projector, highlighting the projection lens.
4.2 Bo View en kontroles

Figuur 4.2: Bo view of the projector showing the control panel (Menu, Source, Exit, Navigation buttons) and the Focus and Keystone correction dials. A remote control is also visible.
- Fokusring: Pas beeldhelderheid aan.
- Keystone-korreksie: Korrigeer trapesiumvormige beeldvervorming.
- Beheerpaneel: Buttons for Menu, Source selection, Exit, and navigation.
4.3 Rear and Side Views met Hawens

Figure 4.3: Rear panel of the projector displaying the connectivity options: AUX audio output, AV input, MicroSD card slot, two HDMI inputs, USB port, and DC power input.

Figuur 4.4: Kant view of the projector, highlighting the VGA input port and the infrared (IR) receiver for the remote control.
- AUX: 3.5 mm-klankuitvoer vir eksterne luidsprekers of oorfone.
- VAN: Composite video and stereo audio input.
- MicroSD: Slot for MicroSD memory cards.
- HDMI 1 / HDMI 2: High-Definition Multimedia Interface inputs for digital audio/video.
- USB: USB port for media playback from USB drives.
- DC IN: Power input for the projector.
- VGA: Video Graphics Array input for computer connection.
5. Opstelling
- Plasing: Place the projector on a stable, flat surface. Ensure there is adequate space around the projector for ventilation. For optimal viewing, position the projector perpendicular to the projection screen or wall.
- Kragverbinding: Connect the supplied power adapter to the DC IN port on the projector and then plug the adapter into a power outlet.
- Aanvanklike krag aan: Press the power button on the projector or the remote control to turn on the unit. The power indicator light will illuminate.
- Fokus verstelling: Once the projector is on, rotate the Focus Ring (refer to Figure 4.2) until the projected image is clear and sharp.
- Keystone-korreksie: If the image appears trapezoidal (wider at the top or bottom), adjust the Keystone Correction dial (refer to Figure 4.2) until the image is rectangular.
6. Bedryfsinstruksies
- Skakel aan/af: Press the power button on the projector or remote control. Press again to turn off.
- Invoerbronkeuse: Press the "Source" button on the projector or remote control to cycle through available input sources (HDMI 1, HDMI 2, AV, VGA, USB, MicroSD). Select the desired input.
- Kieslysnavigasie: Press the "Menu" button to access the projector's settings. Use the navigation buttons on the projector or remote to browse options and the "OK" button to confirm selections.
- Media Playback (USB/MicroSD): Insert a USB drive or MicroSD card into the respective port. Select "USB" or "MicroSD" as the input source. The projector will display a file browser. Navigate to your desired media file (video, photo, music, text) and press "OK" to play.
- Oudio-uitvoer: The projector has built-in speakers (refer to Figure 6.1). For external audio, connect headphones or external speakers to the AUX port (3.5mm audio jack).

Figure 6.1: Projector highlighting its built-in speaker functionality.
7. Konnektiwiteit
The Ematic LED Projector offers multiple connection options to various devices, ensuring versatility for your entertainment and presentation needs.

Figure 7.1: Multimedia device compatibility chart for the projector.

Figuur 7.2: Examples of projector connections to a laptop and smartphone, highlighting supported input types.
- HDMI: Connect Blu-ray players, game consoles (PS4, Xbox), streaming devices (Amazon Fire TV Stick, Chromecast), laptops, and other HDMI-enabled devices.
- USB: Speel media files (videos, photos, music) directly from USB flash drives.
- MicroSD: Speel media files directly from MicroSD memory cards.
- VAN: Connect older devices like DVD players or VCRs using the included AV cable.
- VGA: Koppel tafelrekenaars of ouer skootrekenaars.
- Audio Out (AUX): Connect external speakers or headphones for enhanced audio experience.
8. Onderhoud
- Lens skoonmaak: Gebruik 'n sagte, pluisvrye lap wat spesifiek vir optiese lense ontwerp is om die projektorlens saggies af te vee. Moenie skuurmiddels of oormatige krag gebruik nie.
- Stofverwydering: Regularly clean the ventilation grilles with a soft brush or compressed air to prevent dust buildup, which can affect performance and lifespan.
- Buitenste skoonmaak: Vee die buitekant van die projektor af met 'n sagte, damp lap. Vermy die gebruik van harde chemikalieë.
- Berging: When not in use for extended periods, store the projector in a cool, dry place, ideally in its original packaging or a protective case, to prevent dust accumulation and damage.
9. Probleemoplossing
| Probleem | Moontlike oorsaak | Oplossing |
|---|---|---|
| Geen beeld geprojekteer nie | No power; Incorrect input source; Cable not connected properly. | Kontroleer kragaansluiting; Kies die korrekte invoerbron; Koppel kabels stewig weer aan. |
| Beeld is vaag | Fokus nie aangepas nie; Projektor te ver/naby aan die skerm. | Adjust the Focus Ring; Adjust projection distance. |
| Beeld is trapesiumvormig | Keystone not adjusted; Projector not level. | Adjust the Keystone Correction dial; Ensure projector is on a flat surface. |
| Geen klank nie | Volume too low; Muted; External speakers not connected or off. | Increase volume; Unmute; Check external speaker connection and power. |
| Afstandbeheer werk nie | Batteries dead; Obstruction between remote and IR receiver. | Replace batteries; Remove obstructions; Point remote directly at the projector's IR receiver. |
10. Spesifikasies
| Kenmerk | Detail |
|---|---|
| Handelsmerk | Ematic |
| Model | EMP-720 (Generic) |
| Vertoon resolusie | 1280 x 720 (Oorspronklike) |
| Verbindingstegnologie | HDMI, USB, AV, VGA, MicroSD, AUX |
| Spesiale kenmerk | Portable, Built-in Speakers |
| Item gewig | 3.5 pond |
| Produk afmetings | 13.85 x 5 x 8.8 duim |
| Lamp Lewe | Tot 20,000 uur (Normale modus) |
11. Waarborg en Ondersteuning
For warranty information and technical support, please refer to the warranty card included with your product or visit the official Ematic webwebwerf. Bewaar u bewys van aankoop vir waarborgeise.
Ematic Customer Support: www.ematic.us/support (Bvampdie Skakel)
Ask a question about this manual
Ask about setup, troubleshooting, compatibility, parts, safety, or missing instructions. Manuals+ will review the question and use this page’s manual context to help answer it.