Inleiding
This manual provides detailed instructions for the setup, operation, and maintenance of your CAD Audio Drum Microphone Set, featuring the KM212 Bass Drum Microphone and the SN210 Snare Drum Microphone. Please read this manual thoroughly before using your microphones to ensure optimal performance and longevity.
Produk verbyview
The CAD Audio Drum Microphone Set is designed to capture the distinct sounds of your bass and snare drums with clarity and precision. Each microphone is engineered for its specific application.
KM212 Bass Drum Microphone
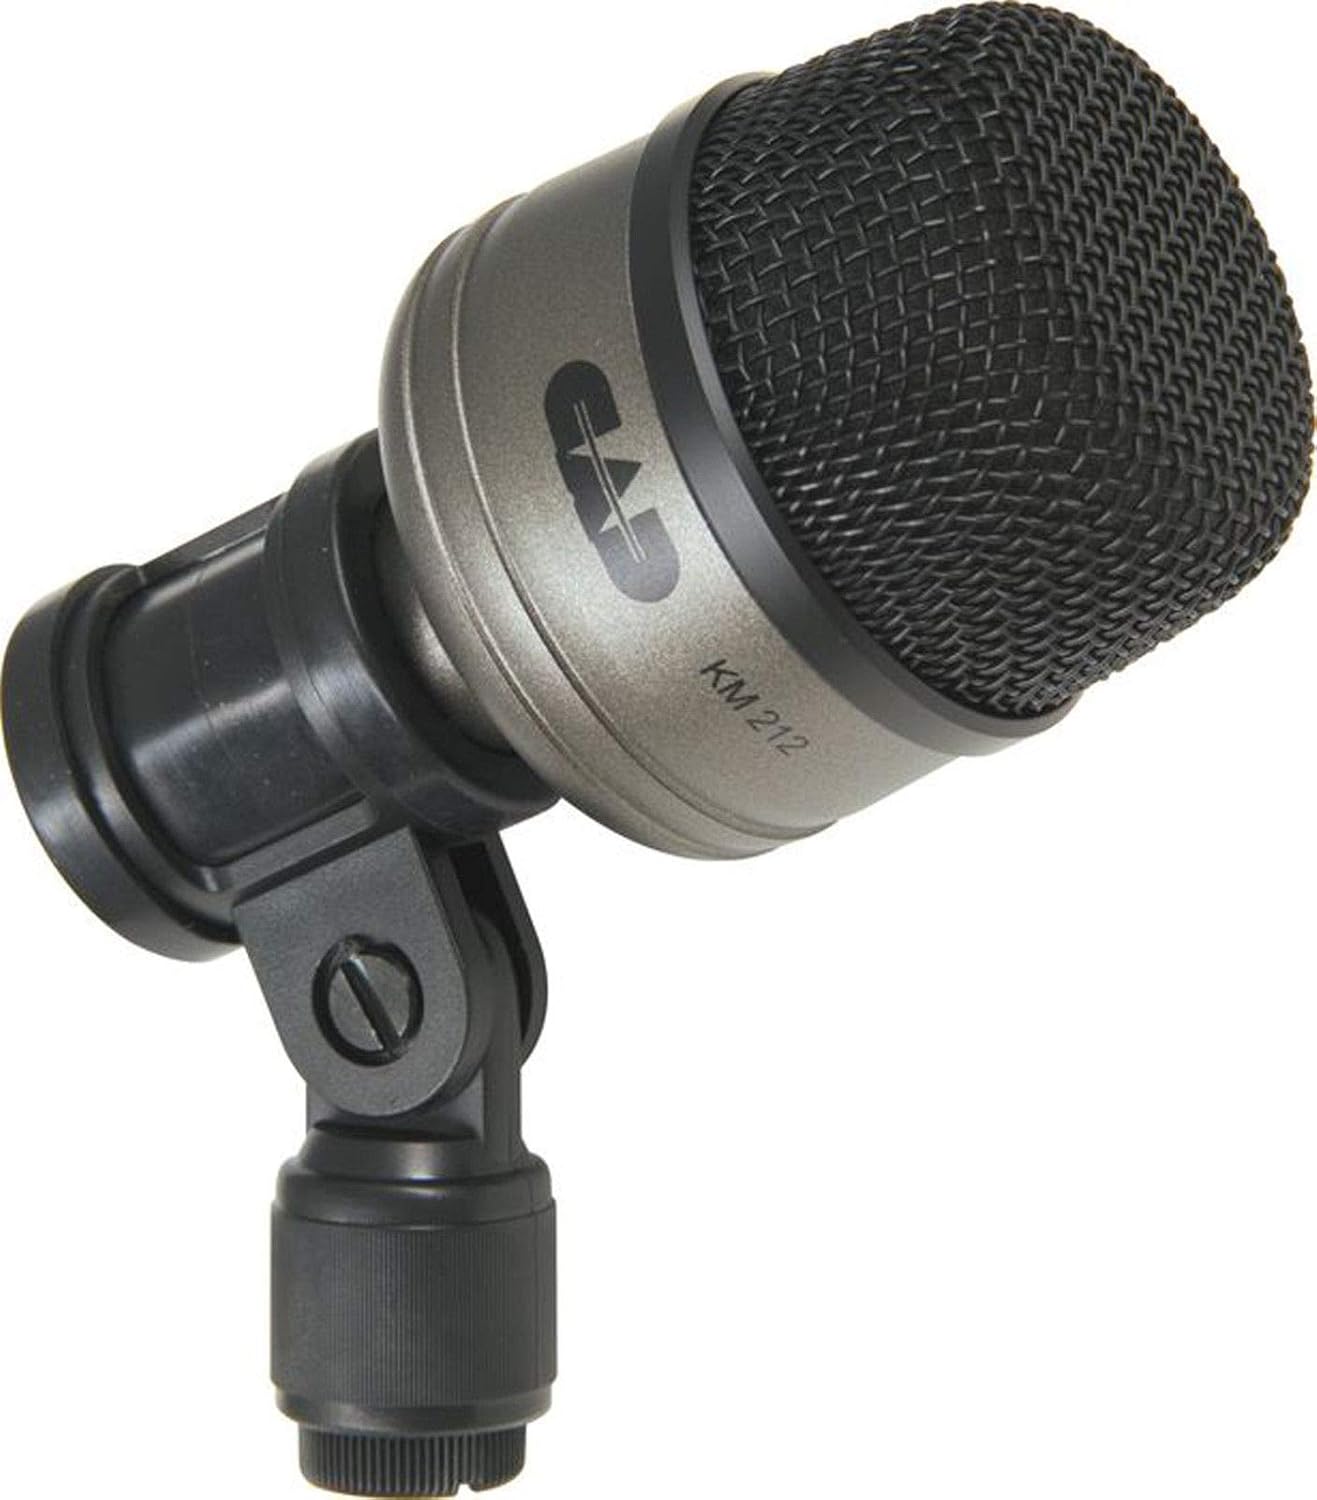
Figuur 1: The CAD Audio KM212 Bass Drum Microphone. This microphone is designed for low-frequency sound capture, ideal for bass drums.
The KM212 is a dynamic microphone specifically voiced for bass drums. Its robust construction and frequency response are tailored to handle high sound pressure levels and reproduce the deep, punchy sound of a kick drum.
SN210 Snare Drum Microphone
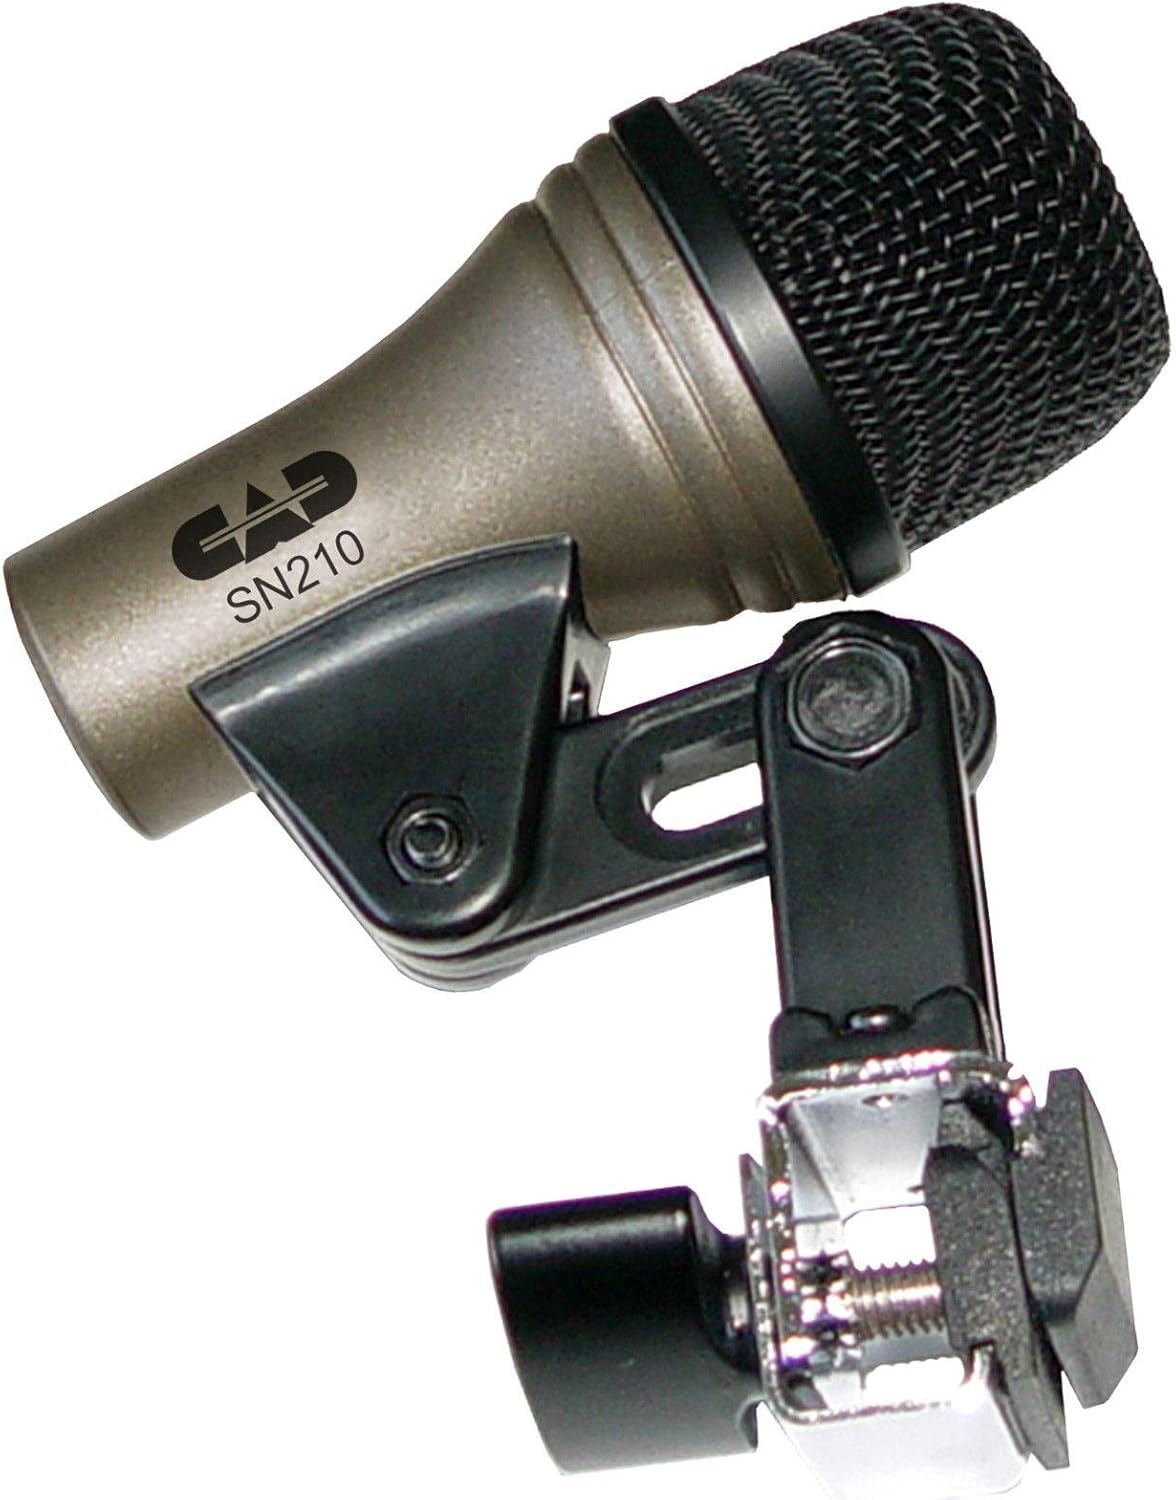
Figuur 2: The CAD Audio SN210 Snare Drum Microphone with integrated rim clip. This microphone is optimized for the crisp, articulate sound of a snare drum.
The SN210 is a dynamic microphone designed for snare drums. It features an integrated rim clip for easy and secure mounting directly onto the drum, ensuring consistent microphone placement. Its frequency response is optimized to capture the attack and body of the snare drum.
Opstelling
Proper setup is crucial for achieving the best sound quality from your drum microphones.
1. Mounting the Microphones
- KM212 Bass Drum Microphone:
Attach the KM212 to a standard microphone stand (not included). Position the microphone inside or outside the bass drum's resonant head, typically 2-6 inches from the head. Experiment with placement to find the desired sound. Closer placement emphasizes attack and low-end punch, while further placement captures more of the drum's resonance.
- SN210 Snare Drum Microphone:
The SN210 features an integrated rim clip. Securely attach the clip to the rim of your snare drum. Position the microphone capsule approximately 1-2 inches from the drum head, aiming towards the center for more attack or towards the rim for more body and less stick noise. Ensure the microphone is stable and does not interfere with drumming.
2. Connecting to Audio Equipment
Both the KM212 and SN210 microphones utilize an XLR connector for audio output.
- Connect a standard XLR cable (not included) to the output of each microphone.
- Connect the other end of the XLR cables to the input channels of your audio mixer, audio interface, or preamplewendiger.
- Ensure that phantom power is nie engaged for these dynamic microphones, as they do not require it and it can potentially cause damage or noise.
Bedryf
Once set up, follow these guidelines for optimal operation.
Microphone Placement Tips
- Bass Drum (KM212):
For a punchy sound, place the KM212 just inside the sound hole of the resonant head, aiming towards the beater. For a more open, resonant sound, place it further back from the drum or outside the resonant head. Adjust the distance and angle to fine-tune the tone.
- Snare Drum (SN210):
Aim the SN210 towards the center of the snare drum head for a brighter, more articulate sound. Angling it slightly towards the rim can add more body and reduce harshness. Avoid placing it too close to the rim to prevent capturing excessive rimshot noise unless desired.
Verwerf S.taging
Set the input gain on your mixer or interface carefully. Start with the gain low and gradually increase it while the drum is being played until you achieve a strong signal without clipping (distortion). Monitor your levels closely.
Onderhoud
Proper care will extend the life and performance of your microphones.
- Skoonmaak: Use a soft, dry cloth to wipe down the microphone bodies. For the grille, a soft brush can be used to gently remove dust or debris. Do not use liquid cleaners directly on the microphone.
- Berging: When not in use, store the microphones in a protective case or bag to prevent dust accumulation and physical damage. Avoid extreme temperatures and humidity.
- Hantering: Always handle microphones with care. Avoid dropping them or subjecting them to strong impacts, as this can damage the internal components.
Probleemoplossing
Indien u probleme ondervind, verwys na die volgende algemene probleme en oplossings.
| Probleem | Moontlike oorsaak | Oplossing |
|---|---|---|
| Geen klankuitset nie |
|
|
| Swak of verwronge klank |
|
|
| Oormatige terugvoer |
|
|
Spesifikasies
Key technical specifications for the CAD Audio Drum Microphone Set.
- Handelsmerk: CAD-klank
- Verbindingstegnologie: XLR
- Spesiale kenmerk: Clip (SN210)
- Polêre patroon: Eenrigting
- Kragbron: Corded Electric (refers to connection type, not phantom power requirement)
- Vervaardiger: CAD
- UPC: 766192181261
- ASIN: B07VCBXMZH
Note: Specific frequency response and impedance details for individual models (KM212, SN210) are typically found in their respective product sheets or on the manufacturer's webwebwerf.
Waarborg en Ondersteuning
For warranty information and technical support, please refer to the official CAD Audio webwebwerf of kontak hul kliëntediens direk. Bewaar u aankoopbewys as bewys van aankoop vir enige waarborgeise.
CAD Audio Official Webwebwerf: www.cadaudio.com