1. Produk verbyview
The SMONET 5MP Security Camera System (Model: SN-VBUS-T885M2T-RS) is a comprehensive wired surveillance solution designed for indoor and outdoor use. This system includes 5MP (2560TVL) CCTV cameras and an 8-channel DVR with a 2TB hard drive, offering high-resolution video recording, motion detection, and night vision capabilities. It is built to provide reliable security monitoring for homes and businesses.

Beeld: Oorview of the SMONET 5MP Security Camera System components, including the DVR, cameras, and cables.
2. Pakketinhoud
Before beginning installation, verify that all components listed below are present in your package:
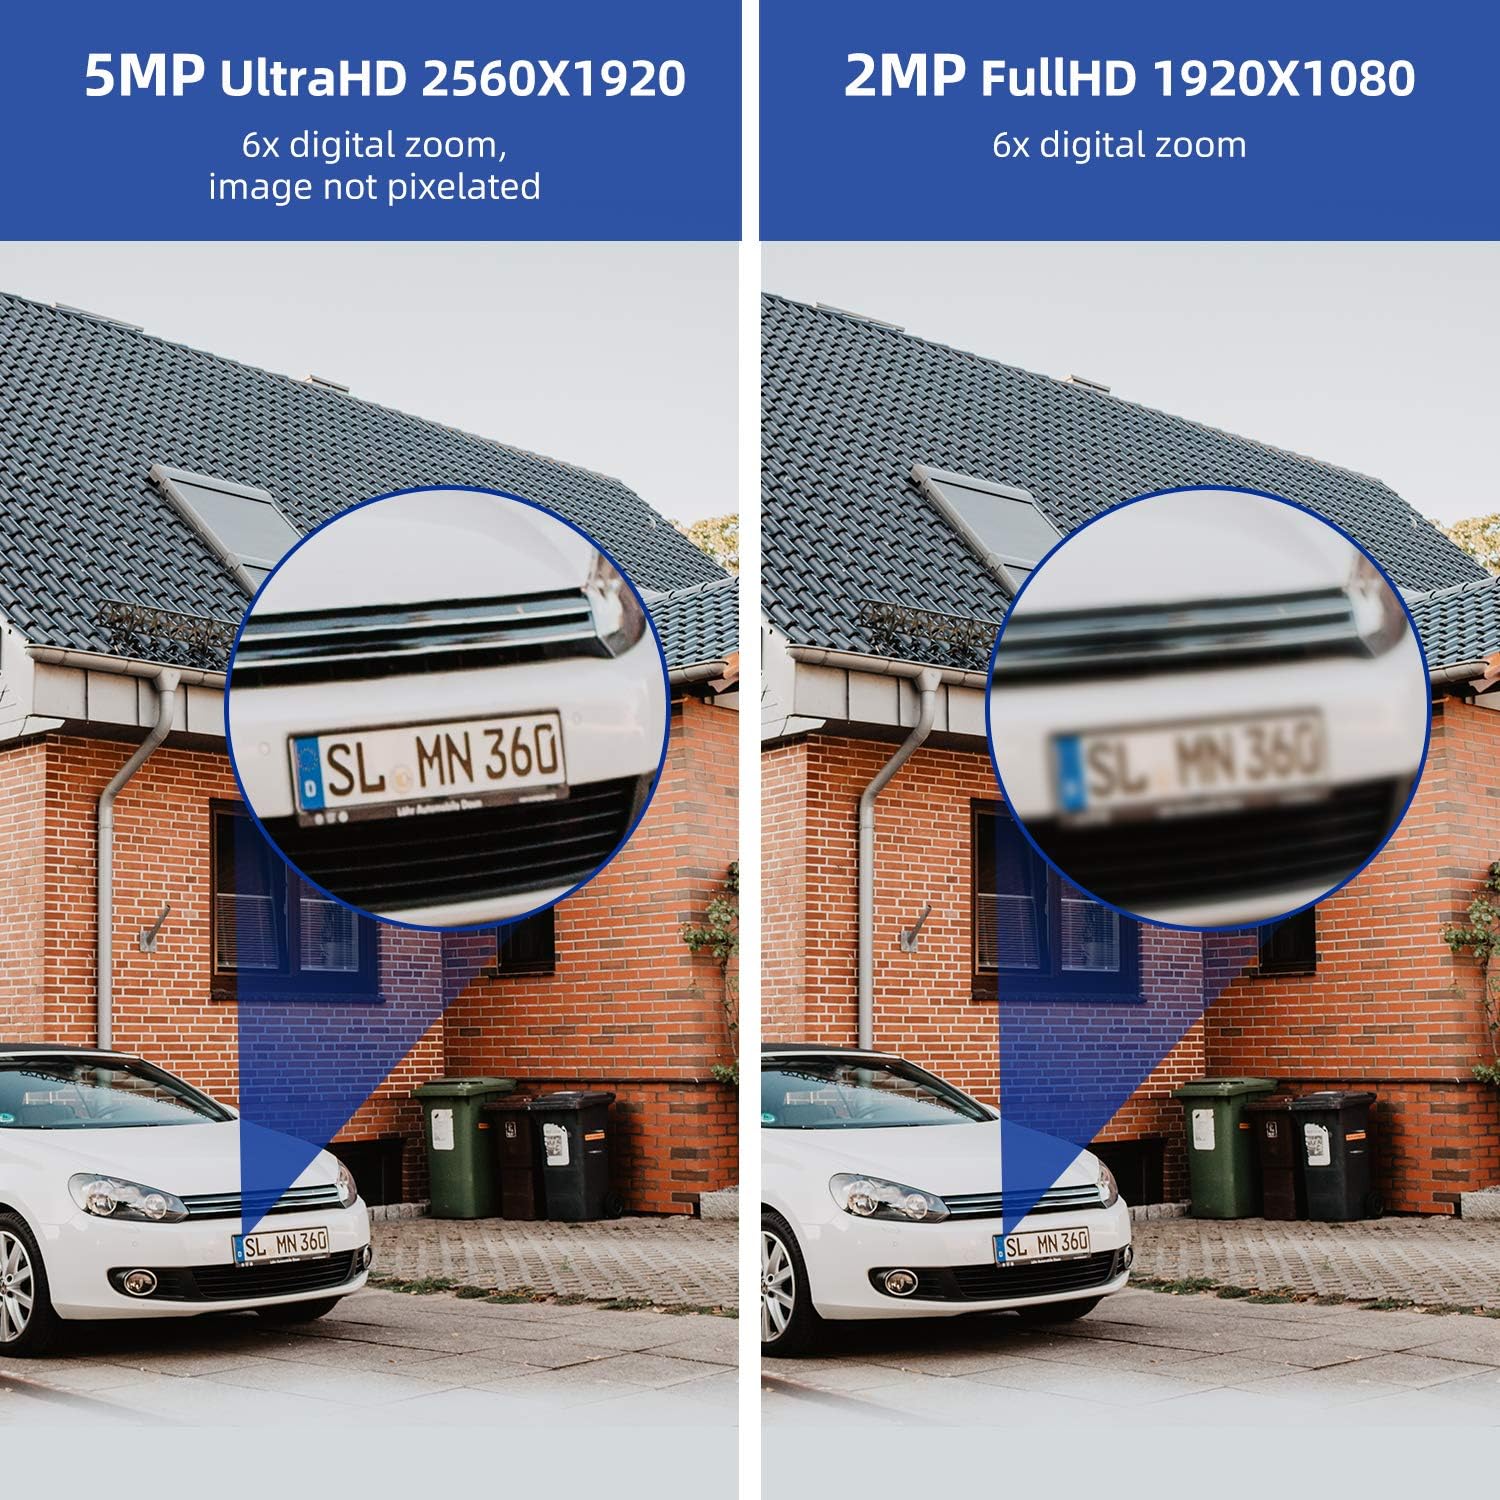
Image: Visual comparison demonstrating the clarity of 5MP UltraHD (2560x1920) versus 2MP FullHD (1920x1080) resolution, highlighting the enhanced detail of the 5MP system.
- 8-Channel DVR with 2TB HDD
- 5MP CCTV Cameras (Quantity as per package)
- 60ft BNC Cables (Quantity as per package)
- Power Supply for DVR
- Power Supply for Cameras
- 3.3 voet netwerkkabel
- USB-muis
- 1 to 4 Splitter Cable (for camera power)
- Screw Bag (for mounting)
- Gebruikershandleiding (hierdie dokument)
3. Stelselopstelling
Follow these steps to set up your SMONET Security Camera System:
3.1 Aanvanklike verbindings
- Koppel monitor: Connect a PC or TV monitor to the DVR using a VGA or HDMI cable. Ensure you use a dedicated PC or TV monitor; laptops or all-in-one computers are not compatible for direct connection.
- Power and Mouse: Plug in the power supply for the DVR. Connect the included USB mouse to a USB port on the DVR.
- Netwerk konneksie: Connect the Router LAN Port to the DVR Ethernet port using the provided network cable. The router must be configured as a WAN (Wide Area Network) device for remote access.
- Kamerakrag: Connect the 1-to-4 splitter adapter cable to the camera power supply.
- Camera Video Connection: Connect one end of the BNC cable to the splitter and the other end to a DVR port (VIDEO IN). Repeat for all cameras.
- Camera Power Connection: Connect the camera's power input to the splitter cable.

Image: A visual guide illustrating the step-by-step connection process for the DVR, cameras, monitor, power supplies, and network router.
3.2 Opstelvideogids
Video: A detailed guide on connecting the SMONET security camera system components, including the DVR, cameras, monitor, and network.
4. Bedryf die stelsel
4.1 Motion Detection Configuration
The system features customizable motion detection. You can define specific areas within the camera's view to trigger alerts and recordings, adjust sensitivity, and set recording schedules.
Video: Instructions on how to set up and configure motion detection settings for your SMONET 5MP Security Camera System.
4.2 Remote Access and Alerts
Access live video feeds and receive alerts directly on your smartphone or other compatible devices. The system supports email and phone app notifications for motion detection events.
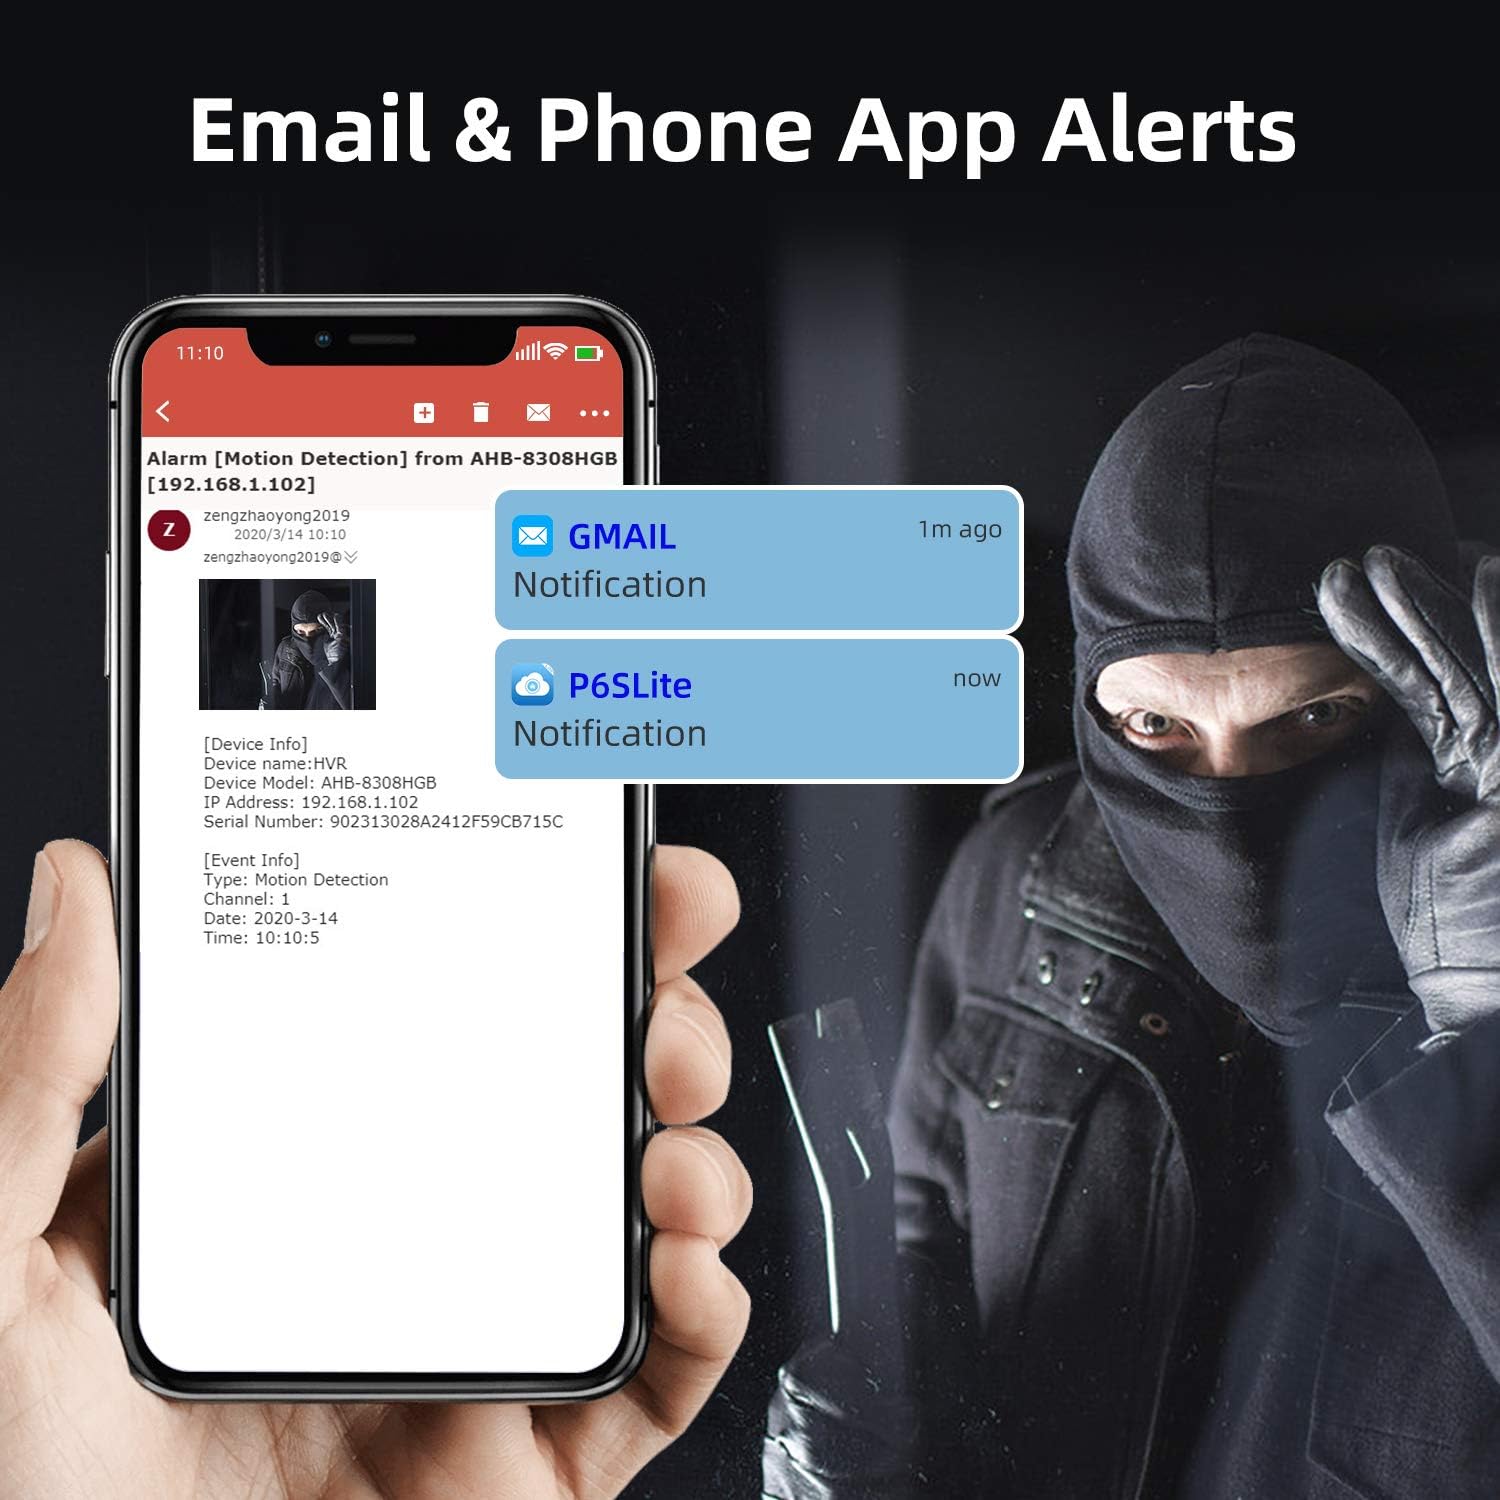
Image: A visual representation of email and phone application alerts triggered by motion detection events, showing notification details.
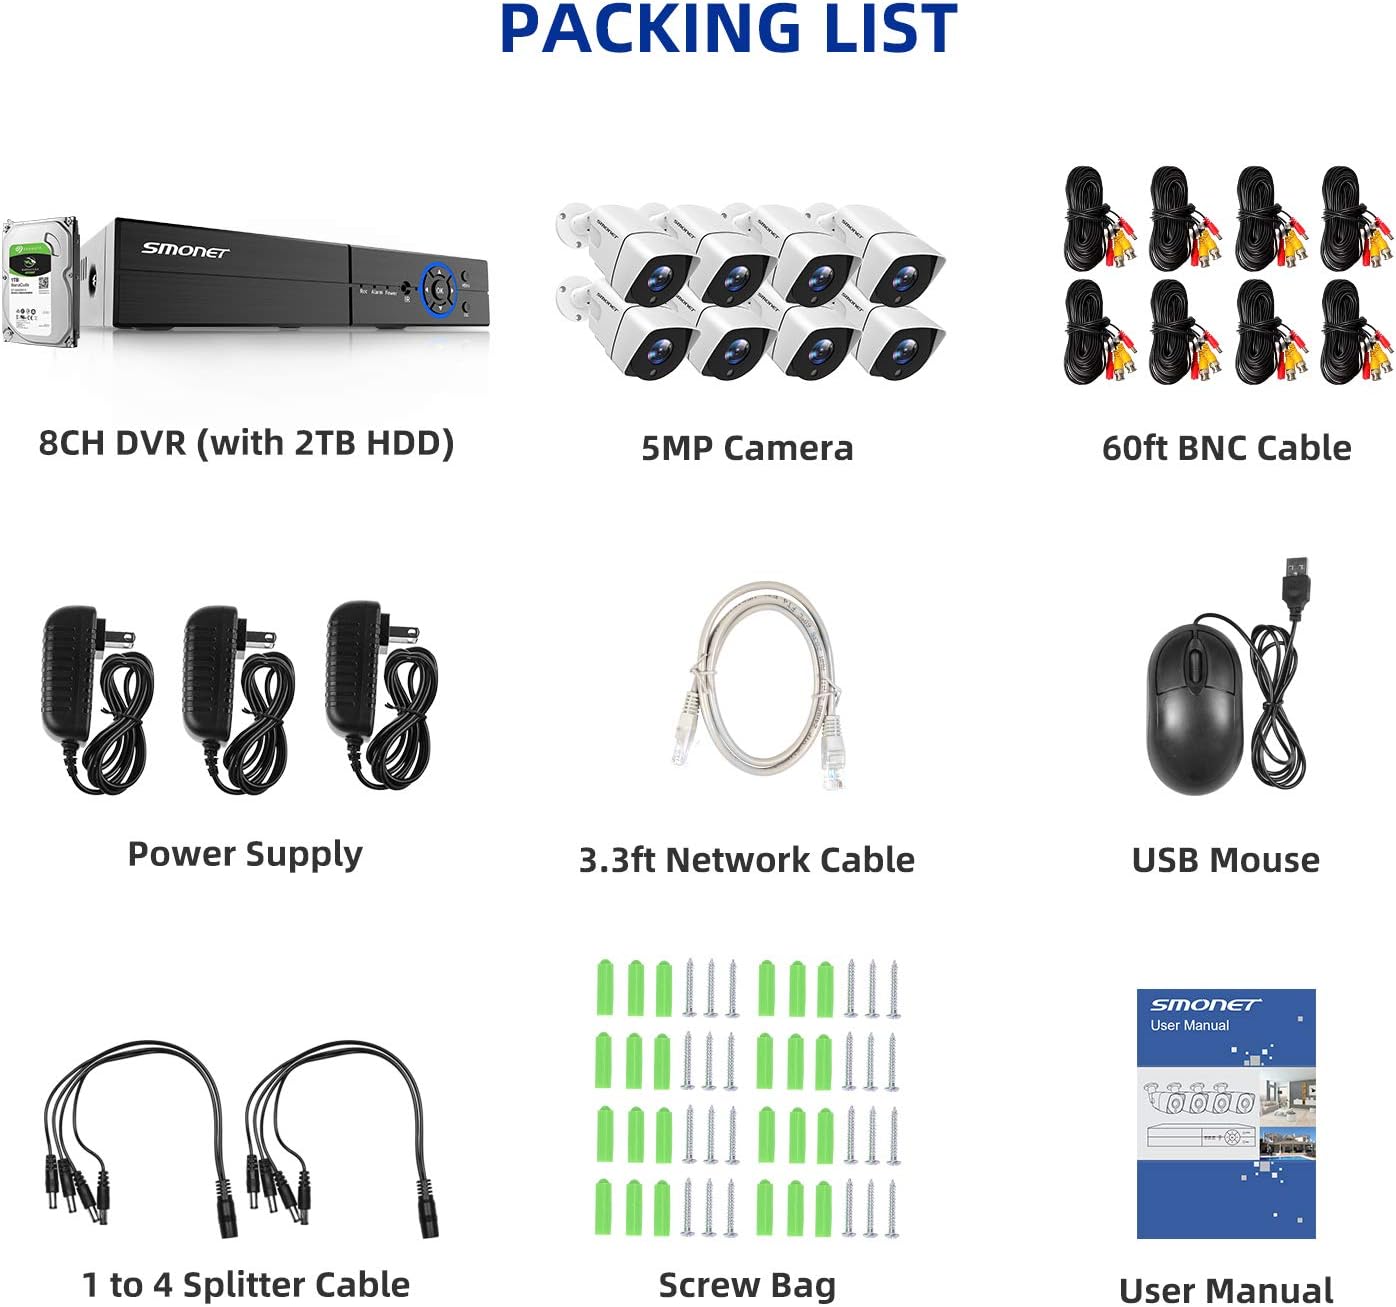
Image: Various devices (smartphone, tablet, laptop) displaying live video feeds from the security cameras, demonstrating remote access capabilities.
4.3 Day and Night Vision
The cameras provide clear, colorful images during the day and automatically switch to infrared night vision for monitoring in low-light or dark conditions, with a range of up to 65 feet.
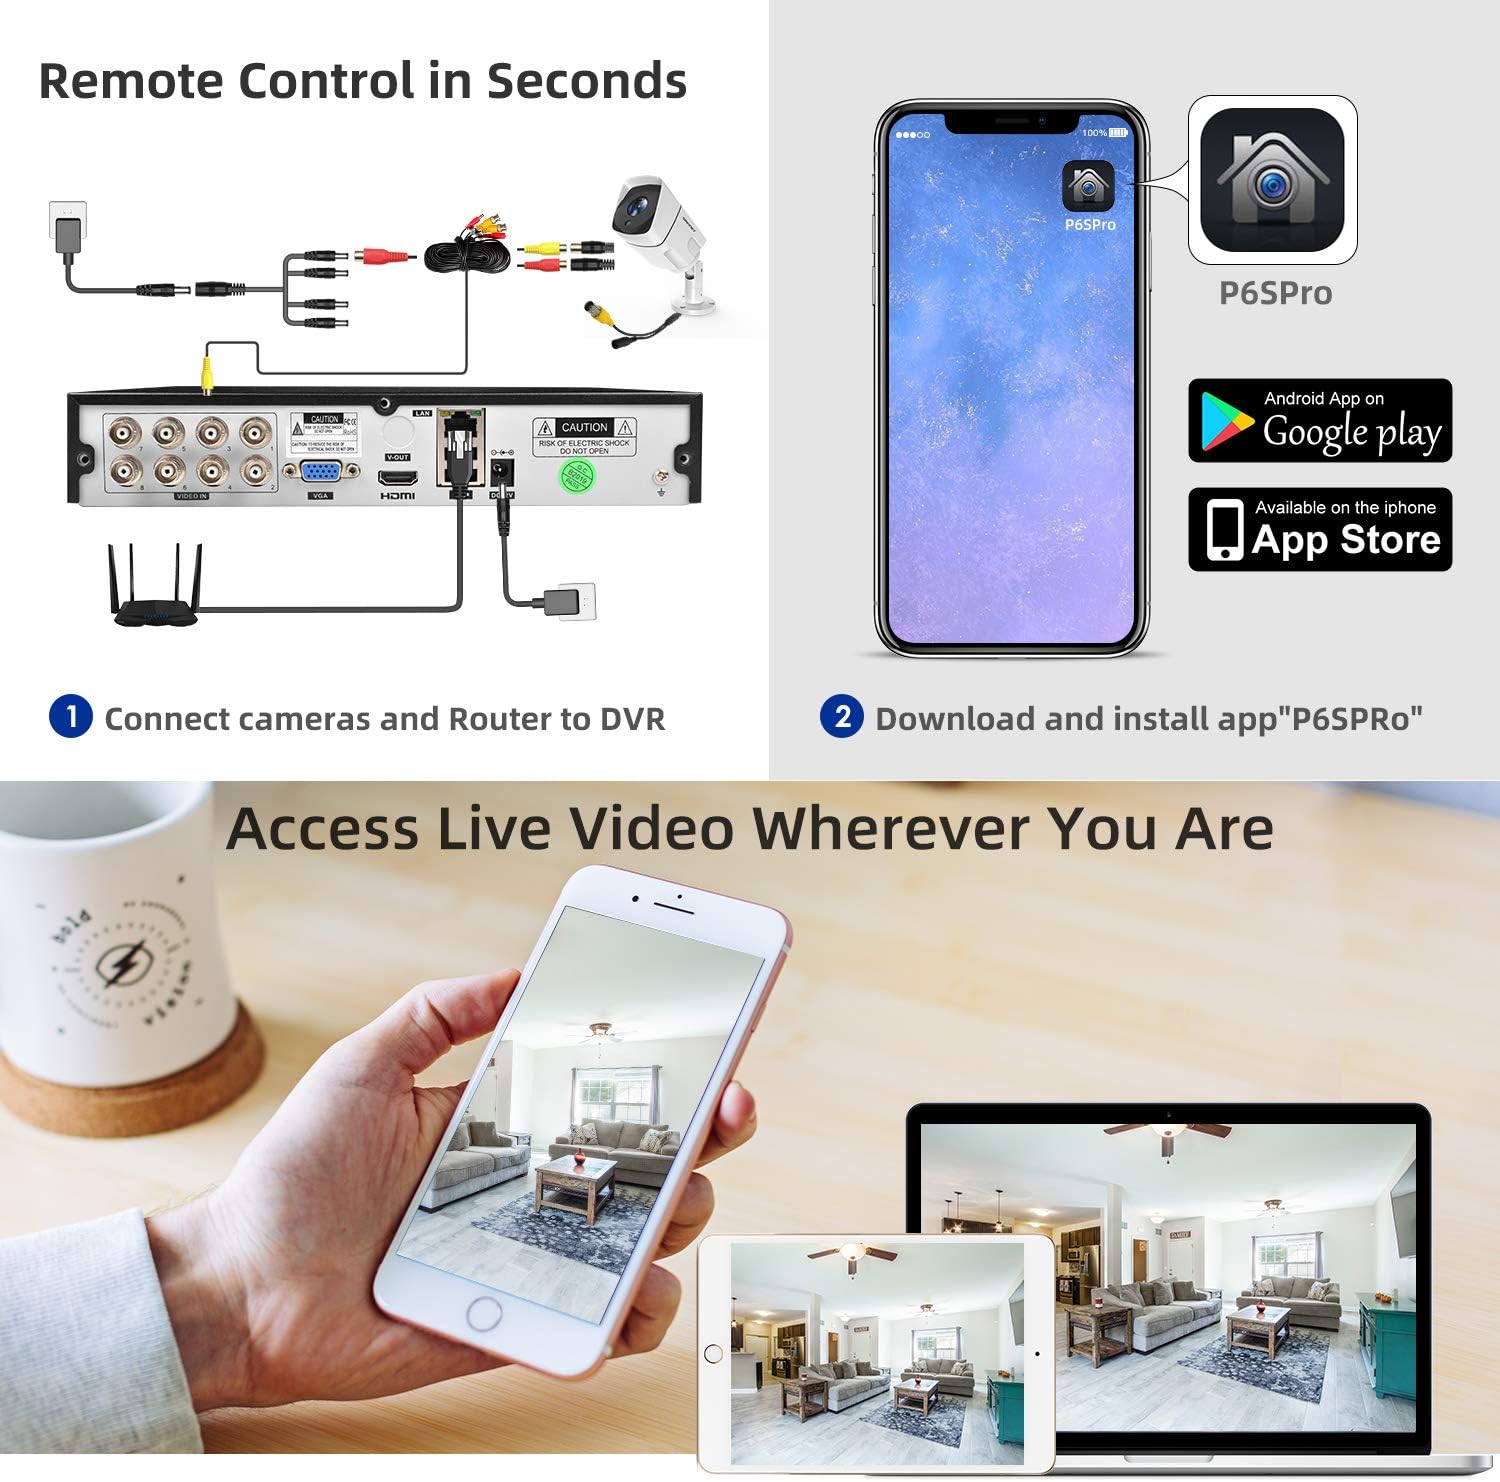
Image: A split image showing the camera's performance in daylight with full color and its clear infrared night vision capability in darkness, extending up to 65 feet.
4.4 Indoor and Outdoor Monitoring
The cameras are designed for versatile placement, suitable for both indoor and outdoor environments. Their waterproof housing ensures durability against various weather conditions.

Image: A collage showing the security cameras installed in various settings, including indoor offices, outdoor building exteriors, and highlighting their waterproof design.
5. Onderhoud
Gereelde onderhoud verseker optimale werkverrigting en lang lewensduur van u sekuriteitstelsel:
- Kamera Skoonmaak: Periodically clean camera lenses with a soft, dry cloth to remove dust and smudges that may affect image clarity.
- Kabel inspeksie: Check all cables (power, video, network) for any signs of wear, damage, or loose connections. Secure or replace as needed.
- Sagteware-opdaterings: Regularly check for and install firmware updates for the DVR to ensure the system has the latest features and security patches. Refer to the manufacturer's webwebwerf vir opdateringsinstruksies.
- Hardeskyfgesondheid: Monitor the DVR's hard drive status through the system menu to ensure it is functioning correctly and has sufficient storage space.
- Kragtoevoerkontrole: Ensure power adapters are securely connected and free from damage.
6. Probleemoplossing
If you encounter issues with your SMONET Security Camera System, refer to the following common troubleshooting steps:
- Geen videoskerm nie:
- Verify that the monitor is powered on and correctly connected to the DVR via HDMI or VGA.
- Check if the DVR is powered on and its power indicator light is active.
- Ensure all camera BNC cables are securely connected to both the cameras and the DVR.
- Confirm that cameras are receiving power. Check power adapters and splitter cables.
- Bewegingsopsporing aktiveer nie:
- Access the DVR's motion detection settings (refer to Section 4.1) and ensure it is enabled for the desired channels.
- Adjust the sensitivity level. A lower sensitivity might miss subtle movements, while a higher sensitivity might trigger false alarms.
- Check the motion detection area settings to ensure the relevant zones are selected.
- Verify the recording schedule for motion detection is correctly configured.
- Afstandtoegang kwessies:
- Ensure the DVR is connected to the internet via the network cable and the router is functioning correctly.
- Check network settings on the DVR to confirm it has a valid IP address.
- Verify that the mobile application is installed correctly and you are using the correct login credentials.
- Confirm that your mobile device has a stable internet connection.
- Swak beeldkwaliteit:
- Clean the camera lens for any obstructions or dirt.
- Maak seker dat die kamera stewig gemonteer is en nie vibreer nie.
- Check cable connections for any interference or damage.
- Verify the camera's resolution settings in the DVR menu.
7. Spesifikasies
| Kenmerk | Spesifikasie |
|---|---|
| Handelsmerk | SMONET |
| Modelnommer | SN-VBUS-T885M2T-RS |
| Verbindingstegnologie | Bedraad |
| Video-opname-resolusie | 5 MP (2560TVL) |
| Aantal kanale | 8 |
| Geheue berging kapasiteit | 2 TB |
| Kragbron | Elektries met koord |
| Itemafmetings (L x B x H) | 16 x 11 x 12.4 duim |
| Versoenbare toestelle | Cameras, Smartphones |
| Ander kamera-funksies | Voorkant |
| Raamtempo | 30 fps |
| Opnamemodus | Bewegingsopsporing |
| Hardeware-koppelvlak | Ethernet |
| Lens tipe | Zoem |
| Video-invoer | BNC |
| Item gewig | 17.71 pond |
| Datum Eerste Beskikbaar | 8 April 2019 |
8. Waarborg en Ondersteuning
SMONET products are designed for reliability and performance. For specific warranty details, please refer to the warranty card included with your product or visit the official SMONET website. If you require technical assistance, product support, or have questions regarding your system, please contact SMONET customer service through the channels provided on the official webwebwerf of jou aankoopplatform.
When contacting support, please have your product model number (SN-VBUS-T885M2T-RS) and purchase information readily available to expedite assistance.