ARGO IRO PLUS
ARGO Iro Plus Portable Air Conditioner with Heat Pump User Manual
Model: IRO PLUS
1. Inleiding
The ARGO Iro Plus is a versatile portable air conditioner designed for year-round comfort, featuring both cooling and heating capabilities. Its minimalist design and intuitive controls make it a perfect addition to any living space. This manual provides essential information for the safe and efficient operation, setup, and maintenance of your ARGO Iro Plus unit.
Sleutel kenmerke:
- Portable air conditioner with heat pump, Energy Class A.
- Four operating modes: Cooling, Heating, Ventilation, and Dehumidification.
- Three fan speeds for customized airflow.
- Motorized top flap with Swing function for wide air distribution.
- Digital 24-hour timer for scheduled operation.
- Sleep function for enhanced comfort during rest.
- Memory function for automatic restart with previous settings after power interruption.
- Omgewingsvriendelike R290 koelmiddel.
- Equipped with practical handles and multi-directional wheels for easy portability.
2. Veiligheidsinligting
Lees asseblief alle veiligheidswaarskuwings en instruksies sorgvuldig deur voordat u die toestel gebruik om beserings of skade te voorkom. Bewaar hierdie handleiding vir toekomstige verwysing.
- Koppel die eenheid altyd aan 'n geaarde kragaansluiting met die korrekte volume.tage.
- Moenie die eenheid met 'n beskadigde kragkoord of prop gebruik nie.
- Moenie die luginlate of -uitlate blokkeer nie. Verseker voldoende speling rondom die eenheid vir behoorlike lugvloei.
- Moenie vingers of voorwerpe in die luguitlate steek nie.
- Hou die eenheid weg van water en ander vloeistowwe. Moenie in badkamers of baie vogtige omgewings gebruik nie.
- Ontkoppel die eenheid voordat u skoonmaak of enige onderhoud uitvoer.
- Moenie probeer om die eenheid self te herstel of te wysig nie. Kontak gekwalifiseerde dienspersoneel vir herstelwerk.
- Hierdie toestel is nie bedoel vir gebruik deur persone (insluitend kinders) met verminderde fisiese, sensoriese of geestelike vermoëns, of 'n gebrek aan ervaring en kennis nie, tensy hulle toesig of instruksies oor die gebruik van die toestel gegee is deur 'n persoon wat verantwoordelik is vir hul veiligheid.
- Kinders moet onder toesig wees om te verseker dat hulle nie met die toestel speel nie.
3. Produkkomponente
Familiarize yourself with the main parts of your ARGO Iro Plus portable air conditioner.

Figuur 3.1: Voorkant view of the ARGO Iro Plus portable air conditioner, showcasing sy slanke wit ontwerp en kompakte vormfaktor.

Figuur 3.2: Nog 'n front view of the ARGO Iro Plus, highlighting the minimalist design.

Figuur 3.3: Bo-na-onder view of the control panel with digital display and touch-sensitive buttons for various functions like Swing, Timer, Speed, Temperature Up/Down, Mode, Sleep, and Power.

Figuur 3.4: Agter view of the unit, showing the exhaust air outlet, power cord storage, and air intake grilles.

Figuur 3.5: Kant view of the ARGO Iro Plus, highlighting the integrated handle for easy lifting and portability.

Figuur 3.6: Kant view of the ARGO Iro Plus, showing the exhaust port and side grilles.

Figure 3.7: Technical diagram illustrating the dimensions of the ARGO Iro Plus unit: 770mm height, 470mm width, and 382mm depth.
Ingesluit bykomstighede:
- Buigsame uitlaatslang
- Venster adapter
- Kit for Fixed Glass Installation
- Afstandbeheer
4. Opstelling en installering
4.1 Plasing
Place the ARGO Iro Plus on a flat, stable surface. Ensure there is at least 30 cm (12 inches) of clearance around the unit for proper air circulation. Do not place the unit near heat sources or in direct sunlight.
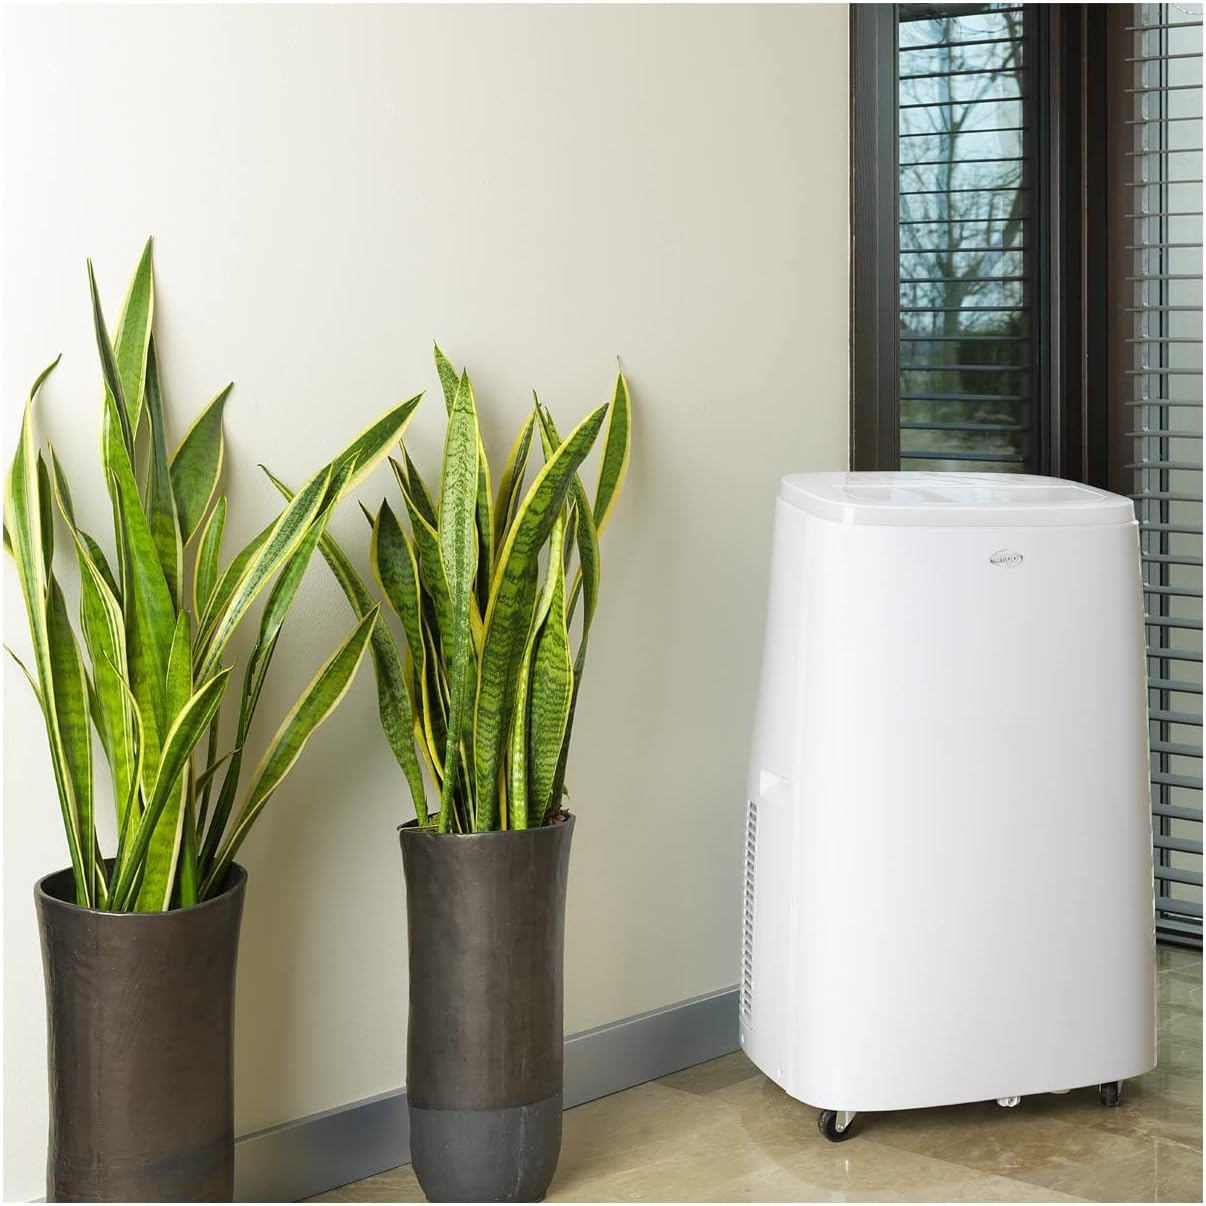
Figure 4.1: The ARGO Iro Plus unit positioned in a room, demonstrating suitable placement near a window for exhaust hose connection.
4.2 Uitlaatpypinstallasie
- Attach one end of the flexible exhaust hose to the air outlet on the back of the unit. Twist clockwise until securely fastened.
- Attach the window adapter to the other end of the exhaust hose.
- Open a window or sliding door and place the window adapter firmly in the opening. Ensure the opening is sealed as much as possible to prevent outside air from entering.
- For fixed glass installations, use the provided kit according to its specific instructions.
Belangrik: The exhaust hose must be as short and straight as possible to ensure optimal performance. Bends or excessive length will reduce efficiency.
5. Bedryfsinstruksies
Your ARGO Iro Plus can be operated using the control panel on the top of the unit or the included remote control.
5.1 Beheerpaneel verbyview
Refer to Figure 3.3 for the layout of the control panel buttons.
- Kragknoppie: Skakel die eenheid AAN of AF.
- MODUS-knoppie: Cycles through operating modes: Cool, Heat, Fan, Dehumidify.
- OP/AF-knoppies: Adjust temperature settings or timer duration.
- SPOED-knoppie: Kies waaierspoed (Laag, Medium, Hoog).
- TIMER-knoppie: Stel die outomatiese aan- of outomatiese af-timer.
- SWING-knoppie: Activates or deactivates the automatic swing function of the top flap.
- SLAAP-knoppie: Activates Sleep mode for quiet operation and optimized temperature control during sleep.
5.2 Bedryfsmodusse
- Verkoelingsmodus: For cooling the room. Set desired temperature using UP/DOWN buttons.
- Verhittingsmodus: For heating the room (Heat Pump function). Set desired temperature.
- Aanhangermodus: Circulates air without cooling or heating. Select desired fan speed.
- Ontvochtigingsmodus: Removes moisture from the air. The unit will operate at a low fan speed. Continuous drainage is recommended in this mode.
5.3 Timer-funksie
Die 24-uur-timer laat jou toe om die eenheid outomaties aan of af te skakel na 'n spesifieke tydperk.
- Druk die TIMER-knoppie.
- Use the UP/DOWN buttons to set the desired delay time (in hours).
- The timer will activate after a few seconds.
6. Onderhoud
Regular maintenance ensures optimal performance and extends the lifespan of your ARGO Iro Plus. Always unplug the unit before cleaning.
6.1 Skoonmaak van die lugfilter
Die lugfilter moet elke twee weke skoongemaak word, of meer gereeld as die eenheid in 'n stowwerige omgewing gebruik word.
- Skakel die eenheid af en koppel dit uit.
- Locate the air filter panel (usually on the side or back).
- Verwyder die filter.
- Maak die filter skoon met 'n stofsuier of was dit saggies met louwarm water en sagte skoonmaakmiddel.
- Laat die filter heeltemal droog word voordat dit weer ingesit word.
6.2 Dreineer Water
The unit automatically evaporates most condensation. However, in high humidity conditions or during dehumidification mode, the internal water tank may fill up. The unit will stop operating and display an indicator when the tank is full.
- Skakel die eenheid af en koppel dit uit.
- Plaas 'n vlak pan of houer onder die dreineringsuitlaat (gewoonlik onderaan die agterkant van die eenheid).
- Verwyder die dreinprop sodat die water kan uitvloei.
- Once drained, replace the drain plug firmly.
- For continuous drainage in dehumidification mode, connect a suitable drain hose (not included) to the continuous drainage outlet.
7. Probleemoplossing
Voordat u kliëntediens kontak, verwys asseblief na die volgende algemene probleme en hul oplossings.
| Probleem | Moontlike oorsaak | Oplossing |
|---|---|---|
| Eenheid skakel nie aan nie. | Geen krag, kragkoord los, stroombreker het afgeskakel. | Check power connection, ensure outlet is working, reset circuit breaker. |
| Unit is running but not cooling/heating. | Exhaust hose blocked/disconnected, room too large, windows/doors open, air filter dirty, temperature setting too high/low. | Ensure exhaust hose is properly installed and unblocked. Close windows/doors. Clean air filter. Adjust temperature setting. |
| Eenheid is raserig. | Unit not on a flat surface, fan speed too high, internal components loose. | Place unit on a flat surface. Reduce fan speed. If noise persists, contact support. |
| Water lekkasie. | Drain plug loose, continuous drainage hose not properly connected, unit tilted. | Ensure drain plug is secure. Check continuous drainage hose connection. Place unit on a level surface. |
| "Full Tank" indicator (or similar) is on. | Die interne watertenk is vol. | Drain the water tank as described in Section 6.2. |
If the problem persists after trying these solutions, please contact ARGO customer support.
8. Spesifikasies
| Modelnommer | IRO PLUS |
| Handelsmerk | ARGO |
| Produkafmetings (H x B x D) | 77 x 47 x 38 cm |
| Item gewig | 31.5 kg |
| Vormfaktor | Draagbaar |
| Verkoelingskapasiteit | 13000 XNUMX BTU/h |
| Voltage | 216.67 V |
| Energiebron | Elektries met koord |
| Energiedoeltreffendheidgradering | A |
| Spesiale kenmerke | Automatic shutdown, Cooling, Dehumidification, Fan, Heating, Air filter |
| Eerste Beskikbare Datum | 15 Januarie 2020 |
9. Waarborg en Ondersteuning
9.1 Waarborginligting
The ARGO Iro Plus portable air conditioner comes with a 2-jaar verskafferwaarborg vanaf die aankoopdatum. Hierdie waarborg dek defekte in materiaal en vakmanskap onder normale gebruik. Bewaar asseblief u bewys van aankoop vir waarborgeise.
Die waarborg dek nie skade wat voortspruit uit:
- Improper installation or use not in accordance with this manual.
- Accidents, abuse, neglect, fire, water, lightning, or other acts of nature.
- Ongemagtigde herstelwerk of wysigings.
- Normale slytasie.
9.2 Kliëntediens
For technical assistance, troubleshooting beyond this manual, or warranty claims, please contact ARGO customer support through their official website or the retailer where you purchased the product. Have your model number (IRO PLUS) and purchase date ready.
Ask a question about this manual
Ask about setup, troubleshooting, compatibility, parts, safety, or missing instructions. Manuals+ will review the question and use this page’s manual context to help answer it.