Inleiding
This manual provides detailed instructions for the proper setup, operation, and maintenance of your Timex TW4B17400 Analog-Digital Watch. Please read this manual thoroughly to ensure optimal performance and longevity of your timepiece. Keep this manual for future reference.
Produk verbyview
The Timex TW4B17400 is a men's analog-digital watch featuring a black dial and a brown leather strap. It combines traditional analog timekeeping with digital functionalities.
Sleutel kenmerke:
- Analoog en Digitale Tydvertoning
- Durable Leather Strap
- Indiglo Naglig
- Chronograph Functionality
- Alarm funksie
Horlosiekomponente:
Maak jouself vertroud met die hoofkomponente van jou horlosie:

Beeld: Sykant view of the Timex TW4B17400 watch. This image displays the watch case from the side, highlighting the crown (center knob) and two pushers (buttons) on either side of the crown, used for adjusting time and accessing digital functions. The brown leather strap is also visible.
- Kroon: Gebruik vir die instelling van analoog tyd.
- Drukkers (Knoppies): Used for operating digital functions such as setting digital time, date, alarm, and chronograph.
- Skakel: Displays analog time and includes a digital display window.
- Band: Brown leather strap with a buckle closure.
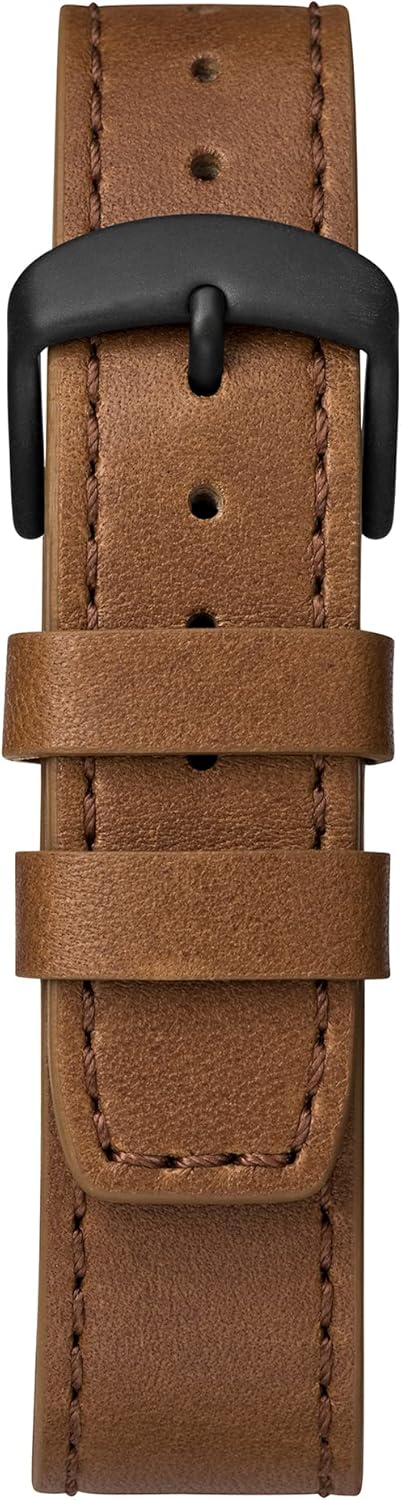
Image: Close-up of the brown leather strap and black buckle of the Timex TW4B17400 watch. The detailed stitching on the leather and the two strap loops are clearly visible.
Opstelling
Battery Installation (If Required):
Your watch comes with a CR2 battery installed. If the watch is not functioning, the battery may need to be replaced. It is recommended to have battery replacement performed by a qualified watch technician to ensure proper sealing and water resistance.
Instelling van Analoog Tyd:
- Pull the crown (center knob) out to the furthest position.
- Turn the crown clockwise or counter-clockwise to move the hour and minute hands to the correct time.
- Sodra die tyd ingestel is, druk die kroon terug in sy oorspronklike posisie om die horlosie se beweging te begin.
Stel digitale tyd en datum in:
The digital functions are typically controlled by the pushers. Refer to the specific instructions below for common digital settings. The exact sequence may vary slightly; consult the full Timex manual for your movement if detailed steps are needed.
- Press the MODE button (usually one of the side pushers) repeatedly until the digital display shows the time setting mode (often indicated by flashing digits).
- Use the SET/ADJUST button (another pusher) to select the digit you wish to change (e.g., hours, minutes, 12/24-hour format).
- Use the START/STOP button (another pusher) to increase the value of the flashing digit.
- Repeat steps 2 and 3 for minutes, year, month, and day.
- Sodra alle instellings korrek is, druk die MODE-knoppie om die instellingsmodus te verlaat.
Bedryf
Reading Analog Time:
The hour and minute hands indicate the current time in a traditional format.
Using Digital Functions:
- Modusknoppie: Cycles through different digital modes (Time, Date, Alarm, Chronograph, Timer).
- Set/Adjust Button: Used to select items for adjustment within a mode.
- Start/Stop -knoppie: Used to start/stop functions (e.g., chronograph) or increment values during setting.
Indiglo Naglig:
To illuminate the watch face in low-light conditions, press and hold the crown or a designated pusher (refer to your watch's specific button layout). The Indiglo feature will light up the dial for a few seconds.
Alarm funksie:
- Press the MODE button until the alarm mode is displayed.
- Use the SET/ADJUST button to select the hour or minute to set.
- Use the START/STOP button to change the alarm time.
- Press the MODE button to confirm and exit.
- To activate/deactivate the alarm, typically press a specific pusher while in alarm mode.
Chronograaf (Stophorlosie):
- Press the MODE button until the chronograph mode is displayed (usually shows 00:00:00).
- Press the START/STOP button to start timing.
- Press the START/STOP button again to stop timing.
- Press the RESET button (often the same as SET/ADJUST) to clear the chronograph to zero.
Onderhoud
Maak jou horlosie skoon:
Vee die horlosiekas en glas af met 'n sagte, damp cloth. For the leather strap, use a dry, soft cloth. Avoid using harsh chemicals or abrasive materials, as these can damage the watch's finish or strap.
Waterweerstand:
While your watch may be water-resistant, it is not waterproof. Avoid prolonged exposure to water, such as swimming or showering, unless the specific water resistance rating (e.g., 50m, 100m) is clearly indicated on the watch and suitable for such activities. Always ensure the crown is pushed in completely to maintain water resistance.
Leather Strap Care:
Leerbande kan deur vog, sweet en direkte sonlig beïnvloed word. Om die lewensduur van jou leerband te verleng:
- Vermy langdurige blootstelling aan water.
- Maak skoon met 'n droë, sagte lap.
- Allow the strap to air dry if it gets wet; do not use direct heat.
- Avoid contact with cosmetics, oils, and perfumes.
Probleemoplossing
Watch Not Running / Digital Display Blank:
- Kontroleer of die kroon volledig ingedruk is.
- The battery may need replacement. Consult a professional watch technician.
Verkeerde tydvertoning:
- Refer to the "Setting Analog Time" and "Setting Digital Time and Date" sections to reset the time.
- Ensure the watch has not been exposed to strong magnetic fields, which can affect accuracy.
Indiglo Werk Nie:
- Maak seker dat die battery genoeg krag het.
- Confirm you are pressing the correct button for Indiglo activation.
Spesifikasies
| Kenmerk | Detail |
|---|---|
| Handelsmerk | Timex |
| Modelnommer | TW4B17400 |
| Departement | Mans |
| Materiaal | Leather (Strap) |
| Produk afmetings | 3.99 x 10.01 x 5.99 cm |
| Item gewig | 66.3 gram |
| Battery Tipe | 1 CR2 (Included) |
| Eerste Beskikbare Datum | 26 Augustus 2019 |
| ASIN | B07PJCC2TK |
Waarborg en Ondersteuning
Vir waarborginligting en kliëntediens, verwys asseblief na die amptelike Timex-webwerf webwebwerf of die waarborgkaart wat by u aankoop ingesluit is. Bewaar u bewys van aankoop vir enige waarborgeise.
For further assistance, you may visit the official Timex support page: Timex-ondersteuning