Inleiding
Dankie vir die aankoopasing the Magic Chef MCSTCW30W4 3.0 Cubic Foot Compact Washer. This manual provides essential information for the safe installation, operation, and maintenance of your new appliance. Please read it thoroughly before use and retain it for future reference.
This compact top-load washer is designed for small spaces, offering convenience with its electronic controls, LED display, and multiple wash cycles. Its stainless steel inner tub ensures durability.
Belangrike veiligheidsinligting
Volg altyd basiese veiligheidsmaatreëls wanneer u elektriese toestelle gebruik om die risiko van brand, elektriese skok of besering te verminder.
- Lees alle instruksies voordat u die toestel gebruik.
- Moenie artikels was wat voorheen skoongemaak, gewas, geweek of bevlek is met petrol, droogskoonmaakoplosmiddels of ander vlambare of plofbare stowwe nie, aangesien dit dampe afgee wat kan ontbrand of ontplof.
- Moenie toelaat dat kinders op of in die toestel speel nie. Noukeurige toesig oor kinders is nodig wanneer die toestel naby kinders gebruik word.
- Voordat die toestel uit diens geneem word of weggegooi word, verwyder die deur na die waskompartement.
- Moenie in die toestel steek as die bad of roerder beweeg nie.
- Moenie hierdie toestel installeer of berg waar dit aan die weer of vries temperature blootgestel sal word nie.
- Moenie tampmet kontroles.
- Moenie enige deel van die toestel herstel of vervang of enige diens probeer doen nie, tensy dit spesifiek aanbeveel word in die gebruikersinstandhoudingsinstruksies of in gepubliseerde gebruikersherstelinstruksies wat jy verstaan en die vaardighede het om uit te voer.
- Ontkoppel altyd die toestel van die kragtoevoer voordat u skoonmaak of enige onderhoud uitvoer.
Opstelling en installasie
1. Uitpak
Carefully remove all packaging materials. Ensure all components are present: washer unit, bottom cover, screw, quick connect adapter, water intake cap, and two water supply hoses.
2. Liggingvereistes
Place the washer on a firm, level surface. Ensure there is adequate space around the unit for ventilation and connections. Avoid direct sunlight or extreme temperatures.
3. Installing the Bottom Cover
Attach the bottom cover to the base of the washer using the provided screw. This helps reduce noise and protects internal components.
4. Connecting Water Hoses
Connect the two water supply hoses to the hot and cold water inlets on the back of the washer. Connect the other ends to your household hot and cold water faucets. Use the quick connect adapter for sink faucet connections if needed. Ensure all connections are tight to prevent leaks.
5. Dreineer slang opstel
Position the drain hose into a utility sink or standpipe. Ensure the hose is securely fastened to prevent it from dislodging during the drain cycle, which could cause flooding.
6. Maak die wasser gelyk
Adjust the leveling feet at the bottom of the washer until the unit is stable and level. An unlevel washer can cause excessive vibration and noise during operation.
7. Kragverbinding
Steek die kragkabel in 'n geaarde elektriese aansluiting. Moenie verlengkoorde gebruik nie.

Image: Washer dimensions. This image illustrates the overall dimensions of the compact washer, including height, width, and depth, which are important for placement and installation.
Bedryfsinstruksies
1. Beheerpaneel verbyview

Image: Control Panel. This image shows a detailed view of the washer's control panel, highlighting the LED display, cycle selection buttons, water level, and temperature controls.
The control panel features an LED display, buttons for selecting wash cycles, water levels, temperature settings, and a delay start function. The 'ON/OFF' button powers the unit, and 'START/PAUSE' controls the cycle progression.
2. Laai Wasgoed
Open the soft-close lid. Load clothes loosely into the stainless steel inner tub. Do not overload the washer, as this can affect cleaning performance and cause excessive wear. For best results, distribute items evenly.
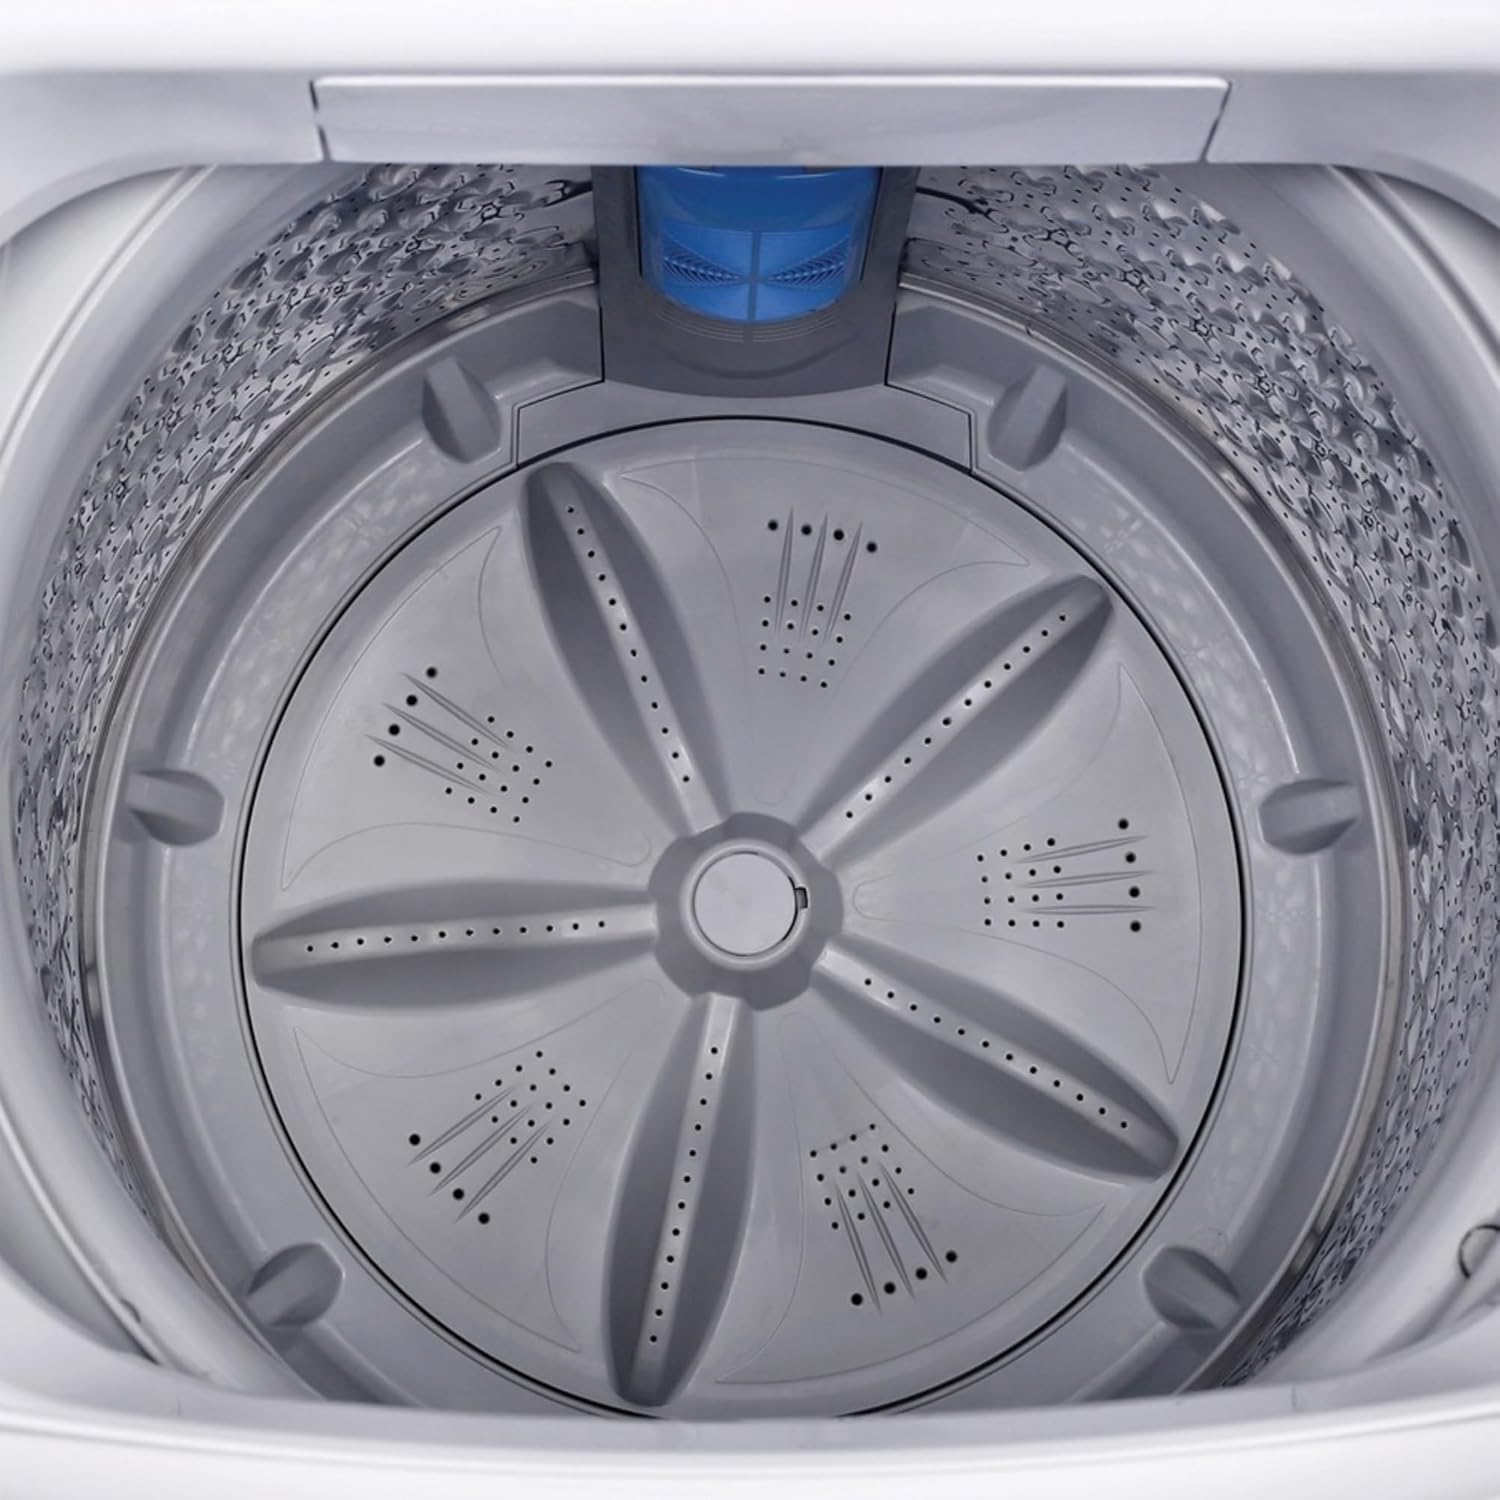
Image: Washer Tub Interior. This image provides a clear view inside the washer's stainless steel tub, showing the agitator and the textured surface designed for effective cleaning.
3. Voeg skoonmaakmiddel by
Add the appropriate amount of detergent to the detergent dispenser. Refer to your detergent's instructions for recommended quantities based on load size and soil level.
4. Selecting Wash Cycles
Choose from 6 fully automatic wash cycles using the cycle selection buttons on the control panel. Common cycles include Normal, Delicates, Heavy Duty, Quick Wash, and Rinse. Select the cycle that best suits your laundry type.
5. Adjusting Water Level and Temperature
Select one of the 3 available water level settings based on your load size. Choose from 3 temperature controls (Hot, Warm, Cold) according to fabric care instructions.
6. Using Delay Start
The delay start function allows you to set a time for the wash cycle to begin automatically. Press the 'Delay Start' button and adjust the desired delay time before pressing 'START/PAUSE'.
7. Begin van 'n siklus
After loading laundry, adding detergent, and selecting your desired settings, press the 'START/PAUSE' button to begin the wash cycle. The washer will automatically shut off after the cycle ends.
Onderhoud
1. Cleaning the Water Pump Filter
Regularly clean the water pump filter to capture and collect debris, ensuring efficient operation and preventing drainage issues. Refer to the diagram in your full manual for the exact location and removal instructions.
2. Cleaning the Washer Exterior
Vee die buite-oppervlaktes af met 'n sagte, damp lap. Vermy skuurmiddels of oplosmiddels wat die afwerking kan beskadig.
3. Cleaning the Inner Tub
Periodically run a cleaning cycle with a washing machine cleaner or a mixture of vinegar and baking soda to remove detergent residue and odors from the stainless steel tub.
4. Winterizing (for infrequent use in cold environments)
If the washer will not be used for an extended period in an area subject to freezing temperatures, drain all water from the hoses and pump to prevent damage. Consult a qualified technician if unsure.
Probleemoplossing
Voordat u diens kontak, hersienview die volgende algemene probleme en oplossings:
- Wasmasjien begin nie: Ensure the power cord is securely plugged in, the lid is closed, and the 'START/PAUSE' button has been pressed. Check if a circuit breaker has tripped.
- Oormatige geraas of vibrasie: Verify the washer is level. Ensure the load is balanced inside the tub. Remove any shipping bolts or packing materials if recently installed.
- Clothes are still wet after spin cycle: An unbalanced load can prevent proper spinning. Redistribute clothes and restart the spin cycle. Ensure the drain hose is not kinked or blocked, and the water pump filter is clean.
- Waterlekkasies: Check all hose connections for tightness. Ensure the drain hose is properly secured in the standpipe or sink.
- Unusual odor (e.g., burning rubber): This can sometimes occur with new appliances during initial use. If the smell persists or is accompanied by smoke, immediately unplug the unit and contact customer support. Ensure the washer is not overloaded.
- Water dreineer nie: Check the drain hose for kinks or blockages. Clean the water pump filter.
For issues not resolved by these steps, please refer to the support section.
Produkspesifikasies
| Handelsnaam | Magiese Sjef |
| Model inligting | MCSTCW30W4 |
| Item gewig | 99.2 pond |
| Produk afmetings | 24.8 x 23.7 x 39.4 duim (D x B x H) |
| Kapasiteit | 3 kubieke voet |
| Installasie tipe | Skroef in |
| Spesiale kenmerk | Vertraag Begin |
| Kleur | Wit |
| Beheerkonsole | Knop |
| Standaard siklusse | 6 |
| Toegang tot ligging | Toplading |
| Materiaal tipe | Vlekvrye staal |
| Ingesluit komponente | Dispenser, Drain Hose, Bottom Cover, Screw, Quick Connect Adapter, Water Intake Cap, 2 Water Supply Hoses |
| Datum Eerste Beskikbaar | 30 Januarie 2019 |
Waarborg en kliëntediens
For warranty information, please refer to the warranty card included with your product or visit the official Magic Chef website. If you require technical assistance, replacement parts, or have questions regarding your appliance, please contact Magic Chef customer support.
Keep your purchase receipt and model number (MCSTCW30W4) readily available when contacting support.