
1. Inleiding
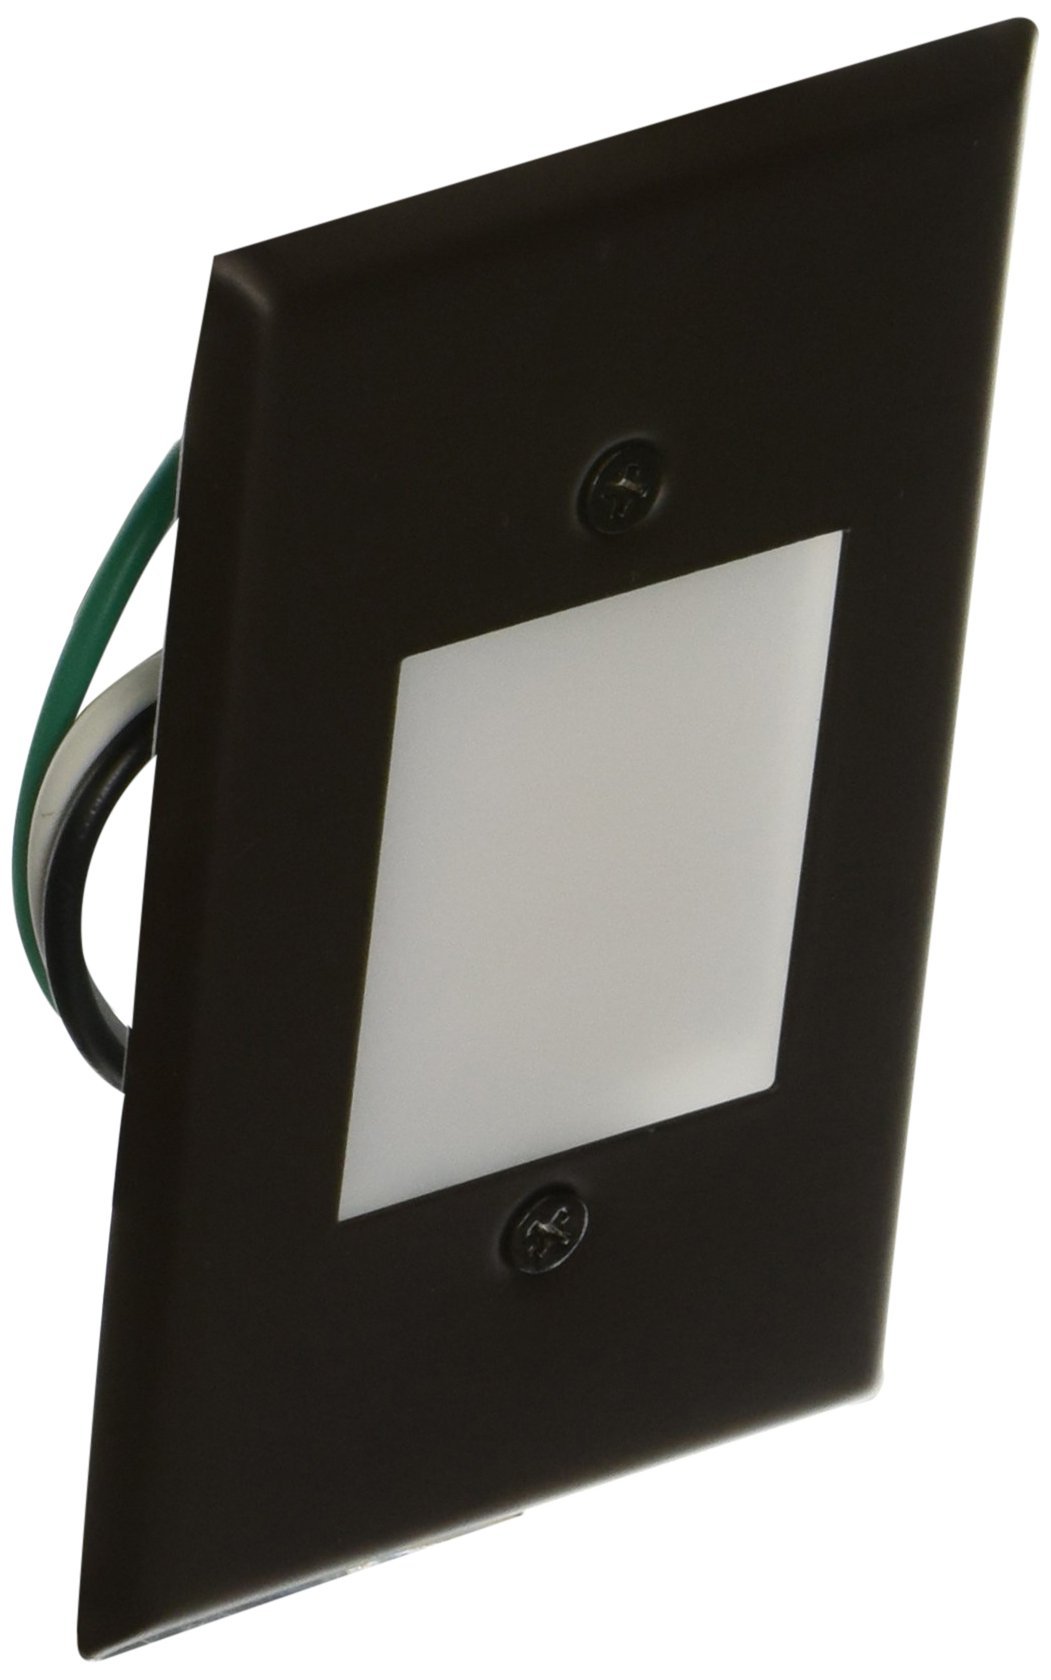
This manual provides detailed instructions for the installation, operation, and maintenance of your ELCO Lighting ELST66BZ 120V LED Mini Step Light. This product is designed to provide efficient and reliable illumination for steps, pathways, and other outdoor areas. Please read this manual thoroughly before installation and retain it for future reference.
2. Veiligheidsinligting
To ensure safe installation and operation, please observe the following precautions:
- WAARSKUWING: Risiko van elektriese skok. Ontkoppel krag by die lont of stroombreker voor installering of diens.
- Alle elektriese verbindings moet in ooreenstemming wees met plaaslike kodes, verordeninge of die Nasionale Elektriese Kode (NEC). Raadpleeg 'n gekwalifiseerde elektrisiën as u nie vertroud is met behoorlike elektriese bedradingsverbindings nie.
- This product is intended for outdoor use and is UL listed for wet locations.
- Moenie naby brandbare materiale installeer nie.
- Ensure the fixture is securely mounted to a standard single-gang receptacle box.
- Do not attempt to modify the fixture or its components.
3. Pakketinhoud
Verifieer dat alle komponente teenwoordig is voordat u met die installasie begin:
- ELCO Lighting ELST66BZ LED Mini Step Light Fixture (1)
- Monteringshardeware (skroewe, draadmoere)
- Installeerbeugel
4. Spesifikasies
| Kenmerk | Spesifikasie |
|---|---|
| Modelnommer | ELST66BZ |
| Invoer Voltage | 120 V |
| Kragverbruik | 0.8 W |
| Ligbron | Geïntegreerde LED |
| Kleur temperatuur | 3000K (Warm Wit) |
| Kleurweergawe-indeks (CRI) | 90+ |
| Lens materiaal | Smooth White Acrylic |
| Frontplaat Afmetings | 4 1/2" W x 2 3/4" H |
| Montering | Horizontal or Vertical, Single-Gang Box |
| Behuisingsmateriaal | Gegalvaniseerde Stamped Staal |
| Voltooi | Black (Powder-Coated) |
| Lewensduur | 35,000 70 uur (LXNUMX) |
| Sertifiserings | UL Listed for Wet Locations |
5. Installasie-instruksies
Follow these steps to install your ELCO Lighting ELST66BZ LED Mini Step Light:
- Berei voor vir installasie:
- Skakel die krag by die stroombreker of sekeringkas af om elektriese skok te voorkom.
- Ensure the mounting location is a standard single-gang receptacle box.
- Monteer die beugel:
- Attach the provided installation bracket to the single-gang box using the screws.
- Maak elektriese verbindings:
- Connect the black wire from the fixture to the black (hot) wire from the electrical box.
- Connect the white wire from the fixture to the white (neutral) wire from the electrical box.
- Connect the green (ground) wire from the fixture to the bare copper or green ground wire from the electrical box.
- Secure all connections with wire nuts and ensure they are tight. Carefully tuck wires into the electrical box.
- Installeer die toebehore:
- Align the step light fixture with the mounting bracket.
- Secure the fixture to the bracket using the provided screws. Ensure the faceplate sits flush against the mounting surface.
- Herstel krag:
- Skakel die krag weer aan by die stroombreker of sekeringboks.
- Toets die lig om behoorlike werking te verseker.
6. Operasie
The ELCO Lighting ELST66BZ LED Mini Step Light operates directly from a 120V power supply. Once properly installed and connected to a switched power source, the light will illuminate when the switch is activated. The integrated LED provides a warm white light (3000K) with high color accuracy (90+ CRI), designed for consistent and long-lasting performance.
7. Onderhoud
The ELCO Lighting ELST66BZ LED Mini Step Light requires minimal maintenance:
- Skoonmaak: Vee die toebehore gereeld af met 'n sagte, damp cloth to remove dust and debris. Do not use abrasive cleaners or solvents, as these may damage the finish or lens.
- LED-langslewendheid: The integrated LED is designed for a long lifespan (35,000 hours L70) and does not require bulb replacement.
- Inspeksie: Occasionally inspect the fixture for any signs of damage or loose connections. If any issues are found, disconnect power and address them promptly.
8. Probleemoplossing
If your ELCO Lighting ELST66BZ LED Mini Step Light is not functioning as expected, refer to the following table:
| Probleem | Moontlike oorsaak | Oplossing |
|---|---|---|
| Lig gaan nie aan nie | Geen krag na die toebehore nie | Kontroleer die stroombreker of sekering. Maak seker dat die muurskakelaar AAN is. |
| Los of verkeerde bedrading | Turn off power. Verify all wire connections are secure and correct according to Section 5. | |
| Ligte flikkerings | Los bedrading konneksie | Turn off power. Check and tighten all wire connections. |
| Onversoenbare dimmerskakelaar (indien van toepassing) | This fixture is not designed for use with dimmer switches. Ensure it is connected to a standard ON/OFF switch. | |
| Verminderde liguitset | Dirt or debris on lens | Maak die lens skoon met 'n sagte, damp lap. |
If the problem persists after attempting these solutions, contact ELCO Lighting customer support.
9. Waarborg en Ondersteuning
ELCO Lighting products are manufactured to high standards and are backed by a limited warranty. For specific warranty details, please refer to the warranty information provided with your purchase or visit the official ELCO Lighting website. For technical assistance, replacement parts, or any other inquiries, please contact ELCO Lighting customer support through their official channels.
ELCO Lighting Contact Information:
Please refer to the ELCO Lighting official webwebwerf of produkverpakking vir die mees onlangse kontakbesonderhede.