1. Inleiding
Thank you for choosing the Petlibro Automatic Pet Feeder. This device is designed to provide consistent and timely meals for your pet, ensuring they are fed according to a set schedule, even when you are away. Please read this manual thoroughly before use to ensure proper operation and maintenance of your feeder.
2. Belangrike veiligheidsinligting
Neem asseblief die volgende veiligheidsmaatreëls in ag om beserings of skade aan die produk te voorkom:
- Read all instructions carefully before operating the feeder.
- Keep the feeder away from children and pets when not in use or during assembly.
- Moenie die hoofeenheid in water of ander vloeistowwe dompel nie.
- Use only dry pet food with a diameter between 5-15mm. Do not use wet, canned, or moist food.
- Maak seker dat die voerder op 'n stabiele, gelyk oppervlak geplaas word.
- Ontkoppel die voerder voordat u skoonmaak of enige onderhoud uitvoer.
- Do not attempt to repair or modify the feeder yourself. Contact customer support for assistance.
- Gooi batterye verantwoordelik weg volgens plaaslike regulasies.
3. Pakketinhoud
Kontroleer asseblief die inhoud van die pakket om seker te maak dat alle items teenwoordig is:
- Petlibro Automatic Pet Feeder Main Unit
- Kosbak
- USB-C Power Adapter and Cable
- Droogmiddelsak (vooraf geïnstalleer of apart)
- Gebruikershandleiding
4. Produk verbyview
Familiarize yourself with the different parts of your Petlibro Automatic Pet Feeder:
- Food Tank: Stores dry pet food.
- Deksel: Covers the food tank to keep food fresh.
- Beheerpaneel: Buttons and display for setting schedules and manual feeding.
- Voedseluitlaat: Where food dispenses into the bowl.
- Kosbak: Detachable bowl for your pet to eat from.
- Kragpoort (USB-C): Koppel aan die kragadapter.
- Battery kompartement: Holds backup batteries (not included).
5. Opstelling
Follow these steps to set up your Petlibro Automatic Pet Feeder:
5.1 Vergadering
- Pak uit: Verwyder alle komponente versigtig uit die verpakking.
- Installeer die kosbak: Place the food bowl securely at the base of the feeder.
- Install Food Tank: Align the food tank with the base and twist to lock it into place.
- Voeg droogmiddelsakkie in: If not pre-installed, open the desiccant compartment (usually under the lid) and insert the desiccant bag to keep food fresh. Replace every 15-30 days.

Image: Step-by-step assembly guide for the Petlibro Automatic Pet Feeder. It shows how to twist open the lid, take out the food bowl, put the desiccant bag into its compartment, install the food tank, put the lid back on, and finally install the food bowl.
5.2 Kragtoevoer
The feeder can be powered by a USB-C adapter or backup batteries.
- Primêre krag: Connect the USB-C power adapter to the feeder's power port and plug it into a wall outlet.
- Battery-rugsteun (opsioneel): Vir krag outages, install 3 D-cell batteries (not included) into the battery compartment at the bottom of the feeder. This ensures continuous operation.
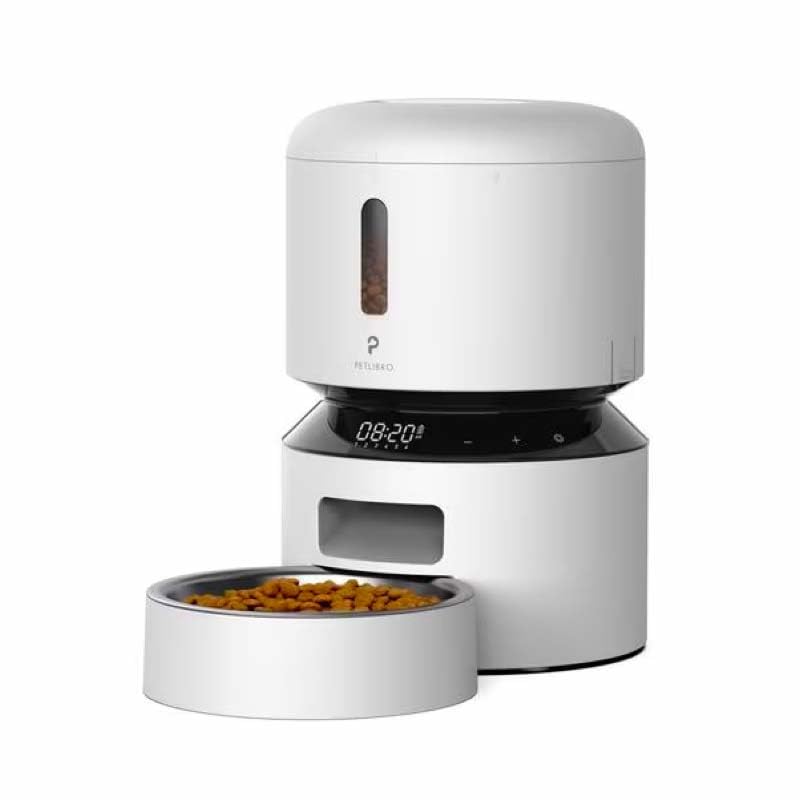
Image: Diagram illustrating the dual power supply system of the Petlibro Automatic Pet Feeder. It shows the USB-C adapter connected for primary power and the battery compartment for backup power. A note indicates that batteries are not included.
6. Bedryfsinstruksies
Once assembled and powered, you can begin programming your feeder.
6.1 Vul die voedseltenk
- Maak die deksel van die voedseltenk oop.
- Pour dry pet food into the tank. Ensure the food is within the recommended size (5-15mm diameter).
- Close the lid securely to maintain freshness.
6.2 Setting Meal Schedules and Portions
The feeder allows you to schedule up to 6 meals per day, with 1 to 50 portions per meal.

Image: A cat eating from the Petlibro Automatic Pet Feeder, illustrating the feeder's function. Text overlays indicate "Portion: 1-50" and "Meals: 1-6", highlighting the customizable feeding schedule.
- Stel huidige tyd: Use the control panel buttons (e.g., "SET", "UP", "DOWN") to set the current time.
- Program Meal Times: Press the "MEAL" button to enter meal programming mode. Select the desired meal number (e.g., Meal 1) and set the feeding time.
- Set Portions: For each programmed meal, set the number of portions (1-50) using the "PORTION" or "UP/DOWN" buttons.
- Repeat for all meals: Program up to 6 meals as needed.
- Stoor instellings: Ensure all settings are saved according to the feeder's specific interface (usually by pressing "SET" or waiting for auto-save).
6.3 Handvoeding
To dispense food instantly, press the manual feed button (often labeled "FEED" or a paw icon) on the control panel. Each press typically dispenses one portion.
7. Onderhoud en Skoonmaak
Gereelde skoonmaak verseker higiëne en verleng die lewensduur van jou voerder.
- Ontkoppel: Always unplug the feeder from the power outlet before cleaning.
- Demonteer: Remove the food bowl and food tank.
- Maak komponente skoon: Wash the food bowl and food tank with mild soap and water. Rinse thoroughly and dry completely before reassembling.
- Vee hoofeenheid af: Vee die hoofeenheid af met 'n sagte, damp lap. Moenie die hoofeenheid in water dompel nie.
- Replace Desiccant: Replace the desiccant bag every 15-30 days to maintain food freshness.
- Hermonteer: Ensure all parts are dry before reassembling the feeder.
8. Probleemoplossing
If you encounter issues with your feeder, refer to the following common problems and solutions:
| Probleem | Moontlike oorsaak | Oplossing |
|---|---|---|
| Voerder skakel nie aan nie. | No power connection; batteries depleted or incorrectly installed. | Check power adapter connection; replace batteries or ensure correct polarity. |
| Kos word nie uitgedeel nie. | Food tank empty; food jammed; dispenser blocked; incorrect schedule settings. | Refill food tank; clear any food jams; check dispenser for blockages; verify meal schedule and portion settings. |
| Food dispenses too much/too little. | Incorrect portion settings. | Adjust portion settings for each meal. |
| Vertoning werk nie. | Kragprobleem; skermwanfunksie. | Kontroleer die kragtoevoer; indien die probleem voortduur, kontak kliëntediens. |
9. Spesifikasies
| Kenmerk | Detail |
|---|---|
| Produk Naam | Petlibro Automatic Pet Feeder |
| Model | 3L outomatiese troeteldiervoer |
| Kapasiteit | 3 liter |
| Materiaal | Food-grade ABS plastic |
| Kragtoevoer | USB-C adapter (5V/1A); 3 x D-cell batteries (backup, not included) |
| Etes per dag | Up to 6 meals |
| Porsies per maaltyd | 1-50 portions (approx. 5-10g per portion, depending on food density) |
| Recommended Food Size | 5-15mm dry kibble |
| Kleur | Wit |
10. Waarborg en Ondersteuning
Your Petlibro Automatic Pet Feeder comes with a standard manufacturer's warranty. For detailed warranty information, please refer to the warranty card included in your package or visit the official Petlibro webwebwerf.
If you have any questions, require technical support, or need assistance with your product, please contact Petlibro customer service. Contact details can typically be found on the product packaging, the official website, or by searching for "Petlibro customer support" online.