1. Inleiding
This manual provides essential information for the safe and effective use of your eSUN PLA PRO (PLA+) 3D Printer Filament. Please read these instructions carefully before use to ensure optimal printing results and product longevity.
2. Produk verbyview
The eSUN PLA PRO (PLA+) filament is an enhanced Polylactic Acid material designed for 3D printing. It offers improved strength, rigidity, and surface finish compared to standard PLA. This filament is vacuum-sealed with desiccant to maintain optimal quality and prevent moisture absorption.
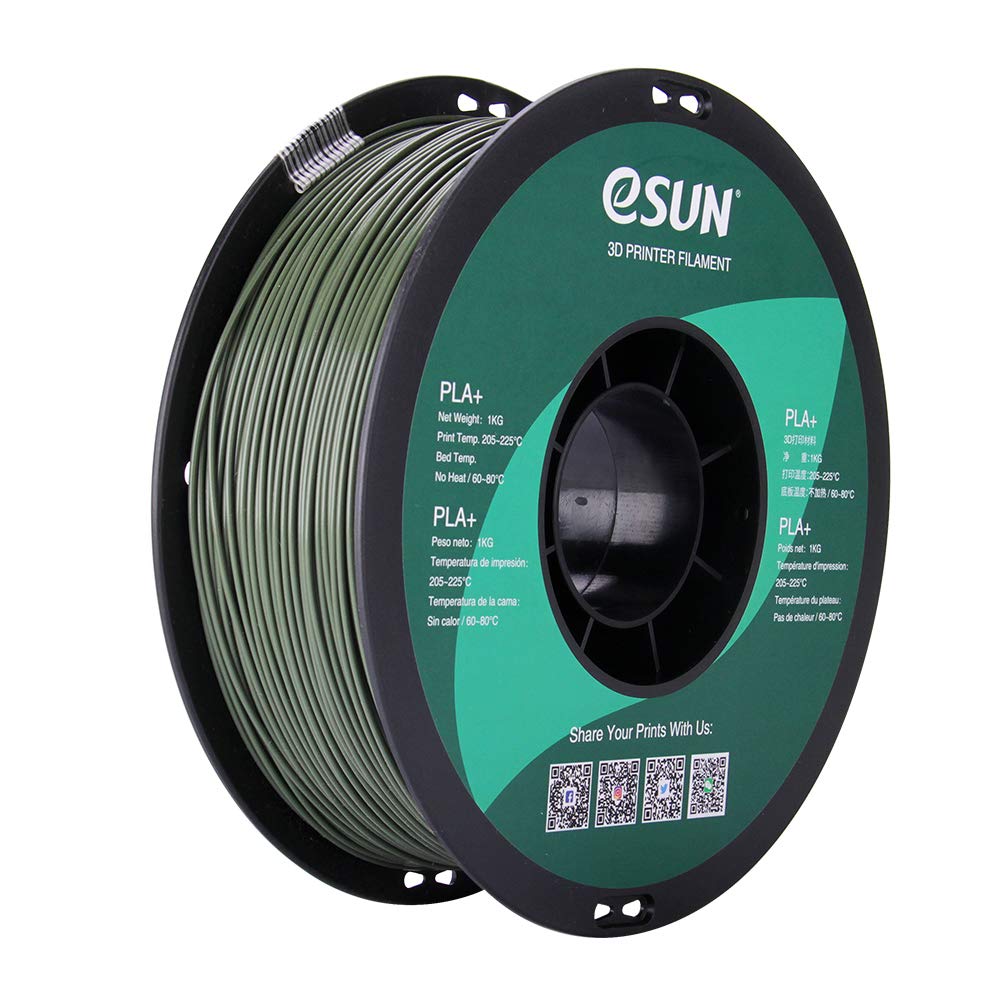
Image: A spool of eSUN PLA PRO (PLA+) 1.75mm Olive Green 3D printer filament. The spool is black with a green label indicating product details and QR codes for social media links.
Sleutel kenmerke sluit in:
- Enhanced Strength: Several times tougher than standard PLA, reducing cracking and brittleness.
- High Rigidity: Provides structural integrity for printed objects.
- Good Glossiness: Achieves a smoother, more aesthetically pleasing-afwerking.
- Excellent Layer Bonding: Ensures strong adhesion between printed layers.
- Dimensionele akkuraatheid: Consistent 1.75mm diameter with a tolerance of +/- 0.03mm.
3. Tegniese spesifikasies
| Eiendom | Waarde |
|---|---|
| Materiaal | Polylactic Acid (PLA PRO / PLA+) |
| Kleur | Olyfgroen |
| Filament deursnee | 1.75 mm |
| Dimensionele akkuraatheid | +/- 0.03 mm |
| Netto gewig | 1 KG (approximately 2.2 lbs) |
| Spoelmateriaal | Plastiek |
| Spool Diameter | 8 duim |
| Spool Width | 2.50 duim |
| Spool Hub Hole Diameter | 2.05 duim |
| Inner Circle Diameter | 3.5 duim |
4. Opstelling en Laai
Before loading the filament into your 3D printer, ensure your printer is clean and free of any previous filament residue.
- Unpack Filament: Carefully remove the eSUN PLA PRO (PLA+) spool from its vacuum-sealed packaging. Keep the desiccant packet with the filament for storage.
- Prepare Printer: Heat your printer's hot end to the recommended temperature range (see Operating Instructions).
- Load Spool: Place the filament spool onto your printer's spool holder, ensuring it can unroll smoothly without tangling.
- Voerfilament: Gently feed the filament into the extruder mechanism according to your 3D printer's specific loading procedure. Ensure it passes through the hot end and extrudes cleanly.

Image: A spool of eSUN PLA PRO (PLA+) filament, still partially in its packaging, showing the product label and specifications.
5. Bedryfsinstruksies
Optimal printing results depend on proper temperature settings and printer calibration.
Aanbevole drukparameters
- Extrusion/Nozzle Temperature: 205°C - 225°C. (Note: PLA PRO (PLA+) typically requires temperatures about 20°C higher than standard PLA. Many users find 210°C - 215°C to be ideal.)
- Bed Temperature: 60°C - 80°C (No heat required for some printers, but a heated bed is generally recommended for better adhesion).
- Drukspoed: Adjust according to your printer's capabilities and desired print quality. Start with moderate speeds and adjust as needed.
- Koelwaaier: Use a cooling fan after the first few layers to improve print quality and reduce stringing.
Wenke vir die beste resultate:
- First Layer Adhesion: Ensure proper bed leveling and a clean print surface. Adhesives like glue stick or painter's tape can improve adhesion.
- Retraction Settings: Calibrate retraction settings to minimize stringing and oozing.
- Vloeitempo: Adjust flow rate if you observe over-extrusion or under-extrusion.
Image: A spool of eSUN PLA PRO (PLA+) filament next to its product box, illustrating the complete product packaging.
6. Onderhoud en berging
Proper storage of your eSUN PLA PRO (PLA+) filament is crucial for maintaining its quality and preventing moisture absorption.
- Berging: Store unused filament in a cool, dry place, ideally in its original vacuum-sealed bag with the desiccant packet. If the original bag is unavailable, use an airtight container.
- Vogbeheer: If filament absorbs moisture, it may lead to poor print quality (e.g., bubbles, stringing, weak layers). Consider using a filament dryer or baking the filament at a low temperature (e.g., 45-50°C for 4-6 hours) to remove moisture.
- Spuitkop skoonmaak: Regularly clean your printer's nozzle to prevent clogs and ensure consistent extrusion.
7. Probleemoplossing Algemene kwessies
| Kwessie | Moontlike oorsaak | Oplossing |
|---|---|---|
| Swak eerste laag adhesie | Unlevel bed, dirty print surface, incorrect bed temperature | Level the print bed, clean the surface with isopropyl alcohol, adjust bed temperature within 60-80°C. |
| Snaarvorming/Oozing | Incorrect retraction settings, high nozzle temperature, wet filament | Adjust retraction distance and speed, lower nozzle temperature (within range), dry the filament. |
| Verstopping | Filament debris, heat creep, incorrect temperature | Clean the nozzle, ensure proper cooling of the hot end, verify correct printing temperature. |
| Weak Layers/Poor Adhesion | Low nozzle temperature, high print speed, wet filament | Increase nozzle temperature (within range), reduce print speed, dry the filament. |
8. Veiligheidsinligting
- Always operate your 3D printer in a well-ventilated area.
- Keep filament away from open flames and direct heat sources.
- Do not touch the hot end or heated bed during operation to avoid burns.
- Hou buite bereik van kinders en troeteldiere.
9. Waarborg en Ondersteuning
For product support, technical assistance, or warranty inquiries, please contact eSUN directly through their official channels.
Visit eSUN's official webwebwerf vir meer inligting: www.esun3d.com
Connect with eSUN on social media:
- Instagram: @esun3dfilament
- Facebook: Esunparadise
- Twitter: @esun3dfilament
10. Verwante produkvideo's
3D Printing Inspiration - Guitar Strap Locks
Video demonstrating the use of 3D printed strap locks for a guitar, showcasing a practical application of 3D printer filament. This video is provided by a seller.