Project Source 11-Inch Flush Mount Light (2-Pack)
Project Source 11-Inch Flush Mount Light User Manual
Model: 11-Inch Flush Mount Light (2-Pack)
Inleiding
This manual provides detailed instructions for the safe installation, operation, and maintenance of your Project Source 11-Inch Flush Mount Light fixture. Please read this manual thoroughly before beginning installation and retain it for future reference. This product is designed for indoor use only.
Veiligheidsinligting
WARNING: Risk of Electric Shock. Disconnect power at the fuse or circuit breaker before installing or servicing.
- Alle elektriese verbindings moet in ooreenstemming wees met plaaslike kodes, verordeninge of die Nasionale Elektriese Kode (NEC).
- Raadpleeg 'n gekwalifiseerde elektrisiën as jy onseker is oor die installasieproses.
- Moenie hierdie toebehore in nat of droë toestand installeer nie.amp liggings.
- Ensure all wires are properly connected and secured to prevent short circuits.
- Moenie die maksimum wat oorskry nietage specified for this fixture.
- Hanteer glaskomponente versigtig om breek te voorkom.
Pakketinhoud
Verifieer dat alle komponente teenwoordig is voordat u met die installasie begin:
- Project Source 11-Inch Flush Mount Light Fixture (2 units)
- Mounting Hardware Kit (screws, wire nuts)
- Instructiehandleiding (hierdie dokument)
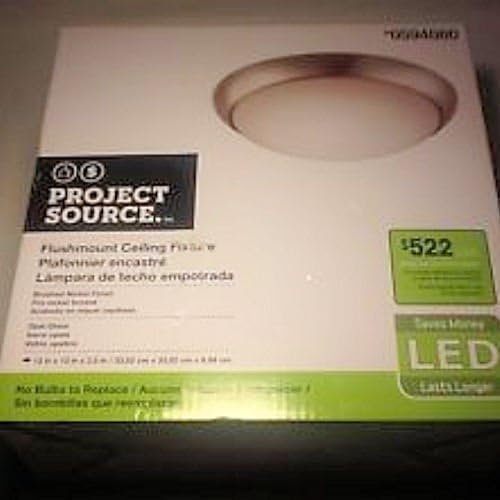
Image: The retail packaging box for the Project Source 11-Inch Flush Mount Light. The box is white with green accents, featuring an image of the light fixture and "PROJECT SOURCE" branding.
Opstelling en installasie
Gereedskap benodig (nie ingesluit nie):
- Phillips-kopskroewedraaier
- Draadstroppers
- Elektriese band (opsioneel)
- Veiligheidsbril
Installasie stappe:
- Skakel krag af: Locate the circuit breaker or fuse box that controls the power to the light fixture location. Turn off the power completely before proceeding.
- Verwyder ou toebehore (indien van toepassing): Carefully remove any existing light fixture, noting the wiring connections.
- Berei bedrading voor: If necessary, strip approximately 1/2 inch of insulation from the ends of the house supply wires.
- Koppel drade:
- Koppel die swart draad van die toebehore na die swart (hot) wire from the ceiling box using a wire nut.
- Koppel die wit draad van die toebehore na die wit (neutral) wire from the ceiling box using a wire nut.
- Koppel die groen of kaal koper aarddraad van die toebehore na die groen of kaal koper ground wire from the ceiling box using a wire nut.
Ensure all wire nuts are securely tightened. Wrap electrical tape around wire nuts for added security if desired.
- Monteer bevestiging: Carefully tuck all wires into the junction box. Align the fixture's mounting holes with the screws on the junction box or mounting bracket. Secure the fixture to the ceiling using the provided screws.
- Install Glass Diffuser: Gently place the glass diffuser into the fixture and secure it according to the fixture's design (e.g., twist-lock, spring clips, or decorative nuts).
- Herstel krag: Turn the power back on at the circuit breaker or fuse box. Test the light fixture to ensure it functions correctly.

Image: A pair of Project Source 11-Inch Flush Mount Light fixtures. Each fixture features a brushed nickel base and a domed, frosted white glass diffuser, designed to provide soft, diffused light.
Bedryfsinstruksies
The Project Source 11-Inch Flush Mount Light is designed for simple operation. Once properly installed and wired, the light fixture is controlled by a standard wall switch connected to the circuit. Flip the wall switch to the "ON" position to illuminate the fixture, and to the "OFF" position to turn it off.
Note: This fixture uses integrated LED technology and does not require bulb replacement.
Onderhoud
To ensure the longevity and appearance of your light fixture, follow these simple maintenance guidelines:
- Skoonmaak: Maak seker dat die krag na die toestel by die stroombreker afgeskakel is voordat u dit skoonmaak. Gebruik 'n sagte, droë of effens gedrenkteamp cloth to wipe down the exterior surfaces. Do not use abrasive cleaners, solvents, or polishes as they may damage the finish or glass.
- Glasversorging: The frosted glass diffuser can be carefully removed for cleaning if necessary. Wash with mild soap and water, rinse thoroughly, and dry completely before reattaching.
- Geen gloeilampvervanging nie: This fixture features integrated LED components. There are no bulbs to replace. If the light stops working, refer to the Troubleshooting section.
Probleemoplossing
If your light fixture is not functioning as expected, consult the following common issues and solutions:
| Probleem | Moontlike oorsaak | Oplossing |
|---|---|---|
| Lig skakel nie aan nie. |
|
|
| Ligte flikkering of dowwe. |
|
|
| Glass diffuser is loose. |
|
|
If the problem persists after trying these solutions, contact a qualified electrician or customer support.
Spesifikasies
| Kenmerk | Detail |
|---|---|
| Handelsmerk | Projek Bron |
| Model | 11-Inch Flush Mount Light (2-Pack) |
| Produk afmetings | 11 x 11 x 3 duim |
| Item gewig | 4.1 pond |
| Materiaal | Glas |
| Maksimum versoenbare wattage | 120 Watt |
| Tipe gloeilamp | Geïntegreerde LED |
| Styl | Klassiek |
Waarborg en Ondersteuning
This product is a refurbished item. Please refer to the seller's specific return and warranty policy at the point of purchase for details regarding coverage and support for refurbished products. General support for Project Source products may be available through their official channels.
For technical assistance or further inquiries, please contact the retailer or manufacturer directly.
Ask a question about this manual
Ask about setup, troubleshooting, compatibility, parts, safety, or missing instructions. Manuals+ will review the question and use this page’s manual context to help answer it.