1. Inleiding
This manual provides detailed instructions for the operation and maintenance of your Boytone BT-101WT Bluetooth Turntable Briefcase Record Player. Please read this manual thoroughly before using the device to ensure proper function and to prevent damage.
The Boytone BT-101WT is a portable briefcase-style record player featuring Bluetooth connectivity, a built-in rechargeable battery, and dual stereo speakers. It supports 3-speed vinyl playback (33/45/78 RPM), FM radio, and includes an LCD display. The unit offers USB/SD card slots for MP3 playback and direct encoding of vinyl records, FM radio, or AUX input to MP3 files without requiring a computer. It also includes RCA line-out, AUX input, and a headphone jack. The device operates on AC-DC power (110V & 220V compatible).
2. Veiligheidsinstruksies
- Lees alle instruksies voordat u die eenheid gebruik.
- Hou die handleiding vir toekomstige verwysing.
- Moenie die eenheid aan reën of vog blootstel nie.
- Moenie ventilasie-openinge blokkeer nie.
- Maak seker die kragadapter se volumetage pas by jou plaaslike kragtoevoer.
- Beskerm die kragkabel teen geloop of vasgeknyp.
- Ontkoppel die eenheid tydens weerligstorms of wanneer dit vir lang tye ongebruik word.
- Verwys alle diens na gekwalifiseerde dienspersoneel.
- Moenie die eenheid oopmaak nie casing.
- Vermy die plasing van die eenheid naby hittebronne of in direkte sonlig.
3. Pakketinhoud
Verifieer dat al die items wat hieronder gelys word, in jou pakket ingesluit is:
- Boytone BT-101WT Turntable Unit
- AC/DC kragadapter
- USB kabel
- Instruksie Handleiding
- 45 RPM-adapter
- Anti-Static Flat Mat (may be pre-installed)
4. Produk verbyview
Familiarize yourself with the components of your BT-101WT unit.

Figure 4.1: Boytone BT-101WT Turntable in open position, showcasing the record player, speakers, and control panel.
4.1 Voor- en agterpanele

Figuur 4.2: Bo view showing the control panel with USB, SD, and AUX IN ports. Bottom view showing the power input, RCA line out, and AUX OUT ports.
- Draaitafelbord: Area where records are placed for playback.
- Tone Arm: Hou die stylus vas en volg die plaatgroewe.
- Stylus (Naald): Reads the audio information from the record grooves.
- Spoedkieser: Switch to select playback speed (33, 45, or 78 RPM).
- Outomatiese stopskakelaar: Aktiveer of deaktiveer outomatiese stop van die skyf aan die einde van 'n rekord.
- Krag/volumeknop: Turns the unit on/off and adjusts the audio output volume.
- Funksie/Modus-knoppie: Cycles through input sources (Phono, Bluetooth, FM, USB/SD, AUX).
- LCD-skerm: Shows current mode, track information, and FM frequency.
- USB-poort: For connecting a USB flash drive for playback or MP3 encoding.
- SD-kaartgleuf: For inserting an SD card for playback or MP3 encoding.
- AUX IN Jack: 3.5 mm-inset vir die koppeling van eksterne klanktoestelle.
- Koptelefoonaansluiting: 3.5mm output for private listening with headphones.
- RCA Line Out Jacks: Stereo output for connecting to external amplewers of aangedrewe luidsprekers.
- DC IN Jack: Aansluitingspunt vir die AC/DC-kragadapter.
- Ingeboude luidsprekers: Geïntegreerde stereoluidsprekers vir klankuitset.
4.2 Control Panel Details

Figure 4.3: Close-up of the control panel, highlighting the LCD display, function buttons, USB port, SD card slot, and AUX IN jack.
The control panel features buttons for playback control (Play/Pause, Skip Forward/Backward), recording (REC), deleting files (DEL), and mode selection. The LCD display provides visual feedback on the selected function and media status.
5. Opstelling
5.1 Kragverbinding
- Maak seker dat die eenheid op 'n stabiele, plat oppervlak geplaas word.
- Connect the AC/DC power adapter to the DC IN jack on the rear of the unit.
- Steek die adapter in die stopcontact.
- Alternatively, the unit has a built-in rechargeable battery for portable use. Ensure it is charged before first use.
5.2 Aanvanklike opstelling
- Open the briefcase lid.
- Verwyder die beskermende dop van die stylus.
- If not already in place, position the anti-static flat mat on the turntable platter.
- Turn the Power/Volume knob clockwise to power on the unit. The LCD display will illuminate.
6. Bedryfsinstruksies
6.1 Plate speel

Figure 6.1: Illustration of the 3-speed control (33, 45, 78 RPM) for different record sizes (7", 10", 12").
- Plaas 'n plaat op die draaitafelbord.
- Select the appropriate speed (33, 45, or 78 RPM) using the speed selector switch, matching the record's speed.
- If playing a 45 RPM single, place the included 45 RPM adapter on the center spindle.
- Lift the tone arm using the cue lever and position it over the desired track on the record.
- Gently lower the tone arm onto the record using the cue lever. Playback will begin.
- Verstel die volume met die Aan/Aan/Volume-knoppie.
- At the end of the record, if the Auto Stop switch is ON, the turntable will stop spinning automatically. If OFF, it will continue to spin.
- To stop playback manually, lift the tone arm and return it to its rest.
6.2 Bluetooth-werking
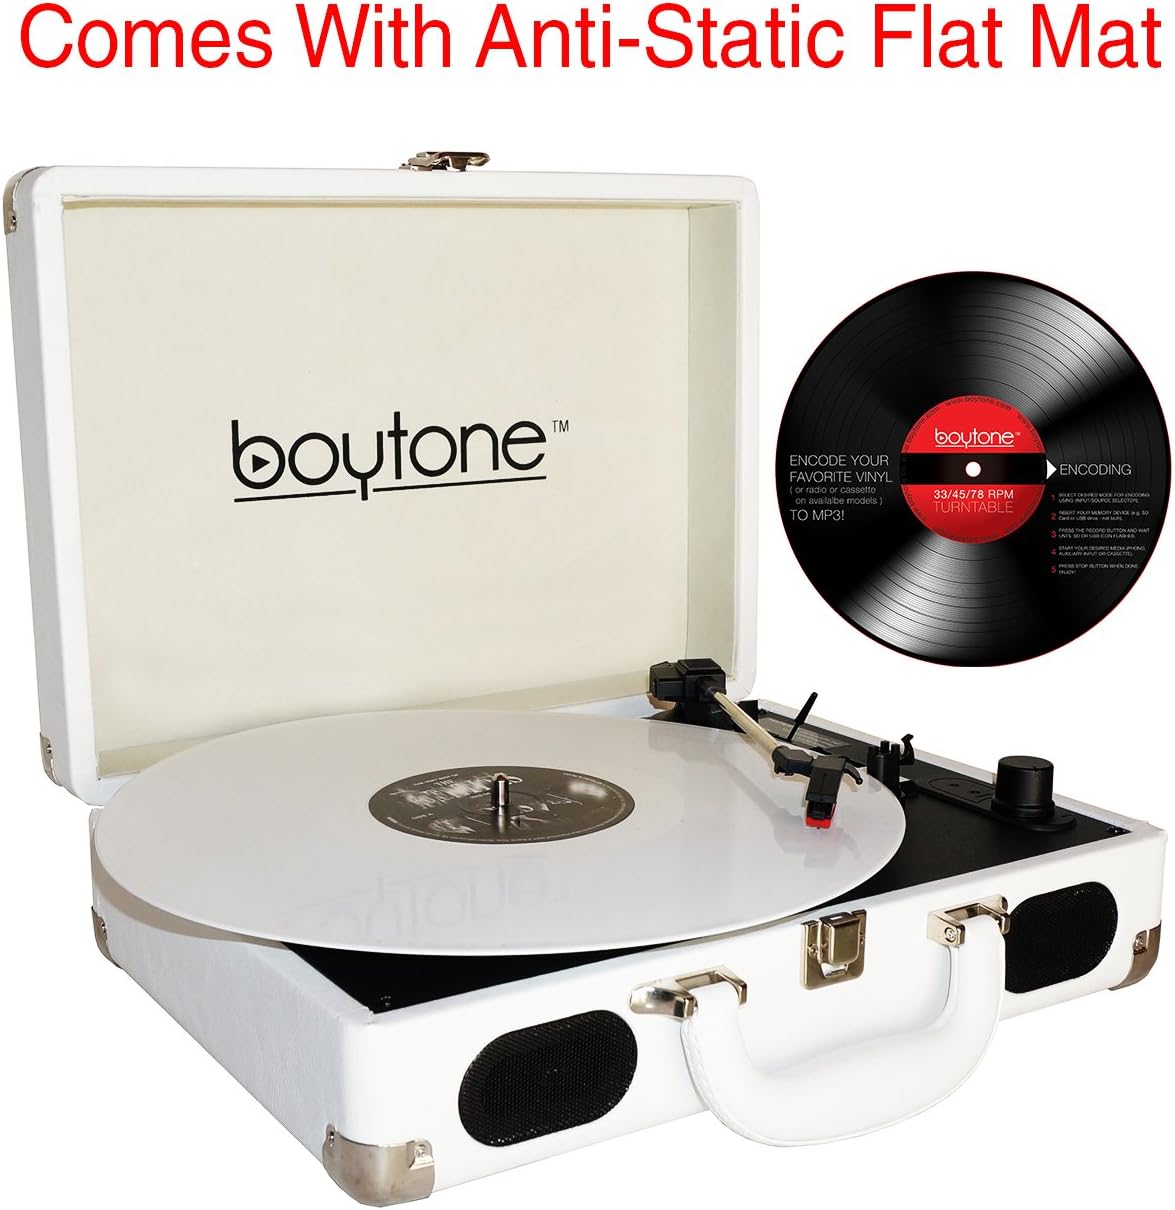
Figure 6.2: Visual representation of a smartphone wirelessly connecting to the BT-101WT via Bluetooth.
- Skakel die eenheid aan.
- Press the Mode button repeatedly until "BT" appears on the LCD display. The unit will enter Bluetooth pairing mode, indicated by a flashing "BT".
- Aktiveer Bluetooth op jou slimfoon of ander Bluetooth-geaktiveerde toestel.
- Soek vir "Boytone BT-101WT" in your device's Bluetooth settings and select it to pair.
- Once paired, "BT" will stop flashing and remain solid. You can now stream audio from your device to the turntable.
- Control playback (play/pause, skip) from your connected device. Adjust volume using the turntable's volume knob or your device's volume controls.
6.3 FM-radiowerking
- Skakel die eenheid aan.
- Press the Mode button repeatedly until "FM" appears on the LCD display.
- To auto-scan and save stations, press and hold the Play/Pause button. The unit will scan for available FM stations and store them.
- Gebruik die Spring Vorentoe/Agtertoe-knoppies om deur gestoorde stasies te navigeer.
- Verstel die volume met die Aan/Aan/Volume-knoppie.
6.4 USB/SD-terugspeel
- Steek 'n USB-geheuestokkie in die USB-poort of 'n SD-kaart in die SD-kaartgleuf.
- Press the Mode button repeatedly until "USB" or "SD" appears on the LCD display. The unit will automatically begin playing MP3/WMA files van die ingevoegde media.
- Use the Play/Pause, Skip Forward/Backward buttons to control playback.
- Verstel die volume met die Aan/Aan/Volume-knoppie.
6.5 MP3 Encoding (Recording)
The BT-101WT can convert audio from Vinyl, FM Radio, or AUX input directly to MP3 files op 'n USB-stasie of SD-kaart.
- Insert a USB flash drive or SD card into the corresponding slot. Ensure it has sufficient free space.
- Select the desired source for recording (Phono, FM, or AUX IN) using the Mode button.
- Start playback on the source (e.g., begin playing a record, tune to an FM station, or play audio from an AUX-connected device).
- Press the "REC" button on the control panel. The recording indicator will illuminate, and the unit will begin converting the audio to MP3.
- To stop recording, press the "REC" button again. The recording will be saved as an MP3 file on your USB drive or SD card.
- Om 'n opgeneemde uit te vee file, navigeer na die file in USB/SD playback mode and press the "DEL" button.
6.6 AUX Input and Output
- AUX IN: Connect an external audio device (e.g., smartphone, MP3 player) to the AUX IN jack using a 3.5mm audio cable. Press the Mode button until "AUX" appears on the display. Audio from the external device will play through the turntable's speakers.
- RCA lyn uit: Connect the RCA Line Out jacks on the rear of the unit to an external ampversterker of aangedrewe luidsprekers met behulp van RCA-kabels vir verbeterde klankuitset.
- Koptelefoonaansluiting: Plug standard 3.5mm headphones into the headphone jack for private listening. This will mute the built-in speakers.
7. Onderhoud
7.1 Skoonmaak van die eenheid
- Vee die buitekant van die eenheid af met 'n sagte, droë lap.
- Moenie skuurmiddels, wasse of oplosmiddels gebruik nie.
7.2 Stylusversorging
- Handle the stylus with care. Avoid touching the tip.
- Maak die stylus gereeld skoon met 'n sagte borsel, van agter na voor.
- A worn stylus can damage records and degrade sound quality. Replace the stylus when sound quality deteriorates.
7.3 Rekordversorging
- Keep records clean and free of dust. Use an anti-static brush before each play.
- Bêre plate vertikaal in hul moue om kromtrekking te voorkom.
8. Probleemoplossing
| Probleem | Moontlike oorsaak | Oplossing |
|---|---|---|
| Geen krag nie | Power adapter not connected; Unit not turned on; Battery drained. | Check power connection; Turn Power/Volume knob clockwise; Charge the battery. |
| Geen geluid van luidsprekers nie | Volume too low; Headphones connected; Incorrect mode selected. | Increase volume; Disconnect headphones; Select correct mode (Phono, BT, FM, USB/SD, AUX). |
| Draaitafel draai nie | Unit not powered on; Tone arm not lifted; Auto Stop engaged at end of record. | Ensure power is on; Lift tone arm from rest; Check Auto Stop switch. |
| Bluetooth saambind nie | Unit not in pairing mode; Device too far; Bluetooth already connected to another device. | Ensure "BT" is flashing; Move device closer; Disconnect from other devices. |
| Poor sound quality / Skipping records | Dirty stylus; Worn stylus; Dirty record; Unit not on a stable surface. | Clean stylus; Replace stylus; Clean record; Place unit on a stable, level surface. |
9. Spesifikasies
- Model: BT-101WT
- Kragbron: AC/DC Adapter (110V/220V), Built-in Rechargeable Lithium-Ion Battery
- Draaitafel spoed: 33 1/3, 45, 78 RPM
- Luidsprekers: 2 x Ingeboude stereoluidsprekers
- Verbinding: Bluetooth, USB, SD Card, AUX IN (3.5mm), RCA Line Out (Stereo)
- Radio: FM stereo
- kodering: Direct MP3 encoding from Vinyl, FM, AUX to USB/SD
- Koptelefoonaansluiting: 3.5 mm
- Afmetings (Pakket): 16 x 13.1 x 6 duim
- Gewig: 7 pond
- Materiaal: Plastiek
10. Waarborg en Ondersteuning
Hierdie produk word gerugsteun deur 'n 1 Year direct Boytone USA warranty. For warranty claims or technical support, please contact Boytone customer service. Refer to the official Boytone webwebwerf of u aankoopdokumentasie vir kontakbesonderhede.
Boytone Customer Service: Besoek gerus the Boytone Store on Amazon or the official Boytone webwebwerf vir ondersteuningsinligting.