Inleiding
This manual provides essential information for the safe and efficient operation of your Steinel RS 16 LED Glass Interior Lamp. Please read these instructions carefully before installation and use, and retain them for future reference.
The Steinel RS 16 LED is an advanced interior light featuring an integrated 360° high-frequency motion sensor. It is designed for wall or ceiling mounting and provides efficient LED illumination with an opal glass cover for uniform light distribution.

Image: The Steinel RS 16 LED lamp seamlessly integrated into a modern hallway ceiling, providing ambient lighting.
Veiligheidsinligting
- Installation must be performed by a qualified electrician in accordance with national wiring regulations and local electrical codes.
- Ensure the power supply is disconnected before commencing any installation, maintenance, or repair work.
- Moenie die produk oopmaak nie casing. Daar is geen onderdele binne wat deur die gebruiker onderhou kan word nie.
- Hierdie produk is slegs ontwerp vir binnenshuise gebruik.
- Moenie direk in die LED-ligbron kyk wanneer dit brand nie.
- Hou verpakkingsmateriaal weg van kinders.
Pakketinhoud
Verifieer dat alle komponente teenwoordig is voor installasie:
- Steinel RS 16 LED Glass Interior Lamp eenheid
- Mounting accessories (screws, wall plugs, gaskets)
- Gebruikershandleiding

Image: The product packaging displaying the Steinel RS 16 LED lamp, mounting hardware, and user manual.
Opstelling en installasie
Volg hierdie stappe vir behoorlike installasie:
- Voorbereiding: Disconnect the main power supply at the fuse box. Ensure the area is clear and safe for installation.
- Monteerplek: Choose a suitable wall or ceiling location. The high-frequency sensor can detect movement through lightweight materials like glass and wood, so consider this when positioning.
- Basisplaatinstallasie: Beveilig die lamp's base plate to the chosen surface using the provided mounting accessories. Use appropriate screws and wall plugs for your surface type.
- Bedrading: Connect the electrical wires (Live, Neutral) to the corresponding terminals on the lamp. Ensure connections are secure and insulated.
- Heg Lamp Liggaam: Heg die l versigtig vasamp body to the base plate, ensuring it is properly seated and secured.
- Herstel krag: Once installation is complete and all connections are secure, restore power at the fuse box.

Image: A round white ceiling lamp with motion detection, showcasing its modern design and suitability for various indoor spaces.
Bedryfsinstruksies
The Steinel RS 16 LED lamp features adjustable settings for optimal performance:
- Bespeuringsreeks: The sensor's detection range can be adjusted from 3 to 8 meters. Use the dedicated control knob on the lamp to set the desired range.
- Twilight Threshold: Adjust the light sensitivity (twilight threshold) to determine at what ambient light level the sensor will activate the lamp. This prevents the light from turning on during daylight hours.
- Verligtingsduur: Set how long the lamp remains illuminated after motion is detected and no further movement is registered.
- Netwerk: Multiple RS 16 LED lamps can be networked together. This allows them to activate simultaneously when motion is detected by any networked unit, making it ideal for long corridors or stairwells. Refer to the detailed wiring diagram in the included manual for networking instructions.

Image: Multiple Steinel RS 16 LED lamps installed in a series, demonstrating their suitability for illuminating long corridors or hallways.
Onderhoud
To ensure the longevity and optimal performance of your Steinel RS 16 LED lamp:
- Skoonmaak: Maak die l skoonamp's exterior and opal glass cover regularly with a soft, damp lap. Moenie skuurmiddels of oplosmiddels gebruik nie, aangesien dit die oppervlak kan beskadig.
- Inspeksie: Periodically check for any signs of damage to the casing or wiring. If damage is found, disconnect power and contact a qualified electrician for repair.
- LEDs: The integrated LED system is designed for long-term use and does not require replacement.
Probleemoplossing
| Probleem | Moontlike oorsaak | Oplossing |
|---|---|---|
| Lamp skakel nie aan nie. | No power supply; incorrect wiring; sensor settings too low (twilight threshold). | Check power connection; verify wiring by a qualified electrician; adjust twilight threshold setting. |
| Lamp bly aanhoudend aan. | Continuous motion detected; illumination duration set too long; faulty sensor. | Check for constant movement in the detection area; adjust illumination duration; if problem persists, contact support. |
| Lamp turns on without apparent motion. | Sensor sensitivity too high; environmental factors (e.g., drafts, small animals). | Reduce sensor sensitivity; ensure sensor is not obstructed or exposed to unintended triggers. |
| Sensor detection range is too small/large. | Verkeerde reeksinstelling. | Adjust the detection range control knob. |
| Internal relay makes a clicking noise. | Normal operation of the relay. | This is a normal operational sound and does not indicate a fault. |
Spesifikasies
| Kenmerk | Detail |
|---|---|
| Handelsmerk | Steinel |
| Model Naam | RS 16 LED |
| Produk Tipe Naam | Binnenshuise plafonlig |
| Kleur | Wit |
| Materiaal | Plastic, Glass (Shade) |
| Itemafmetings (LxBxH) | 27.5L x 27.5W x 9.5H cm |
| Produk Gewig | 1.27 kilogram |
| Voltage | 230 Volt |
| Wattage | 9.3 watt |
| Ligvloed | 918 lm |
| Ligte Kleur | Warm Wit |
| Gloeilamp tipe | LED (geïntegreerd) |
| Armaturen funksies | Motion Sensor (360° HF) |
| Opsporingsreeks | 3-8 meter |
| Beheer metode | Touch (manual control knobs for settings) |
| Binne/buiteluggebruik | Binneshuise |
| Montage tipe | Plafonmontering, Oppervlakmontering |
| Vergadering benodig | Ja |
| Land van oorsprong | Roemenië |
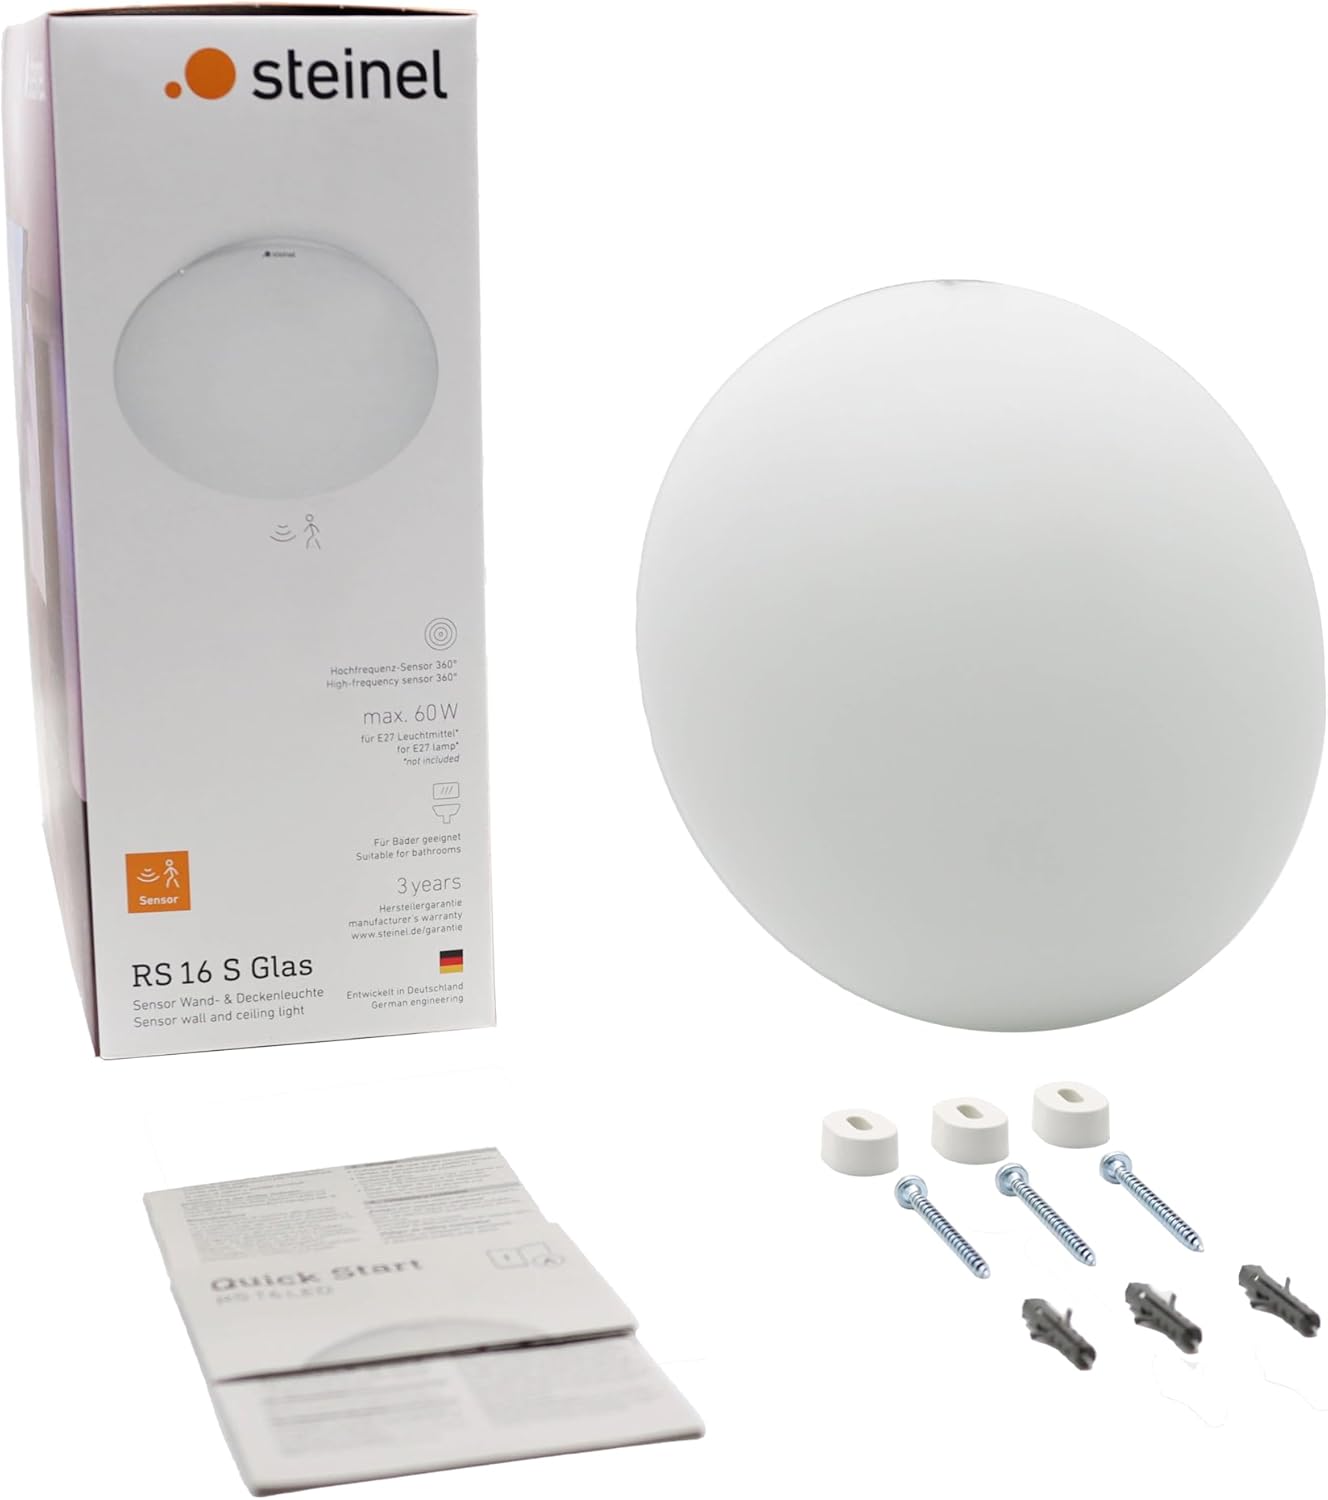
Image: Technical drawing illustrating the dimensions (length, width, height) of the Steinel RS 16 LED lamp in millimeters.
Waarborg inligting
The Steinel RS 16 LED Glass Interior Lamp kom met 'n 3 jaar vervaardiger se waarborgHierdie waarborg dek defekte in materiaal en vakmanskap onder normale gebruik. Bewaar asseblief u bewys van aankoop vir waarborgeise.
For detailed warranty terms and conditions, refer to the documentation included with your product or visit the official Steinel webwebwerf.
Ondersteuning
For further assistance, technical support, or to inquire about spare parts, please contact Steinel customer service. You can find contact information on the official Steinel webwebwerf of deur u plaaslike verspreider.
Aanlyn hulpbronne: For additional product information, FAQs, and support, please visit the Steinel Handelsmerkwinkel.