1. Produk verbyview
This manual provides instructions for the Arnold Remington 10-inch electric chainsaw chain, designed for optimal performance and durability. This chain is specifically compatible with Remington electric chainsaw models RM1025P and RM1025SPS.
Key features of this chain include:
- Verenigbaarheid: Designed to fit Remington chainsaw models RM1025P and RM1025SPS.
- Afmetings: Features 40 drive links with a .050" gauge and 3/8" pitch.
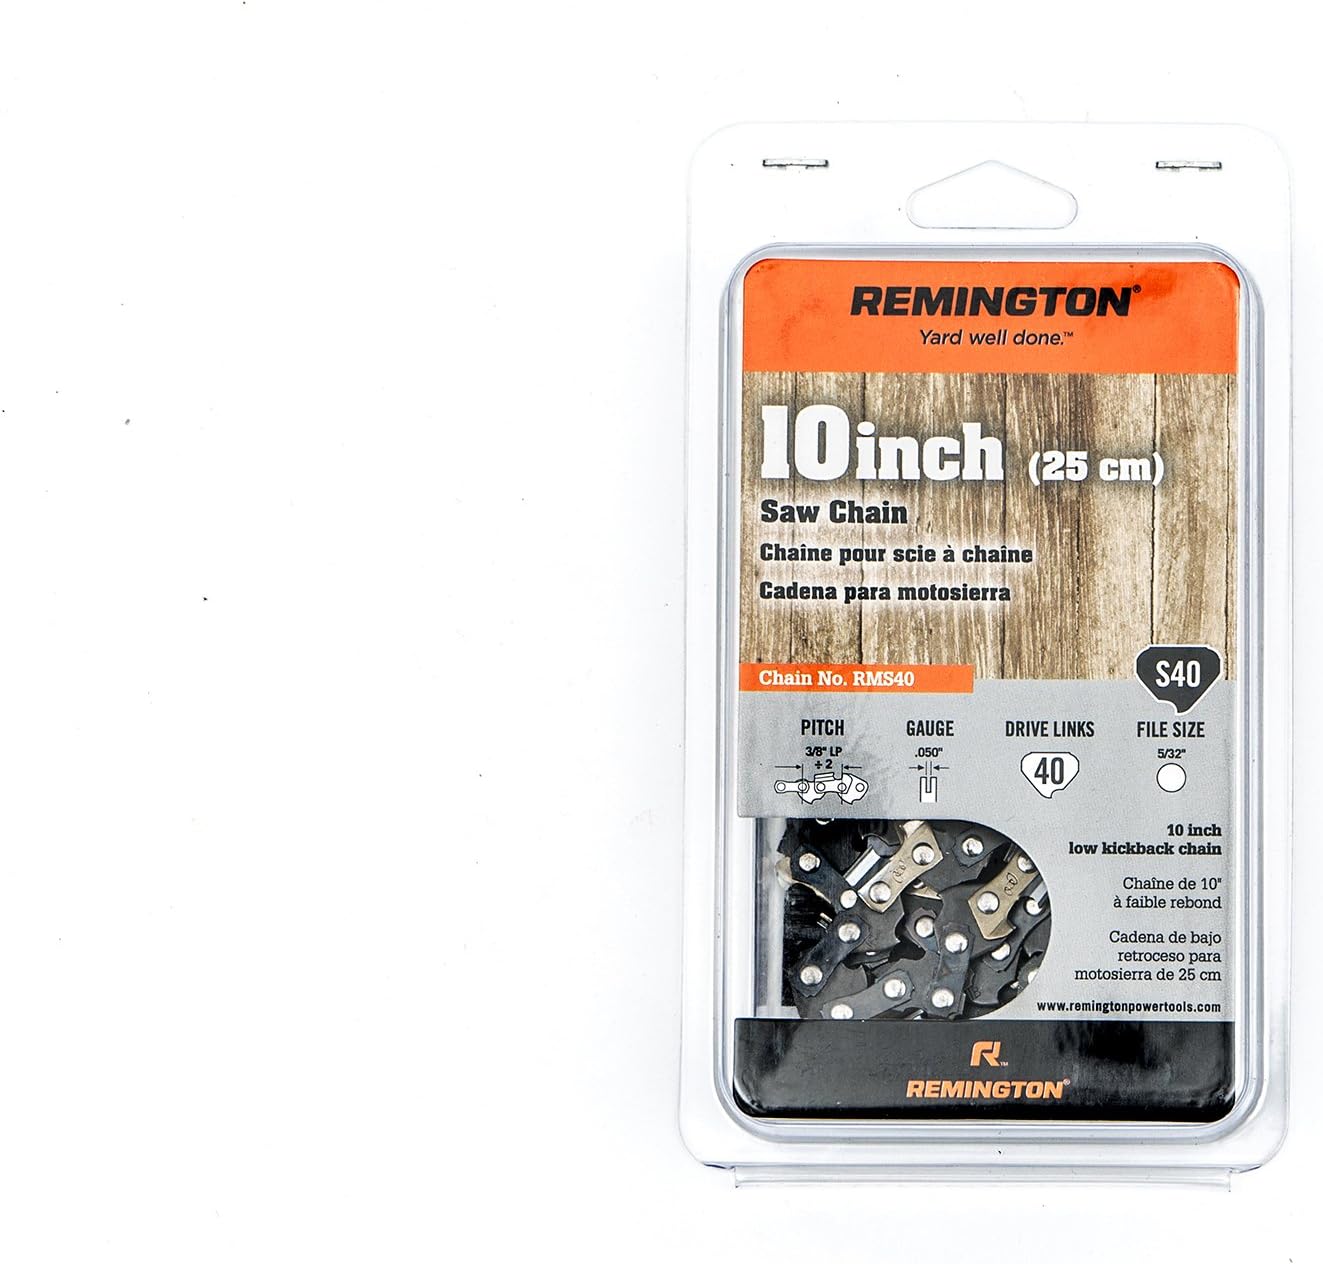
Image 1.1: The Arnold Remington 10-inch electric chainsaw chain in its retail packaging. This image shows the product as it would appear when purchased, highlighting its branding and key specifications like pitch, gauge, drive links, and file grootte.
2. Veiligheidsinligting
Always prioritize safety when handling chainsaw components or operating a chainsaw. Failure to follow safety guidelines can result in serious injury.
- Consult Your Manual: Always refer to your chainsaw's operator manual for specific safety instructions, maintenance procedures, and proper usage guidelines.
- Persoonlike Beskermende Toerusting (PPE): Wear appropriate safety gear, including safety glasses, gloves, hearing protection, and sturdy footwear, when installing, maintaining, or operating a chainsaw.
- Ontkoppel krag: Voordat u enige onderhoud, installasie of aanpassing aan die kettingsaag uitvoer, maak seker dat die kragbron ontkoppel is (ontkoppel elektriese kettingsae, verwyder die battery van koordlose modelle).
- Skerp kante: Chainsaw chains have sharp cutting edges. Handle with care to prevent cuts.
3. Installasie (Opstelling)
Follow these general steps to replace your chainsaw chain. Always refer to your specific Remington chainsaw model's manual for detailed instructions.
- Berei die kettingsaag voor:
- Ensure the chainsaw is unplugged or the battery is removed.
- Place the chainsaw on a stable, flat surface.
- Verwyder die balkbedekking:
- Locate and loosen the bar nuts that secure the side cover (sprocket cover) to the chainsaw body.
- Verwyder die syblad.
- Loosen Chain Tension:
- If your chainsaw has a chain tensioning screw, turn it counter-clockwise to loosen the chain tension.
- Gently push the guide bar towards the chainsaw body to further slacken the chain.
- Verwyder ou ketting en gidsstaaf:
- Carefully lift the old chain off the sprocket and guide bar.
- Remove the guide bar from the chainsaw.
- Installeer Nuwe Ketting:
- Place the new Arnold Remington chain onto the guide bar, ensuring the cutting edges are facing the correct direction (usually forward on the top of the bar).
- Fit the drive links into the groove of the guide bar.
- Position the guide bar back onto the chainsaw studs, wrapping the chain around the drive sprocket.
- Pas kettingspanning aan:
- Replace the side cover, but do not fully tighten the bar nuts yet.
- Using the chain tensioning screw, adjust the tension until the chain is snug against the guide bar, but can still be pulled freely by hand. There should be no sag on the underside of the bar, but the drive links should not be binding.
- Lift the tip of the guide bar slightly while tightening the bar nuts to ensure proper alignment and tension.
- Finale kontrole:
- Ensure all nuts are tightened securely.
- Verify the chain moves smoothly around the guide bar.
- Check that the chain brake is disengaged before operation.

Beeld 3.1: Nabyskoot view of the Arnold Remington 10-inch electric chainsaw chain. This image displays the individual drive links, cutting teeth, and rivets, illustrating the chain's construction and design.
4. Bedryfsriglyne
While this manual focuses on the chain, proper operation of the chainsaw is critical for safety and performance. Always refer to your chainsaw's operator manual for complete operating instructions.
- Ketting smering: Ensure the chainsaw's oil reservoir is filled with appropriate bar and chain oil before each use. Proper lubrication is essential for chain longevity and efficient cutting.
- Chain Tension Check: Before each use, check the chain tension. A properly tensioned chain should be snug but still able to be pulled around the guide bar by hand.
- Sny tegniek: Use proper cutting techniques to avoid kickback and ensure smooth operation. Do not force the chain through wood; let the chain do the work.
- Inspekteer voor gebruik: Always inspect the chain for damage, dullness, or loose components before starting the chainsaw.
5. Onderhoud
Regular maintenance of your chainsaw chain will extend its lifespan and ensure safe, efficient cutting.
- Skerp: A dull chain requires more effort to cut and can be dangerous. Sharpen the chain regularly using a round file of the correct diameter (typically 5/32" for 3/8" pitch chains, but confirm with your chainsaw manual). Maintain the correct filing angles.
- Skoonmaak: After each use, clean the chain and guide bar to remove sawdust, sap, and debris. This prevents buildup that can hinder performance and cause wear.
- Smering: Ensure the automatic oiler on your chainsaw is functioning correctly and that the chain is receiving adequate lubrication during operation.
- Inspeksie: Periodically inspect the chain for damaged or missing drive links, cracks, or excessive wear. Replace the chain if any significant damage is found.
- Onderhoud van die slingerstaaf: Draai die stang gereeld om om egalige slytasie te verseker. Maak die stang se groef en oliegate skoon.
6. Troubleshooting Common Chain Issues
Addressing common chain problems promptly can prevent further damage and ensure safe operation.
| Probleem | Moontlike oorsaak | Oplossing |
|---|---|---|
| Ketting sny nie doeltreffend nie / Dowwe sny | Dull chain, incorrect sharpening angle, insufficient oil. | Sharpen the chain. Check sharpening angles. Ensure oil reservoir is full and oiler is working. |
| Ketting kom van geleidestang af | Incorrect chain tension (too loose), worn guide bar, damaged drive links. | Adjust chain tension. Inspect guide bar for wear. Replace damaged chain. |
| Chain binds or smokes | Incorrect chain tension (too tight), insufficient lubrication, dull chain, bent guide bar. | Loosen chain tension. Check oil level and oiler function. Sharpen chain. Inspect guide bar for damage. |
| Ongelyke sny | One side of the chain is duller than the other, unevenly sharpened teeth. | Resharpen the chain, ensuring all teeth are sharpened uniformly. |
7. Spesifikasies
| Kenmerk | Detail |
|---|---|
| Handelsmerk | Arnold |
| Modelnommer | 490-700-R052 |
| Item Lengte | 10 duim |
| Drive-skakels | 40 |
| Meter | .050" |
| Toonhoogte | 3/8" |
| Compatible Chainsaw Models | Remington RM1025P, Remington RM1025SPS |
| Ingesluit komponente | Chainsaw Part (Chain) |
| Item gewig | 2.88 onse |
| Vervaardiger | Arnold Corporation |
| UPC | 037049962259 |
| ASIN | B06VSLHPBQ |
8. Waarborg en Ondersteuning
For specific warranty information regarding your Arnold Remington 10-inch electric chainsaw chain, please refer to the documentation included with your purchase or visit the official Arnold Corporation website. For technical support or inquiries, please contact Arnold customer service directly.
Vervaardiger: Arnold Corporation
Webwebwerf: www.arnoldparts.com (Bvampdie skakel, werklike skakel nie in JSON verskaf nie)