Inleiding
This manual provides essential information for the installation, operation, and maintenance of your Roca NAIA MEZ LAV ALTO LISO high basin mixer tap. Please read these instructions carefully before installation and retain them for future reference.
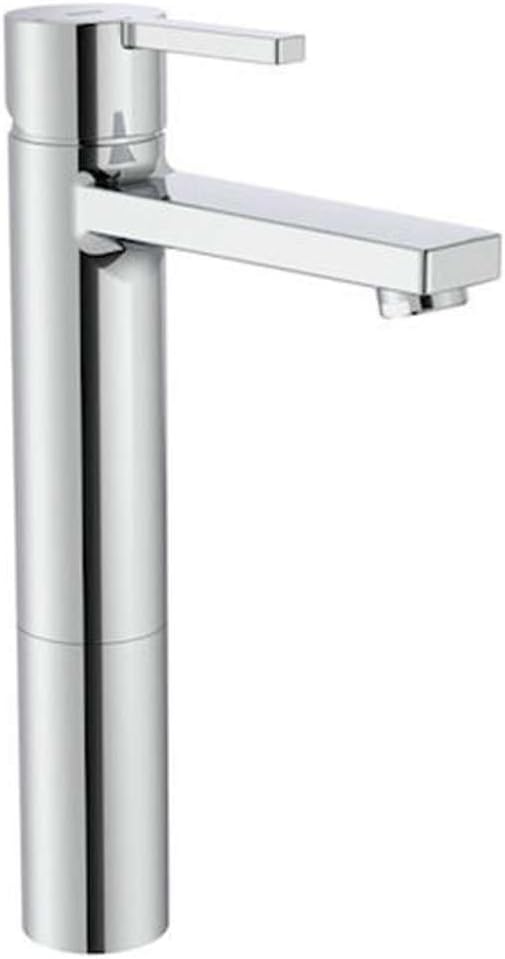
Image 1: The Roca NAIA MEZ LAV ALTO LISO high basin mixer tap, featuring a sleek chrome finish and a single lever for water control.
Veiligheidsinligting
Always ensure the main water supply is turned off before beginning any installation or maintenance work. If you are unsure about any part of the installation process, consult a qualified plumber.
- Do not use abrasive cleaners or scouring pads on the chrome finish.
- Maak seker dat alle verbindings waterdig is om lekkasies te voorkom.
- Beskerm die produk teen vries temperature.
Opstelling en installasie
The Roca NAIA MEZ LAV ALTO LISO tap is designed for single-hole deck mounting. Installation should be performed by a competent individual or a qualified professional.
Ingesluit komponente:
- Mixer tap unit
- Flexible connection hoses (G 3/8" thread)
- Mounting hardware (M8 bolt)
- Click-clack drain
Vereiste gereedskap (nie ingesluit nie):
- Verstelbare moersleutel
- Skroewedraaier
- Seëlband (PTFE-band)
Installasie stappe:
- Berei die B voorasin: Ensure the mounting hole on your basin is clean and free of debris. The tap requires a single hole for installation.
- Attach Flexible Hoses: Screw the flexible connection hoses into the base of the tap unit. Hand-tighten first, then use a wrench for a final snug turn, ensuring not to overtighten.
- Monteer die kraan: Insert the tap unit into the basin hole. From underneath the basin, secure the tap using the provided mounting hardware (washer and nut) onto the M8 bolt. Tighten securely to prevent movement.
- Koppel watertoevoer: Connect the flexible hoses to your hot and cold water supply lines. The hose with the red marking typically connects to hot water, and the blue marking to cold water. Use sealant tape on the threads and tighten connections with a wrench.
- Install Click-Clack Drain: Follow the instructions provided with the click-clack drain for proper installation into the basin's drain hole. Ensure a watertight seal.
- Toets vir lekkasies: Slowly turn on the main water supply. Check all connections for leaks. Operate the tap to ensure proper water flow and temperature mixing.

Image 2: Technical diagram showing the dimensions of the Roca NAIA MEZ LAV ALTO LISO tap and its installation components, including the M8 bolt and G 3/8" flexible hoses.
Bedryfsinstruksies
The Roca NAIA MEZ LAV ALTO LISO tap features a single lever for controlling both water flow and temperature.
- Watervloei: Lift the lever upwards to increase water flow. Push it downwards to decrease and turn off the water.
- Temperatuurbeheer: Move the lever to the right for cold water and to the left for hot water. The tap is designed to open in cold water when the lever is in the front position, promoting energy saving.
Note: This tap is designed to save water and energy, with a flow rate of 5 liters per minute at 3 bar pressure.
Sorg en Onderhoud
Regular cleaning and proper maintenance will ensure the longevity and appearance of your Roca tap.
Maak die oppervlak skoon:
- Clean the chrome surface with a soft cloth and mild soap or a non-abrasive liquid cleaner specifically designed for chrome finishes.
- Spoel deeglik met skoon water af en droog onmiddellik af met 'n sagte lap om waterkolle te voorkom.
- Moet nie gebruik nie abrasive cleaners, scouring pads, acids, or solvents, as these can damage the chrome finish.
Belugter skoonmaak:
Periodically unscrew the aerator at the tip of the spout and clean any accumulated debris or limescale. Rinse it under running water and reattach it securely.
Probleemoplossing
| Probleem | Moontlike oorsaak | Oplossing |
|---|---|---|
| Lae watervloei |
|
|
| Lek uit tuit |
|
|
| Leaking from base |
|
|
| Geen warm/koue water nie |
|
|
Tegniese spesifikasies
- Model: NAIA MEZ LAV ALTO LISO
- Modelnommer: A5A3796C00
- Handelsmerk: Roca
- Oppervlakafwerking: Chrome
- Materiaal: Brass, Stainless Steel, Zinc
- Installasie metode: Single-hole, Deck-mounted
- Aantal handvatsels: 1
- Handvatsel materiaal: Geelkoper
- Handvatselplasing: Sentrum
- Vloeitempo: 5 L/min (at 3 bar)
- Spesiale kenmerke: Water and energy saving, Cold water opening in front position, Lightweight
- Produk afmetings: 9.4 x 26 x 46.6 cm (Lengte x Breedte x Hoogte)
- Item gewig: 2.62 kilogram
- Ingesluit komponente: Click-clack drain, Flexible connection hoses
Waarborg inligting
Specific warranty details for Roca products may vary by region and retailer. Please refer to your purchase documentation or contact your point of sale for detailed warranty terms and conditions. Generally, Roca products are covered against manufacturing defects.
Kliënte ondersteuning
For further assistance, technical support, or to inquire about spare parts, please contact Roca customer service or visit the official Roca website. When contacting support, please have your product model number (A5A3796C00) and purchase details available.
Official Roca Webwebwerf: www.roca.com