Inleiding
This manual provides comprehensive instructions for the setup, operation, and maintenance of your GPX Digital AM/FM Clock Radio, model C224B. Please read this manual thoroughly before using the device to ensure proper functionality and to maximize your user experience. Keep this manual for future reference.
Produk verbyview
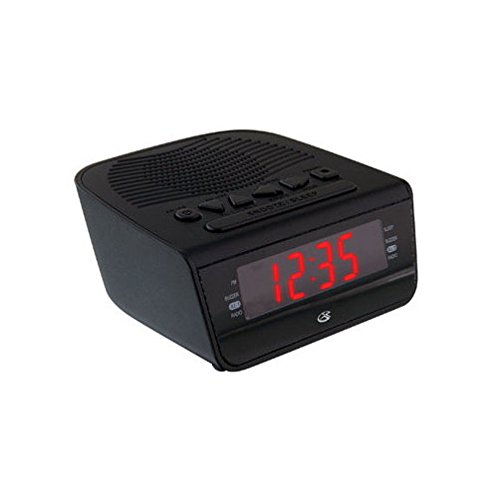
Figuur 1: Voorkant view of the GPX Digital AM/FM Clock Radio. This image shows the compact black unit with its digital display and control buttons.
The GPX Digital AM/FM Clock Radio (C224B) is designed for reliable timekeeping and audio entertainment. Key features include a clear multi-display clock, AM/FM radio tuner, dual alarm functionality, and a battery backup option to ensure continuous operation during power interruptions. Its compact and modern design makes it suitable for various indoor settings.
Opstelling
1. Uitpak
Carefully remove the clock radio from its packaging. Ensure all components are present: the clock radio unit and the power adapter.
2. Kragverbinding
- Plug the power adapter into the DC input jack located on the back of the clock radio.
- Plug the other end of the power adapter into a standard wall outlet (AC 120V, 60Hz).
- The display will illuminate, indicating the unit is receiving power.
3. Installasie van batteryrugsteun (opsioneel)
Vir rugsteunkrag tydens uittages, install batteries (not included).
- Vind die batterykompartement aan die onderkant van die eenheid.
- Maak die batteryvakdeksel oop.
- Insert the required batteries (e.g., 2 x AAA, check unit for specific type) according to the polarity markings (+ and -).
- Maak die batterykompartement se deksel stewig toe.
Let wel: Batteries are for backup only and will not power the display or radio functions continuously. They preserve time and alarm settings during a power interruption.
Bedryfsinstruksies
1. Stel die tyd in
- Druk en hou die TYD BEREIK knoppie totdat die skerm flikker.
- Gebruik die UUR en MINUUT knoppies om die tyd aan te pas.
- Druk TYD BEREIK weer om te bevestig en die tydinstellingsmodus te verlaat.
2. Alarms instel (Alarm 1 en Alarm 2)
This unit features dual alarms, allowing you to set two independent wake-up times.
- Druk en hou die ALARM 1 STEL (of ALARM 2 STEL) button until the alarm time flashes.
- Gebruik die UUR en MINUUT buttons to adjust the desired alarm time.
- Druk ALARM 1 STEL (of ALARM 2 STEL) again to confirm the time.
- Immediately after confirming the time, use the ALARMMODUS button to select the alarm source: SUMER or RADIO.
- The alarm icon (e.g., AL1 or AL2) will appear on the display, indicating the alarm is active.
To turn off an alarm, press the corresponding ALARM 1 AAN/UIT (of ALARM 2 AAN/UIT) button. The alarm icon will disappear.
3. AM/FM-radiowerking
- Druk die RADIO AAN/UIT knoppie om die radio aan te skakel.
- Druk die BAND knoppie om tussen AM- en FM-bande te wissel.
- Gebruik die TUNE + or STEM - knoppies om handmatig na 'n verlangde stasie in te skakel.
- To automatically scan for the next available station, press and hold TUNE + or STEM - vir 'n paar sekondes.
- Stel die volume aan met die VOLUME + or VOLUME - knoppies.
- Om die radio af te skakel, druk die RADIO AAN/UIT knoppie weer.
4. Sluimerfunksie
Wanneer 'n alarm afgaan, druk die SLUIMER knoppie om die alarm tydelik vir ongeveer 9 minute stil te maak. Die alarm sal weer afgaan na die sluimerperiode.
5. Slaapfunksie
The sleep function allows the radio to play for a set duration before automatically turning off.
- Terwyl die radio speel, druk die SLAAP knoppie herhaaldelik om deur beskikbare slaaptye te blaai (bv. 90, 60, 30, 15 minute, AF).
- Die radio sal outomaties afskakel na die gekose tyd.
Onderhoud
1. Skoonmaak
To clean the unit, wipe the exterior with a soft, slightly damp cloth. Do not use abrasive cleaners or solvents, as these may damage the finish. Ensure the unit is unplugged before cleaning.
2. Battery vervanging
If the battery backup function is not working, or if the unit loses time during a power outage, the backup batteries may need replacement. Follow the "Battery Backup Installation" steps in the Setup section to replace them.
Probleemoplossing
| Probleem | Moontlike oorsaak | Oplossing |
|---|---|---|
| Eenheid skakel nie aan nie. | Kragadapter nie gekoppel nie of foutiewe stopcontact. | Maak seker dat die kragadapter stewig in die eenheid en 'n werkende muursok ingeprop is. Probeer 'n ander sok. |
| Die alarm lui nie. | Alarm nie gestel nie, alarmvolume te laag, of alarm afgeskakel. | Verify alarm time and source (buzzer/radio) are set correctly. Ensure alarm is activated (icon visible). Increase radio volume if alarm source is radio. |
| Swak radio-ontvangs. | Swak sein of interferensie. | Adjust the position of the unit or the antenna (if external). Move away from other electronic devices that may cause interference. |
| Tyd/instellings verlore na kragonderbrekingtage. | Rugsteunbatterye is pap of nie geïnstalleer nie. | Install fresh backup batteries or replace existing ones. |
Spesifikasies
- Model: C224B
- Kragbron: AC 120V, 60Hz (main); Battery Powered (backup)
- Vertoon tipe: Digitale LED-skerm
- Radio Bands: AM/FM
- Afmetings (ongeveer): 5.12" B x 5.12" H
- Gewig (Ongeveer): 3 pond
- Kleur: Swart
- Materiaal: Plastiek
Waarborg en Ondersteuning
For warranty information or technical support, please refer to the warranty card included with your product or visit the official GPX website. Do not attempt to repair this unit yourself, as this may void your warranty.
GPX Official Webwebwerf: www.gpx.com