1. Produk verbyview
The Keeley Bubble Tron Dynamic Flanger Phaser and Random Synth Filter is a versatile effects pedal designed to produce unique modulation sounds. Inspired by classic dynamic flangers and phasers, this pedal offers three distinct modes of operation: Dynamic Flange, Dynamic Phase, and Random Filter. It allows for expressive control over your guitar's signal, reacting to your pick attack and playing dynamics to create a range of sonic textures.
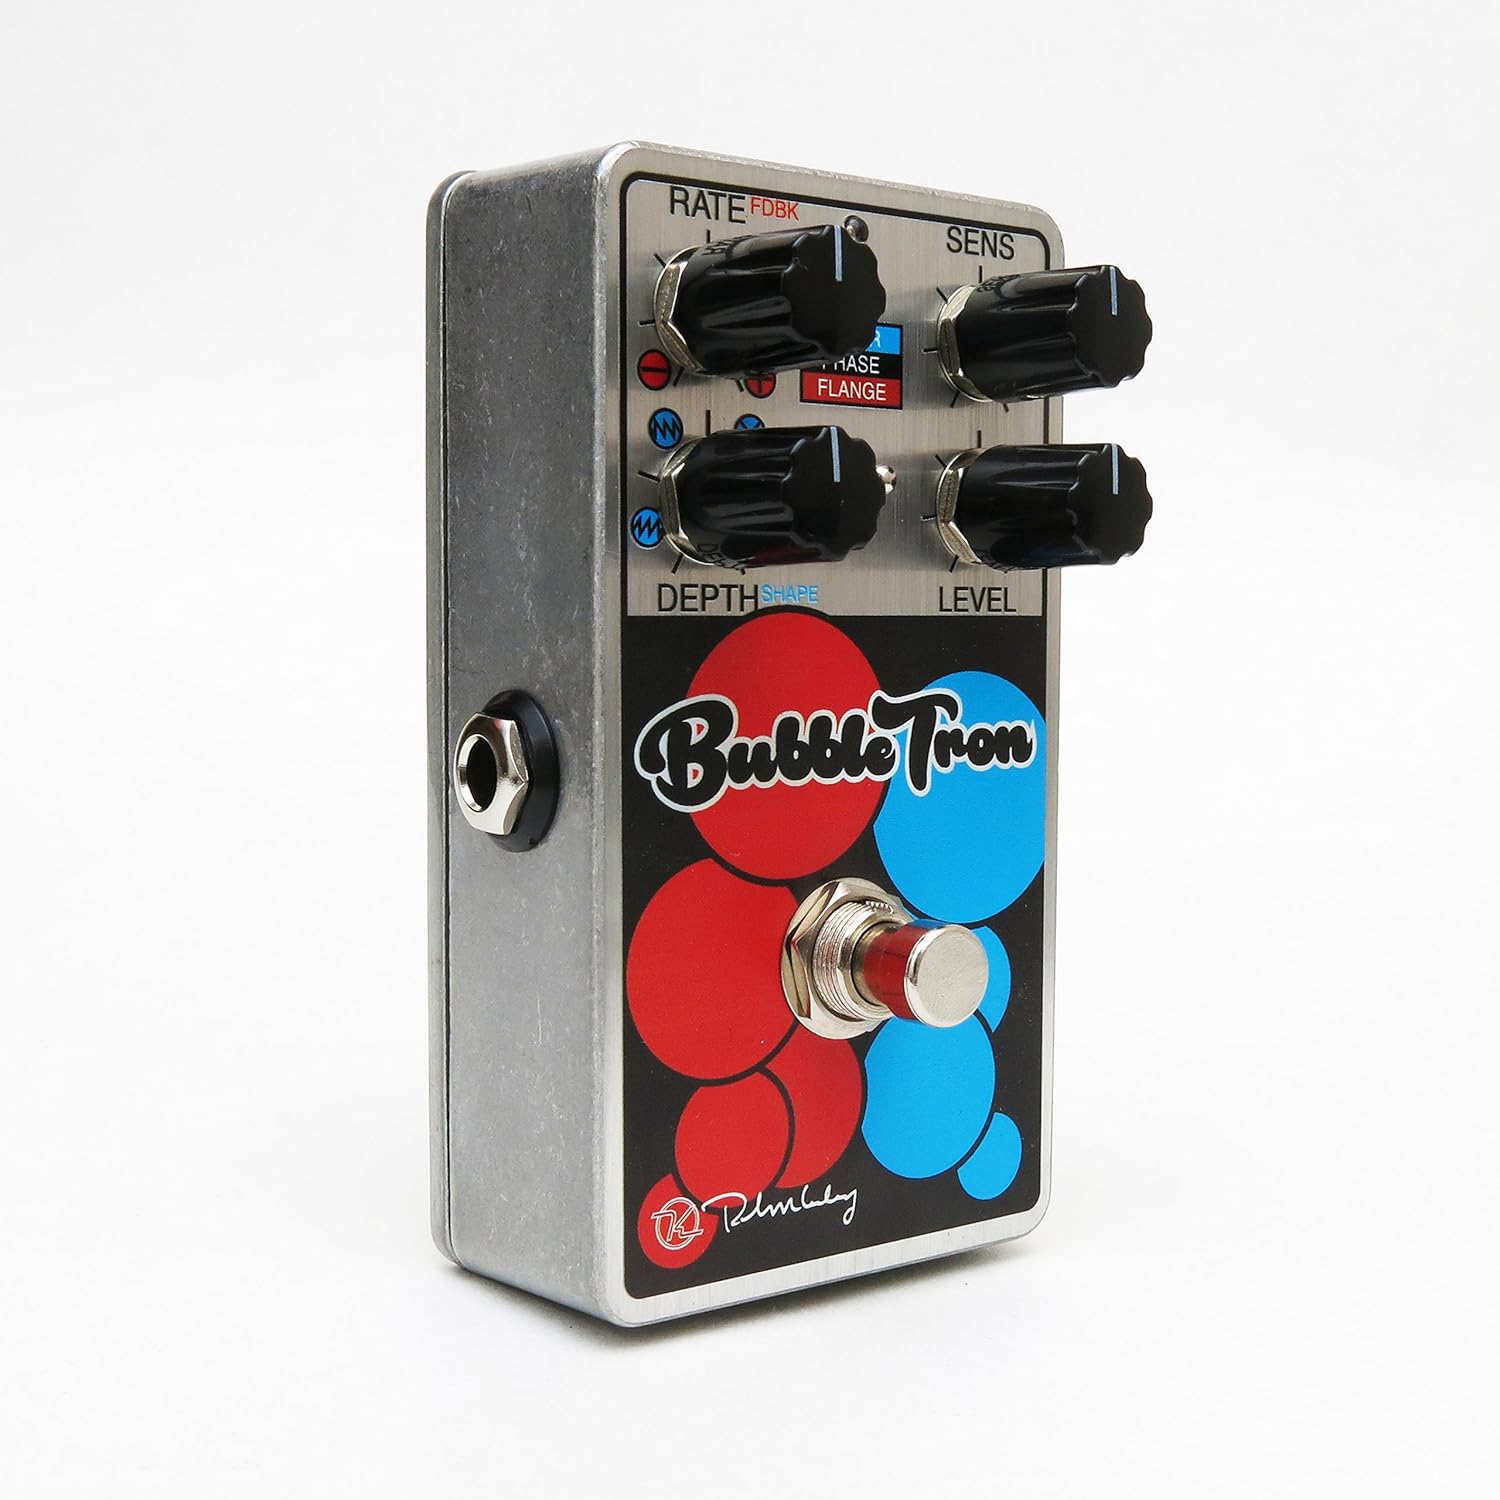
Figure 1: Keeley Bubble Tron Dynamic Flanger Phaser Pedal.
The pedal features a simple yet powerful control layout, allowing users to dial in subtle or extreme effects. Its dynamic response makes it an intuitive tool for guitarists seeking to add expressive modulation to their sound.
2. Opstelling
To set up your Keeley Bubble Tron pedal, follow these steps:
- Kragverbinding: Connect a standard 9V DC power supply (center negative, 65mA+ current draw) to the 9V jack on the pedal. Ensure the power supply meets these specifications to prevent damage.
- Invoerverbinding: Connect your guitar or other instrument to the "INPUT" jack on the right side of the pedal using a standard 1/4-inch instrument cable.
- Uitsetverbinding: Connect the "OUTPUT" jack on the left side of the pedal to your amplifier or the next pedal in your signal chain using a standard 1/4-inch instrument cable.
- Aanvanklike instellings: Before engaging the pedal, set all knobs to their 12 o'clock position and ensure the mode switch is in the middle (Phase) position for a neutral starting point.
3. Bedryfsinstruksies
The Keeley Bubble Tron offers a variety of controls to shape your sound. Familiarize yourself with each knob and switch:
Kontroles:
- RATE (FDBK):
- In Filter & Phase modes: Controls the rate of the LFO.
- In Flange mode: Controls feedback. Turning left provides maximum negative feedback; turning right provides maximum positive feedback.
- SENS (Sensitiwiteit):
- In Filter mode: Controls envelope sensitivity, acting like a synth filter.
- In Phase & Flange modes: Controls input sensitivity, determining the point at which dynamic control is triggered. Start with this knob at full left and adjust for desired responsiveness.
- DEPTH (Shape):
- In Filter mode: Selects LFO shape (from full left: ramp op, ramp down, random, or triangle).
- In Phase & Flange modes: Sets the depth of the effect for mild or lush sounds.
- VLAK: Beheer die algehele uitsetvlak van die effek.
- VOETSWAKELAAR: Skakel die effek aan en af.
Mode Select Switch:
- OP: Activates Filter mode.
- MIDDEL: Activates Phase mode.
- AF: Activates Flange mode.

Figure 2: Bank A (Default Mode) Control Layout. This mode is active when the internal switch is set to Bank A.
Internal Mini Toggles (Bank Selection):
The Bubble Tron features internal mini toggles to expand its sonic capabilities. To access these, you will need to remove the back plate of the pedal.
- ANALOG FILTER (Vintage/Modern):
- Vintage-modus: Rolls off some high frequencies for a warmer tone.
- Modern Mode: Provides full-range clarity (default setting).
- BANK TOGGLE (Bank 1/Bank 2):
- Bank 1 (Default): Offers Sample & Hold Filter, Dynamic Phaser, and Dynamic Flanger modes.
- Bank 2: Offers Envelope Filter, Standard 8-Stage Phaser, and Standard Classic Flanger modes.

Figure 3: Bank B Control Layout. Access this mode by switching the internal Bank Toggle from Bank A to Bank B.

Figure 4: Internal Mini Toggles for Analog Filter and Bank Selection.

Figure 5: External Toggle Switch modes for Bank 1 and Bank 2.
4. Onderhoud
To ensure the longevity and optimal performance of your Keeley Bubble Tron, observe the following maintenance guidelines:
- Skoonmaak: Use a soft, dry cloth to clean the pedal's exterior. Avoid abrasive cleaners or solvents, as these can damage the finish.
- Berging: Store the pedal in a cool, dry place away from direct sunlight and extreme temperatures. When not in use for extended periods, disconnect the power supply.
- Kragtoevoer: Always use a regulated 9V DC power supply with a center-negative polarity and sufficient current (65mA+). Incorrect power supplies can cause damage and void the warranty.
- Verbindings: Ensure all cables are securely connected. Avoid excessive force when plugging or unplugging cables.
5. Probleemoplossing
If you encounter issues with your Keeley Bubble Tron, try these troubleshooting steps:
- Geen klank:
- Check all cable connections (input, output, power).
- Verify the power supply is correctly connected and providing the specified 9V DC.
- Maak seker dat jou instrument en ampverligter werk reg.
- Bypass the pedal to confirm the issue is with the pedal itself.
- Ongewenste geraas/gegons:
- Gebruik 'n hoëgehalte, geïsoleerde kragtoevoer.
- Kontroleer vir foutiewe kabels.
- Verseker behoorlike aarding van jou ampverligter en ander toerusting.
- Effect Not Engaging/Responding:
- Check the footswitch functionality.
- Adjust the SENS (Sensitivity) knob, especially in dynamic modes, to ensure it's set appropriately for your playing style and instrument output.
- Verify the MODE SELECT switch is in the desired position.
6. Spesifikasies
| Kenmerk | Spesifikasie |
|---|---|
| Pedaal tipe | Dynamic Flange, Phaser, Random Synth Filter |
| Kragvereiste | 9V DC Center Negative, 65mA+ |
| Invoer/uitvoer | Mono Instrument Input, Mono Output |
| Item gewig | 9.6 onse |
| Produk afmetings | 6 x 7 x 10 duim |
| Item Modelnommer | Kbubble |
| Seinformaat | Analoog |
7. Waarborg en Ondersteuning
Vir waarborginligting en tegniese ondersteuning, verwys asseblief na die amptelike Keeley Electronics-webwerf. webwebwerf of kontak hul kliëntediens direk. Bewaar u bewys van aankoop vir enige waarborgeise.
Amptelik Webwebwerf: Keeley Elektronika Winkel