Inleiding
This manual provides detailed instructions for the safe installation, operation, and maintenance of your Globe Electric 65186 Dobson 1-Light Flush Mount Ceiling Light. Please read all instructions carefully before beginning installation and retain this manual for future reference.
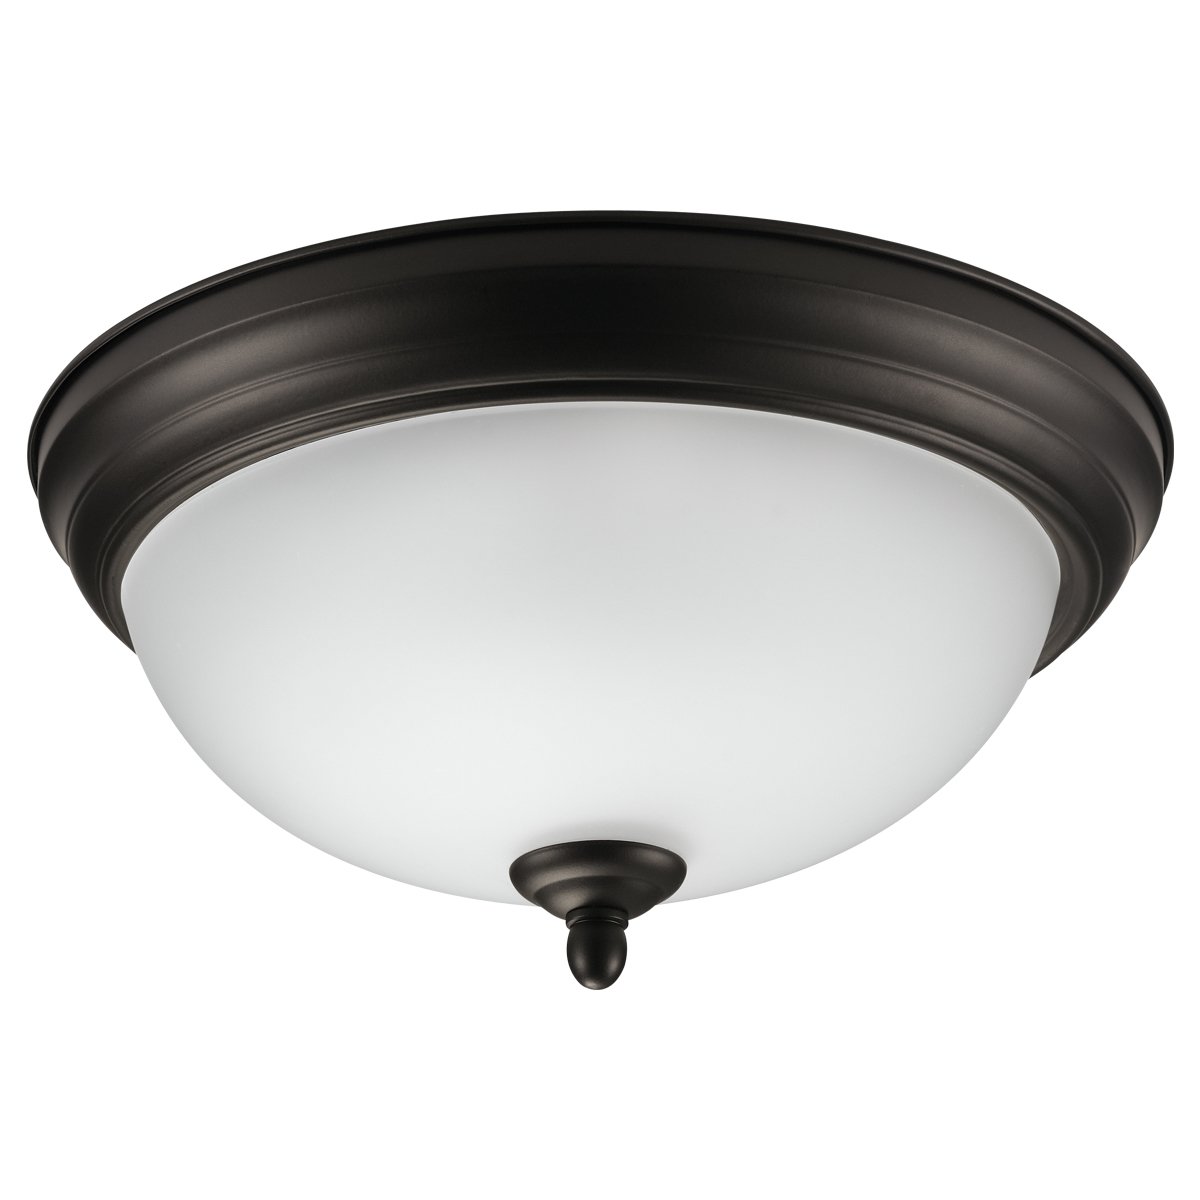
Figure 1: Globe Electric 65186 Dobson 1-Light Flush Mount Ceiling Light. This image shows the complete light fixture with its dark bronze finish and frosted glass shade.
Veiligheidsinligting
WAARSKUWING: To avoid electric shock, ensure power is turned off at the circuit breaker before installation or servicing. All wiring must be in accordance with national and local electrical codes. If you are unsure about wiring, consult a qualified electrician.
- Do not install this fixture in wet locations. Suitable for indoor use only.
- Gebruik slegs die gespesifiseerde tipe gloeilamp en wattage om oorverhitting te voorkom.
- Hanteer glaskomponente versigtig om breek te voorkom.
- Hou vlambare materiale weg van die ligte.
Pakketinhoud
Verifieer dat alle komponente teenwoordig is voordat u met die installasie begin:
- 1 x Light Fixture (Dark Bronze finish)
- 1 x Frosted Glass Shade
- 1 x Mounting Hardware Kit (includes screws, wire nuts, etc.)
- 1 x handleiding
Note: 1x Medium Base/E26 A-Type 60W Bulb is nie ingesluit en moet apart gekoop word.
Opstelling en installasie
Follow these steps for proper installation of your flush mount ceiling light:
- Skakel krag af: Locate the circuit breaker controlling the light fixture's power supply and turn it off. Confirm power is off by attempting to turn on the light switch.
- Berei montage-oppervlak voor: Maak seker dat die plafon-aansluitingsboks stewig gemonteer is en die gewig van die toebehore kan ondersteun.
- Heg monteringsbeugel aan: Secure the mounting bracket (included in hardware kit) to the junction box using the provided screws.
- Draadverbindings: Connect the fixture's wires to the corresponding house wires (black to black, white to white, ground to ground) using the provided wire nuts. Ensure all connections are secure.
- Secure Fixture to Bracket: Carefully align the fixture with the mounting bracket and secure it using the provided screws.
- Installeer gloeilamp: Screw in one E26 A-Type 60W maximum bulb (sold separately) into the socket.
- Heg glasskerm aan: Carefully place the frosted glass shade onto the fixture and secure it according to the design (typically by twisting or using decorative nuts).
- Herstel krag: Skakel die krag weer aan by die stroombreker.
Figuur 2: Intern view of the light fixture, illustrating the E26 bulb base and ironwork chassis for secure bulb installation.
Installasie Video Gids
Video 1: This video demonstrates the installation process for a similar flush mount ceiling light, providing a visual guide to complement the written instructions.
Bedryfsinstruksies
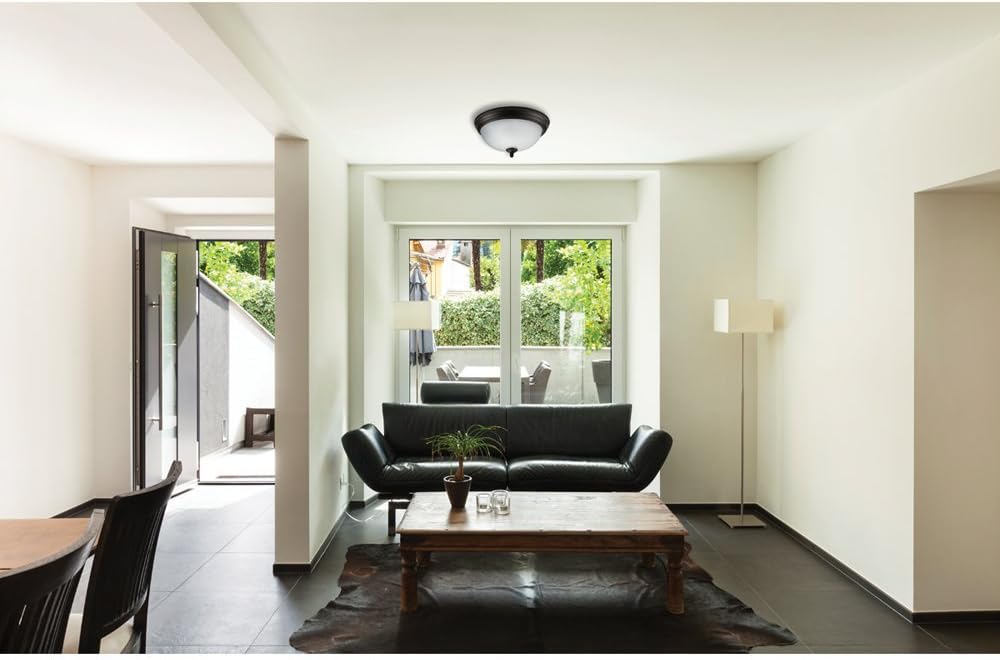
Once installed, your Globe Electric 65186 Dobson light fixture is ready for use.
- Skakel aan/af: Operate the light using your standard wall switch.
- Dimbare kenmerk: This fixture is fully dimmable. If connected to a compatible dimmer switch (sold separately), you can adjust the light intensity to create your desired ambiance.
- Gloeilamp tipe: The fixture requires one E26 A-Type bulb. For optimal performance and safety, do not exceed the maximum wattage van 60w.
Onderhoud
Regular maintenance ensures the longevity and optimal performance of your light fixture.
- Skoonmaak: Turn off power before cleaning. Wipe the fixture with a soft, dry cloth. Do not use abrasive cleaners or solvents, as they may damage the finish or glass.
- Gloeilamp vervanging: Turn off power before replacing the bulb. Allow the bulb to cool completely. Unscrew the old bulb and replace it with a new E26 A-Type 60W maximum bulb.
- Inspeksie: Kontroleer gereeld alle elektriese verbindings en monteerhardeware vir styfheid.
Probleemoplossing
As jy probleme met jou ligte ondervind, raadpleeg die volgende algemene probleme en oplossings:
| Probleem | Moontlike oorsaak | Oplossing |
|---|---|---|
| Lig skakel nie aan nie. | 1. Power is off at the circuit breaker. 2. Los draadverbinding. 3. Defekte gloeilamp. | 1. Check and reset the circuit breaker. 2. Turn off power, check and secure all wire connections. 3. Vervang die gloeilamp. |
| Ligte flikkerings. | 1. Los gloeilamp. 2. Incompatible dimmer switch. 3. Los draadverbinding. | 1. Tighten the bulb. 2. Ensure dimmer switch is compatible with the bulb type. 3. Turn off power, check and secure all wire connections. |
| Lig is te dof. | 1. Lae wattage gloeilamp. 2. Dimmer setting is too low. | 1. Vervang met 'n hoër wattage gloeilamp (tot 60W). 2. Adjust the dimmer switch to a higher setting. |
Spesifikasies
- Handelsmerk: Globe Electric
- Modelnommer: 65186
- Kleur: Oil Bronze
- Materiaal: Metaal, glas
- Styl: Moderne
- Liggaamvorm: Naby plafon / ingeboude montering
- Produk afmetings: 27.9L x 27.9W x 13.3H Centimetres (11L x 11W x 5.2H inches)
- Binne/buiteluggebruik: Binneshuise
- Kragbron: Hardwire Electric
- Beheer metode: Aanraking (via muurskakelaar)
- Aantal ligbronne: 1
- Voltage: 120 Volt
- Wattage: 60 watt (maksimum)
- Gloeilamp basis: E26
- Embellishment Feature: Dimbaar
- Item gewig: 1.25 kg
- Vergadering benodig: Nee
Waarborg en Ondersteuning
This Globe Electric product comes with a 2 jaar vervaardiger se waarborg.
For technical support, warranty claims, or further assistance, please contact Globe Electric customer service. Refer to the product packaging or the official Globe Electric webwebwerf vir die mees onlangse kontakinligting.
Manufacturer Contact Information: Pointe-Claire, QC H9R 1A8, CA