Inleiding
Thank you for choosing the Osprey Escapist 18 Daypack. This manual provides essential information for the proper setup, operation, and maintenance of your new daypack. Designed for versatility, the Escapist 18 is suitable for cycling, hiking, and daily use, offering comfort and functionality. Please read these instructions carefully to ensure the best experience with your product.
Sleutel kenmerke
- External Hydration Sleeve: Located in the back panel, this sleeve simplifies refilling and protects pack contents from spills.
- Non-Scratch Pocket: A zippered external pocket provides secure storage for items like phones or sunglasses.
- Front Stretch Mesh Pocket: A large, flexible pocket for quickly stashing additional gear or layers.
- Integrated Raincover: Stowed in its own external pocket at the bottom of the pack, this raincover protects your gear from adverse weather.
- Blinker Light Attachment: An attachment point for a blinker light enhances visibility in low-light conditions.
- LidLock Helmet Attachment: A system designed to securely carry a helmet when not in use.
Opstelling en Pas
Properly fitting your Escapist 18 Daypack is crucial for comfort and stability, especially during active use.
1. Adjusting Shoulder Straps and Hipbelt
Begin by loosening all straps: shoulder straps, hipbelt, and sternum strap. Put on the pack and center the hipbelt over your hip bones. Tighten the hipbelt until it feels snug and secure, bearing most of the pack's weight.

This image displays the rear of the Osprey Escapist 18 Daypack, highlighting the breathable AirScape back panel and the adjustable shoulder straps for a comfortable fit.
Next, tighten the shoulder straps until the pack feels comfortable against your back, ensuring the load is evenly distributed between your shoulders and hips. Avoid overtightening, which can cause discomfort.

'n Syprofile of the Escapist 18 Daypack, showing its compact design, side mesh pocket, and compression straps for load stability.
2. Sternum Strap Adjustment
Fasten the sternum strap across your chest. Adjust its height and tension to a comfortable position. This strap helps stabilize the pack and keeps the shoulder straps from slipping.
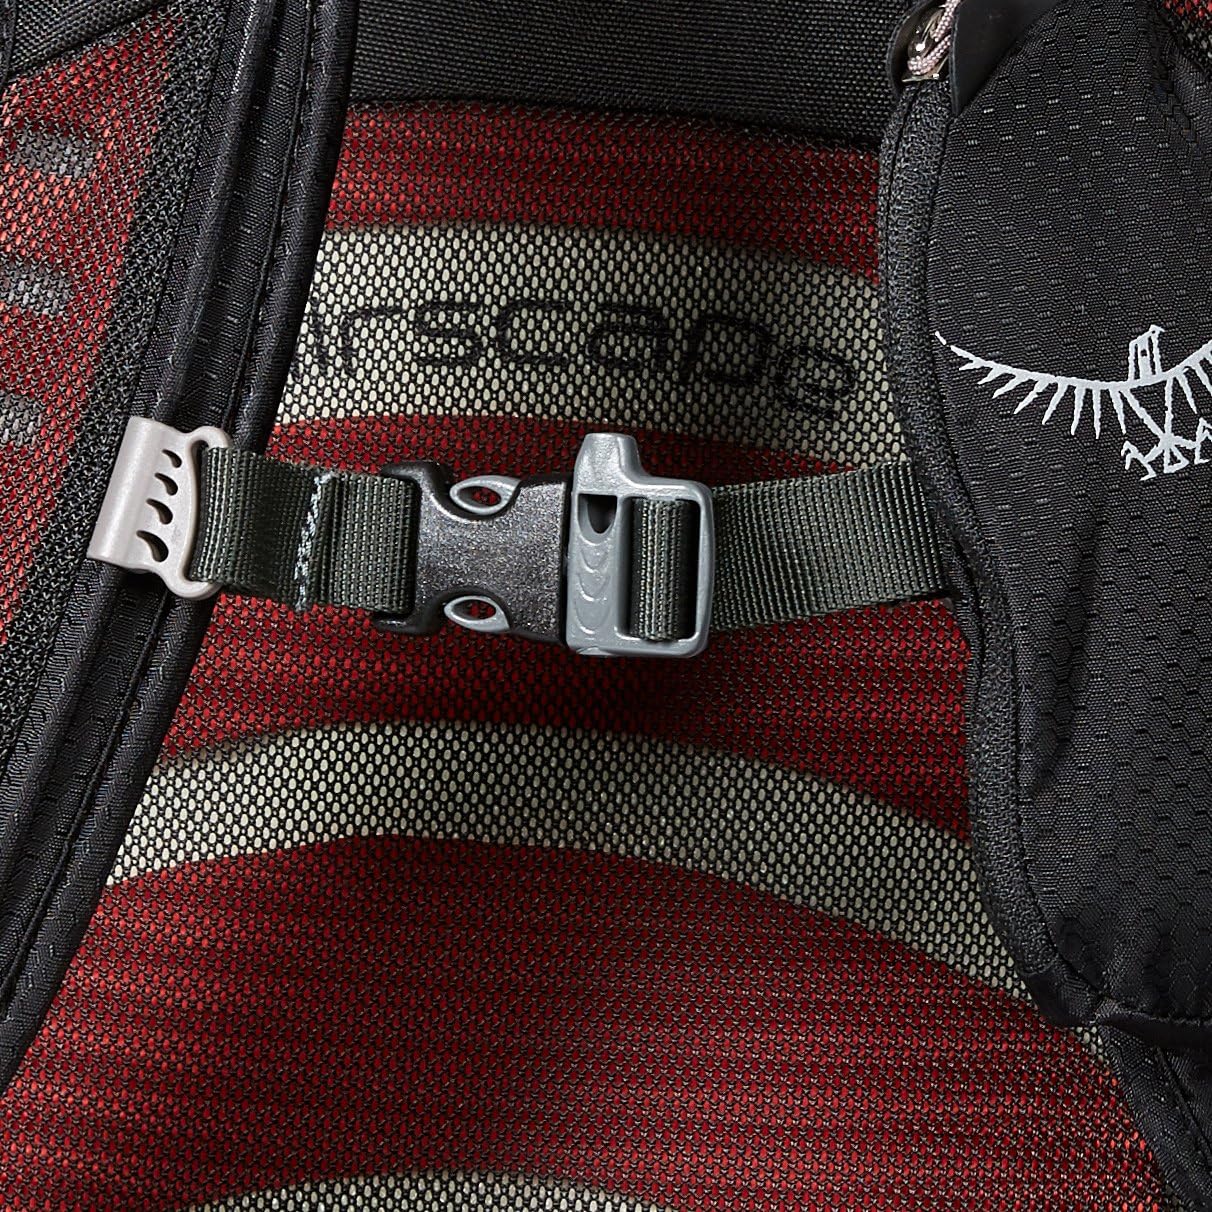
Detail of the sternum strap, which can be adjusted vertically and horizontally to secure the pack and distribute weight across the chest.
3. Hydration System Integration
The external hydration sleeve is located behind the main compartment. Slide your hydration reservoir into this sleeve. Route the hose over your shoulder and secure it to the shoulder strap using the designated clips or loops.
Bedryfsinstruksies
1. Accessing Main Compartment
The main compartment is accessed via a large zippered opening at the top of the pack. This provides ample space for your larger items.

This image shows the main compartment of the daypack opened, illustrating the generous storage capacity and the internal organization options.
2. Utilizing Pockets and Storage
- Front Stretch Mesh Pocket: Ideal for quick-access items like a jacket, map, or snacks.
- Zippered Non-Scratch Pocket: Use for delicate items such as sunglasses or a smartphone.
- Sy-gaas sakke: Designed to hold water bottles or other items you need to grab easily.
- Hipbelt Pockets (if applicable): Some models may feature small zippered pockets on the hipbelt for small essentials like keys or energy gels.
3. Deploying the Raincover
In wet conditions, locate the integrated raincover in its dedicated pocket at the bottom of the pack. Unfold it and stretch it over the entire pack, securing it with the elasticized edges and any attachment points to ensure full coverage.

The daypack is shown with its bright neon yellow raincover in place, demonstrating how it protects the pack and its contents from rain and moisture.
4. Using the LidLock Helmet Attachment
To attach your helmet, locate the LidLock clip on the front of the pack. Thread the helmet's vents through the clip and pull it taut to secure the helmet against the pack. This system holds your helmet firmly without taking up internal space.
Onderhoud
Cleaning Your Pack
For general cleaning, wipe the pack with a damp cloth and mild soap. For deeper cleaning, hand wash only. Do not machine wash or tumble dry. Air dry the pack completely in a shaded area away from direct sunlight.
Berging
Store your pack in a cool, dry place away from direct sunlight and extreme temperatures. Ensure the pack is completely dry before storing to prevent mildew.
Probleemoplossing
- Discomfort or Uneven Weight Distribution: Re-adjust all straps (hipbelt, shoulder, sternum) to ensure the pack is snug and the weight is balanced between your hips and shoulders. Ensure heavy items are packed closer to your back.
- Zippers Sticking: Apply a small amount of zipper lubricant or graphite from a pencil to the zipper teeth. Avoid forcing stuck zippers.
- Raincover Not Staying in Place: Ensure the elasticized edges are fully stretched around the pack and any attachment points are secured.
Spesifikasies
| Handelsmerk | Visarend |
| Model Naam | Escapist 18 |
| Kleur | Swart |
| Materiaal tipe | Nylon, Poliëster |
| Item gewig | 1.62 pond (ongeveer 0.73 kg) |
| Bergingsvolume | 18 liter |
| Aantal sakke | 5 |
| Aantal kompartemente | 4 |
| Waterweerstandvlak | Water Resistant (with integrated raincover) |
| Produkversorgingsinstruksies | Slegs Handwas |
Waarborg en Ondersteuning
Osprey products are built to last. For specific warranty information or to contact customer support, please refer to the official Osprey website or the documentation provided at the time of purchase. Keep your proof of purchase for any warranty claims.