Inleiding
The RUPES LHR 75E Random Orbital Polisher is engineered for precision detailing, allowing users to achieve perfect results even in challenging areas. Its ergonomic design and 12 mm orbit are ideal for spot repair operations and intricate surfaces like mudguards and front panels, ensuring comfortable handling and accuracy in polishing tasks.
Sleutel kenmerke sluit in:
- Ergonomically perfect shape with non-slip rubber inserts for comfort and control.
- Non-slip rubber on/off lever for controlled soft start.
- Electronic speed control module for easy adjustment during operation.
- Powerful 400 watt motor with an 18AWG USA polarized 4mt plug.
- Made in Italy, ensuring high-quality craftsmanship.
Wat is in die boks
Upon unboxing your RUPES LHR75E Random Orbital Polisher, you should find the following components:
- RUPES LHR75E Polisher Unit
- Rugplaat
Opstelling
Before operating your RUPES LHR75E polisher, ensure proper setup for safety and optimal performance.
- Inspekteer die eenheid: Check the polisher for any visible damage or loose parts. Ensure the power cord is intact.
- Heg die rugplaat aan: Securely attach the appropriate backing plate to the polisher's spindle.
- Select and Attach Polishing Pad: Choose the correct polishing pad (foam or microfiber) for your task. Ensure it is clean and free of debris. Align the pad with the backing plate and firmly press it into place using the hook-and-loop system.
- Koppel krag: Plug the 18AWG USA polarized 4mt power cord into a suitable electrical outlet.
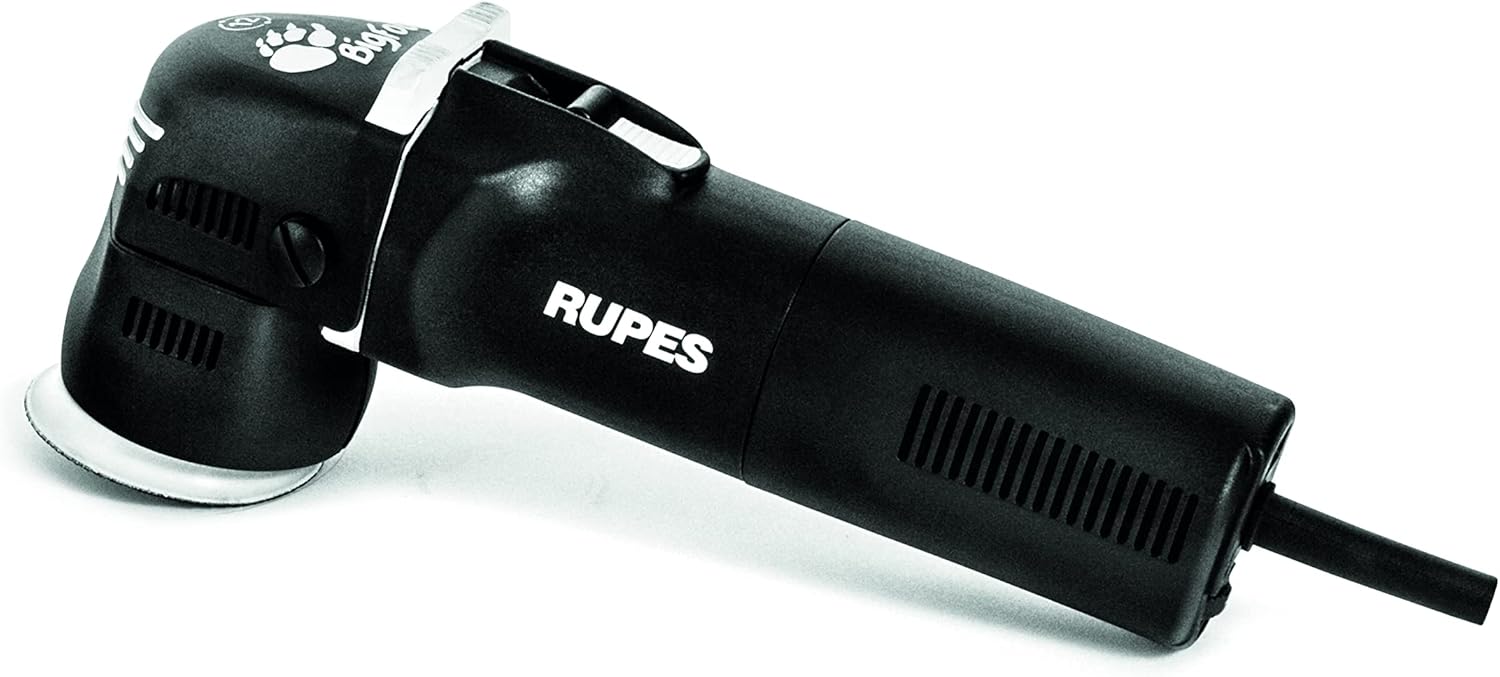
Figure 1: RUPES LHR75E Polisher with attached power cord.
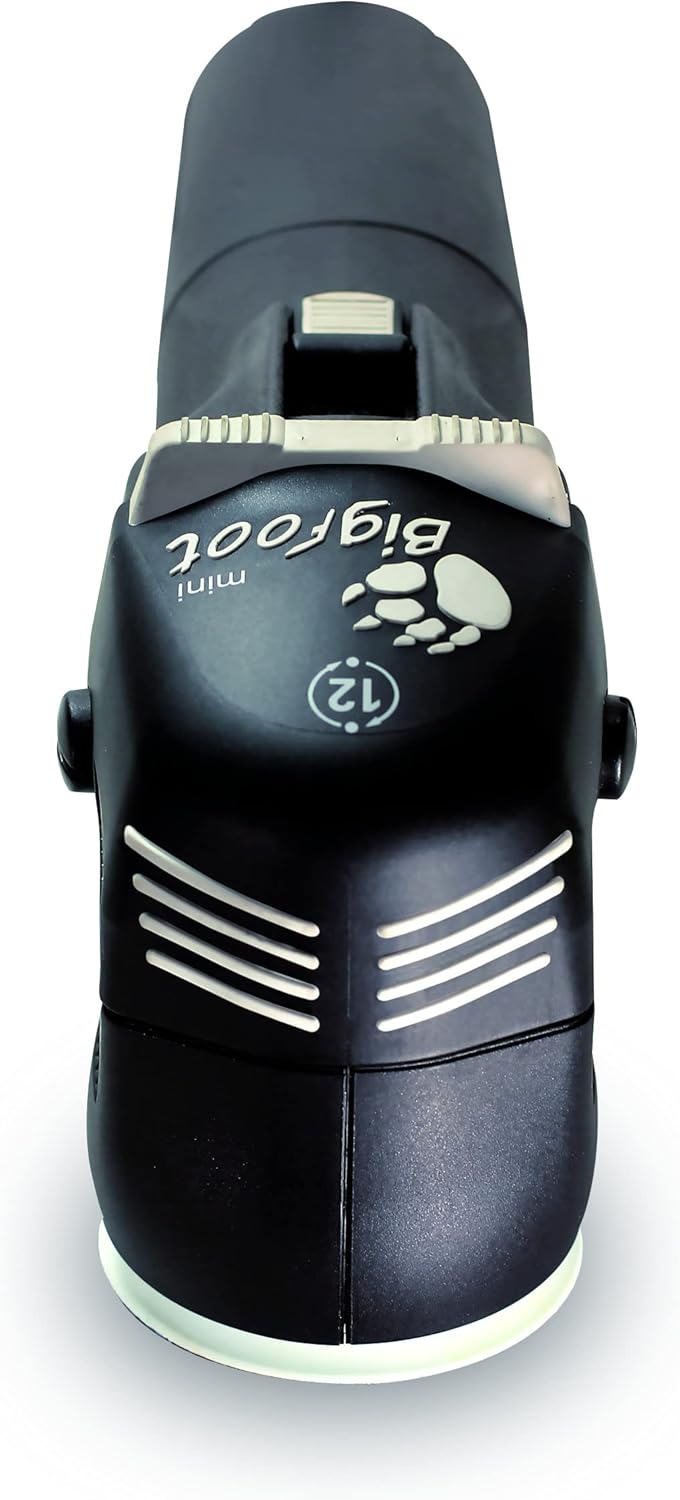
Figuur 2: Bo view of the RUPES LHR75E, highlighting the 'Bigfoot mini 12' branding and ergonomic design.
Bedryfsinstruksies
Follow these steps for effective and safe operation of your RUPES LHR75E polisher.
- Berei oppervlak voor: Ensure the vehicle surface is clean, dry, and free of contaminants. Mask off any trim or areas not to be polished.
- Wend politoer/vernis aan: Apply a small amount of polishing compound or polish directly onto the pad.
- Stel spoed: Use the electronic speed control module to select the desired speed setting. Start with a lower speed to spread the product, then increase as needed for correction.
- Begin poleer: Place the pad flat on the surface before turning on the polisher. Use the non-slip rubber on/off lever for a controlled soft start.
- Tegniek: Work in small sections (e.g., 2x2 feet). Apply light to moderate pressure and move the polisher in overlapping passes (cross-hatch pattern). Maintain consistent speed and pressure.
- Wipe Off Residue: After polishing a section, turn off the polisher, lift it from the surface, and wipe off any residue with a clean microfiber towel.

Figure 3: Applying polishing compound to the pad before use.
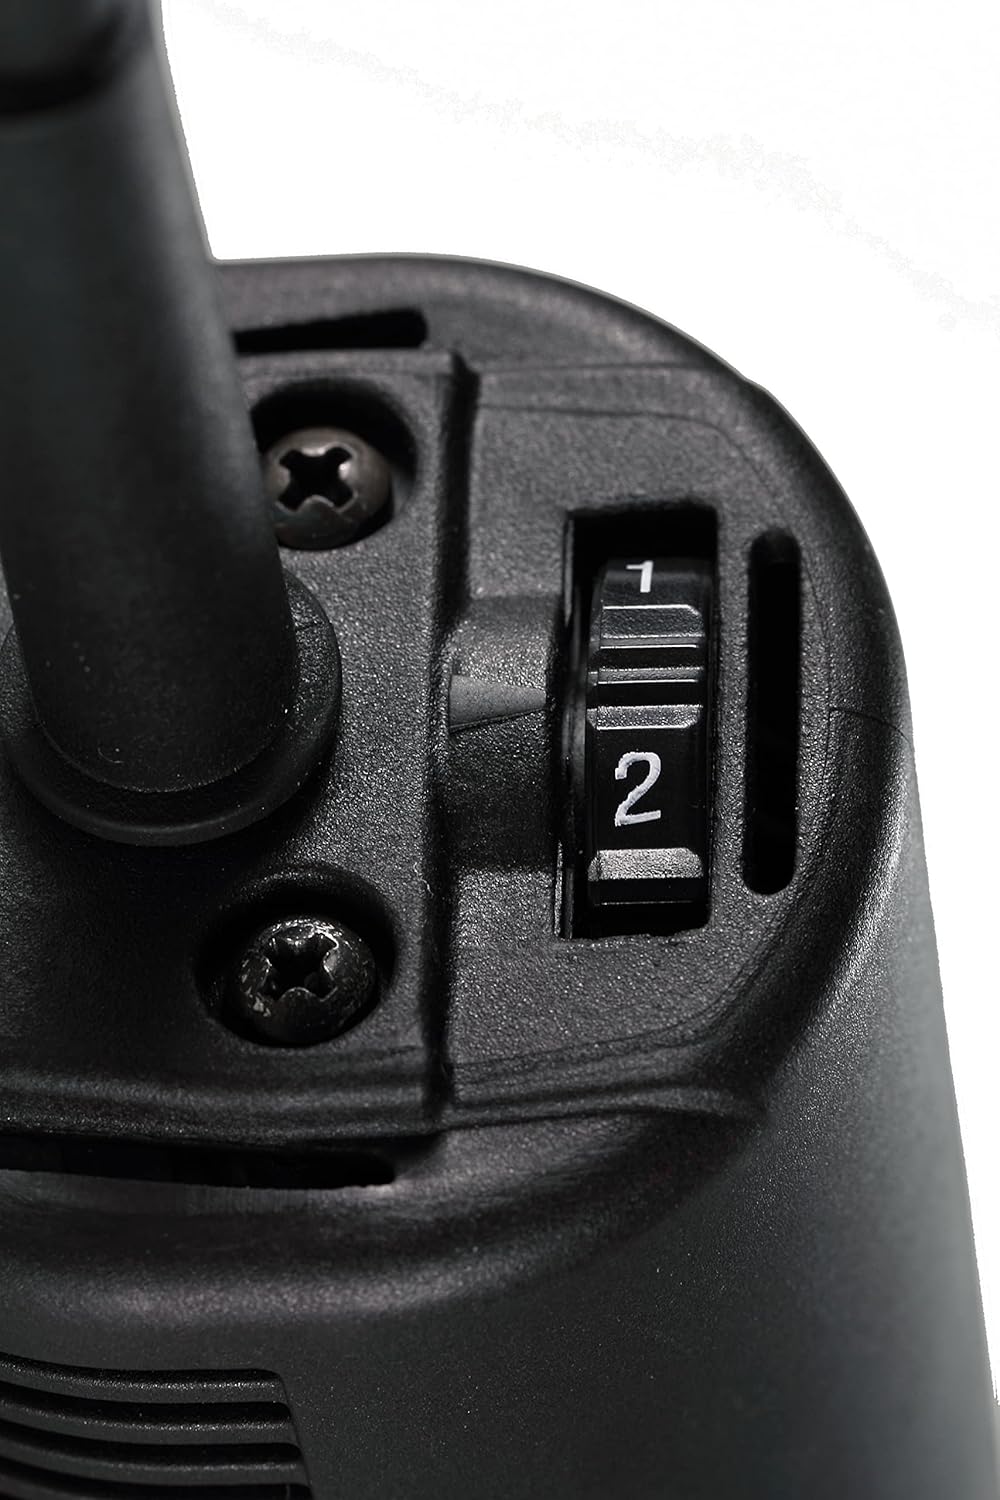
Figure 4: Electronic speed control dial for precise adjustment.

Figure 5: Polishing a car panel with the RUPES LHR75E.

Figure 6: The compact size of the LHR75E allows for precise work on smaller, intricate areas like side mirrors.
Helpful Video Resources
Video 1: This video demonstrates the features and use of a mini random orbital polisher, similar in concept to the RUPES LHR75E, for detailing various car parts. (Note: This video features a Griot's Garage G8 Mini Random Orbital Polisher, not the RUPES LHR75E directly, but illustrates general mini polisher usage.)
Video 2: This video showcases a 3-inch mini random orbital car buffer polisher set in action, providing visual guidance on how such tools are used for car detailing. (Note: This video features an SPTA 3-inch mini polisher, not the RUPES LHR75E directly, but illustrates general mini polisher usage.)
Onderhoud
Regular maintenance ensures the longevity and optimal performance of your RUPES LHR75E polisher.
- Skoon pads: After each use, clean polishing pads thoroughly to remove compound residue. Allow them to air dry completely.
- Wipe Down Polisher: Wipe the polisher body with a clean, damp cloth to remove any dust or polish splatter.
- Inspekteer koord: Periodically check the power cord for cuts, fraying, or damage. Replace if necessary.
- Stoor behoorlik: Store the polisher in a clean, dry place, away from extreme temperatures and direct sunlight.
Probleemoplossing
If you encounter issues with your RUPES LHR75E polisher, refer to the following common troubleshooting tips:
- Polisher Not Turning On:
- Maak seker dat die kragkabel stewig in 'n werkende stopcontact ingeprop is.
- Check the on/off lever for proper engagement.
- Oormatige vibrasie/geraas:
- Ensure the backing plate and polishing pad are securely attached and centered.
- Check the pad for uneven wear or damage. Replace if necessary.
- Poor Polishing Performance:
- Ensure the correct pad and compound are being used for the task.
- Adjust the speed setting as appropriate for the product and surface condition.
- Clean or replace clogged pads.
Spesifikasies
| Kenmerk | Detail |
|---|---|
| Handelsmerk | RUPES |
| Model | LHR75E#120/H6/US/STD |
| Kragbron | Elektries met koord |
| Maksimum krag | 400 Watt |
| Item gewig | 6.1 pond |
| Produk afmetings | 15.6" D x 6.7" B x 6.4" H |
| Materiaal | Legeringstaal, metaal |
| Kleur | Oranje |
| Spesifieke gebruike | Automotive, Professional |
Waarborg en Ondersteuning
The RUPES LHR75E Random Orbital Polisher comes with a 1 jaar vervaardiger se waarborg. For warranty claims, technical support, or service inquiries, please refer to the contact information provided in your product packaging or visit the official RUPES webwebwerf.