1. Inleiding
The QuietWarmth THERMST-D Non-Programmable Thermostat is designed to provide reliable control for 120V or 240V electric radiant floor heating systems. This thermostat offers flexible temperature management, allowing you to configure it for control based on floor temperature, room temperature, or a combination of room temperature with a floor temperature limit. It features a built-in Ground Fault Circuit Interrupter (GFCI) for enhanced safety and a clear, backlit display for easy monitoring and operation. A floor sensor is included to ensure accurate temperature readings and optimal comfort.

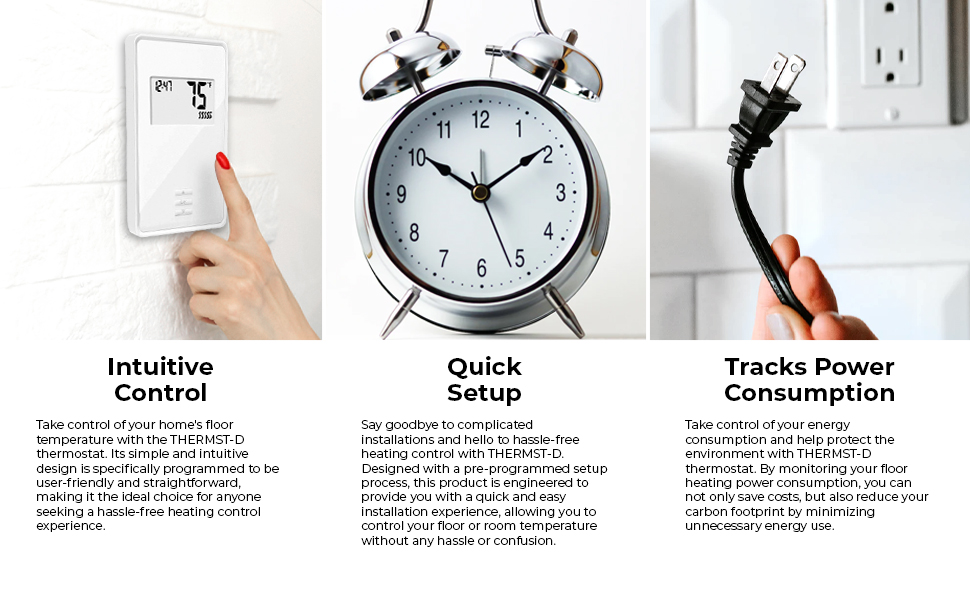
Figuur 1: Voorkant view of the THERMST-D Thermostat.
2. Veiligheidsinligting
Please read all instructions carefully before installation and operation. Failure to follow these instructions may result in electric shock, fire, or property damage.
- WAARSKUWING: To reduce the risk of electric shock, do not connect this device to a circuit with any phase operating down more than 150 volts to ground.
- Installation must be performed by a qualified electrician in accordance with local and national electrical codes.
- The thermostat requires connection to a dedicated 20 Amp kring.
- The resistive load connected to the thermostat must not exceed 15 Amps.
- Electric radiant floor heating systems are required by the National Electrical Code to be protected by a Ground Fault Circuit Interrupter (GFCI). This thermostat has a built-in GFCI.
- Always turn off power at the circuit breaker before installing or servicing the thermostat.

Figuur 2: Kant view of the thermostat with safety warning label.
3. Pakketinhoud
Verifieer dat alle items in die pakket teenwoordig is:
- QuietWarmth THERMST-D Non-Programmable Thermostat
- Vloersensor
4. Produk verbyview
4.1 Sleutelkenmerke
- Non-Programmable operation for radiant floor heat systems.
- Compatible with both 120V and 240V heating systems.
- Integrated Ground Fault Circuit Interrupter (GFCI) for safety.
- Clear, backlit LED display for easy reading.
- Includes a floor sensor for precise temperature control.
- Configurable for floor temperature, room temperature, or room temperature with a floor temperature limit.
- Seven-day energy log to monitor power consumption.
- Supports multiple QuietWarmth mats: up to 120 sq ft for 120V systems, or 240 sq ft for 240V systems.
4.2 Komponente
The thermostat consists of a front display unit with control buttons and a back plate for electrical connections.
- Voorpaneel: Features a digital display showing time and temperature, along with 'Up', 'OK', and 'Down' buttons for navigation and setting adjustments.
- Rugpaneel: Contains wiring terminals for power input (L1, L2) and load output, as well as a connection point for the floor sensor.

Figuur 3: Terug view of the thermostat with wiring terminals.

Figure 4: Included floor sensor.
5. Opstelling en installering
Installasie moet slegs deur 'n gekwalifiseerde elektrisiën uitgevoer word.
5.1 Montering
- The thermostat is designed for wall mounting.
- Ensure the mounting location is free from direct sunlight, drafts, or other heat sources that could affect temperature readings.
5.2 Bedrading
Before wiring, ensure power is OFF at the circuit breaker.
- Connect the thermostat to a dedicated 20 Amp kring.
- Identify the Line (power supply) and Load (heating mat) wires.
- Connect the Line wires to the L1(L) and L2(N) terminals on the thermostat's back panel.
- Connect the Load wires from the heating mat to the 'Load' terminals on the thermostat.
- Verseker behoorlike aarding volgens plaaslike elektriese kodes.
- The thermostat is dual-voltage; it can be used with either 120V or 240V heating mats, but not simultaneously. Verify your heating mat's voltage pas by die kragtoevoer.
5.3 Floor Sensor Placement
The floor sensor is crucial for accurate floor temperature control.
- Place the sensor next to the long edge of the QuietWarmth heating mat.
- Ensure the sensor is positioned in the heated area and not near any unheated zones or external heat sources.
- Route the sensor wire carefully to avoid damage during installation of flooring materials.

Figuur 5: Example of radiant heat film installation under floating floors.
Figuur 6: Example of radiant heat film installation under tile and glued floors.
6. Bedryfsinstruksies
6.1 Skakel aan
After installation, restore power at the circuit breaker. The thermostat display will illuminate.
6.2 Stel temperatuur
- Gebruik die Up en Af knoppies om die verlangde temperatuur aan te pas.
- Druk die OK knoppie om jou keuse te bevestig.
6.3 Beheermodusse
The thermostat can be configured to operate in one of three control modes:
- Floor Temperature Control: The thermostat maintains the floor at the set temperature using the floor sensor.
- Kamertemperatuurbeheer: The thermostat maintains the room air temperature at the set point.
- Room Temperature Control with Floor Limit: The thermostat primarily controls room air temperature but prevents the floor temperature from exceeding a specified maximum limit, protecting sensitive flooring materials.
Refer to the full installation guide for instructions on how to select and configure these control modes.
6.4 Energy Log
The thermostat features a seven-day energy log, allowing you to monitor the power consumption of your radiant heating system. Consult the detailed manual for accessing and interpreting this data.
7. Onderhoud
7.1 GFCI Testing
For continued safety, the built-in GFCI should be tested monthly.
- Druk die TOETS button located on the bottom of the thermostat.
- The GFCI should trip, cutting power to the heating system and indicating a fault.
- Druk die TERUGSTEL button to restore power.
- If the GFCI does not trip or reset correctly, discontinue use and contact a qualified electrician.

Figure 7: Bottom of the thermostat with GFCI test button.
7.2 Skoonmaak
Vee die buitekant van die termostaat af met 'n sagte, damp lap. Moenie skuur skoonmaakmiddels of oplosmiddels gebruik nie.
8. Probleemoplossing
If you encounter issues with your QuietWarmth THERMST-D thermostat, refer to the following common problems and solutions:
- Geen skerm/geen krag:
- Check the circuit breaker for the dedicated circuit and ensure it is in the ON position.
- Verifieer dat alle bedradingsverbindings veilig en korrek is.
- Heating System Not Activating:
- Ensure the thermostat is set to a temperature higher than the current room or floor temperature.
- Check if the GFCI has tripped (press the RESET button if it has).
- Confirm the correct control mode is selected (floor, room, or room with limit).
- GFCI Trips Frequently:
- This indicates a ground fault. Immediately turn off power at the circuit breaker.
- Inspect the heating mat and wiring for any damage or moisture.
- Ensure the total resistive load does not exceed 15 Amps.
- Contact a qualified electrician for diagnosis and repair.
- Onakkurate temperatuurlesings:
- Verify the floor sensor is correctly installed and not damaged.
- Ensure the thermostat is not exposed to drafts, direct sunlight, or other external heat sources.
For issues not covered here, please contact QuietWarmth customer support or a qualified electrician.
9. Spesifikasies
| Spesifikasie | Detail |
|---|---|
| Handelsmerk | StilWarmte |
| Model Naam | QuietWarmth Non-Programmable Thermostat |
| Deelnommer | TERMST-D |
| Produk afmetings | 3" D x 4" B x 6" H |
| Item gewig | 11.4 onse |
| Kleur | Wit |
| Materiaal | Plastiek |
| Voltage | 120 Volt, 240 Volt |
| Max Resistive Load | 15 Amps |
| Kragbron | Hardbedraad |
| Tipe beheerder | Drukknop |
| Tipe temperatuurbeheer | Handleiding |
| Tipe vertoon | LED (Backlit) |
| Verbindingstegnologie | Bedraad |
| Spesiale kenmerk | Energy Usage Tracking, Built-in GFCI |
| Montage tipe | Muurmontering |
| Spesifikasie Met | UL |
| UPC | 696087109103 |
10. Waarborg en Ondersteuning
10.1 Waarborginligting
The QuietWarmth THERMST-D Non-Programmable Thermostat comes with a 3-year limited warranty from the date of purchase. This warranty covers defects in materials and workmanship under normal use. Please retain your proof of purchase for warranty claims.
10.2 Kliëntediens
For technical assistance, troubleshooting, or warranty inquiries, please contact QuietWarmth customer support. Refer to the product packaging or the manufacturer's webwebwerf vir huidige kontakinligting.