1. Inleiding
This manual provides essential instructions for the safe and effective use, setup, operation, and maintenance of your Beta 1741 U Ultra Compact Riveting Plier. Please read this manual thoroughly before using the tool to ensure proper function and to prevent injury or damage.
The Beta 1741 U is a compact, heavy-duty riveting plier designed for installing rivets with diameters ranging from 2.4mm to 4.8mm. It features an adjustable force mechanism for optimal performance across different rivet materials and sizes.
2. Veiligheidsinligting
Always observe the following safety precautions when using the riveting plier:
- Dra oogbeskerming: Dra altyd veiligheidsbril of 'n veiligheidsbril om jou oë teen vlieënde puin te beskerm.
- Dra handbeskerming: Use appropriate gloves to protect your hands.
- Inspekteer Gereedskap Voor Gebruik: Ensure the tool is in good working condition. Do not use if damaged.
- Use Correct Rivet Size: Match the rivet diameter to the correct nosepiece and tool capacity (2.4mm-4.8mm).
- Veilige werkstuk: Ensure the materials being riveted are stable and properly secured.
- Hou duidelik: Keep hands and fingers away from the working end of the tool during operation.
- Berg veilig: Bêre die gereedskap op 'n droë, veilige plek, buite bereik van kinders.
3. Produk verbyview
The Beta 1741 U riveting plier is designed for ease of use and durability. Familiarize yourself with its main components:

Figuur 3.1: Vol view of the Beta 1741 U Ultra Compact Riveting Plier. This image shows the overall design, including the orange body, black handles, and the nosepiece assembly.
- Handvatsels: Ergonomically designed for comfortable grip and force application.
- Nosepiece Assembly: Holds the rivet in place and includes interchangeable nosepieces for different rivet diameters.
- Adjustable Force Mechanism: Allows for fine-tuning the pulling force for optimal rivet setting.
- Mandrel Collector: Catches spent rivet mandrels for easy disposal.
- Handle Lock: A metal clip to keep the handles closed for compact storage.
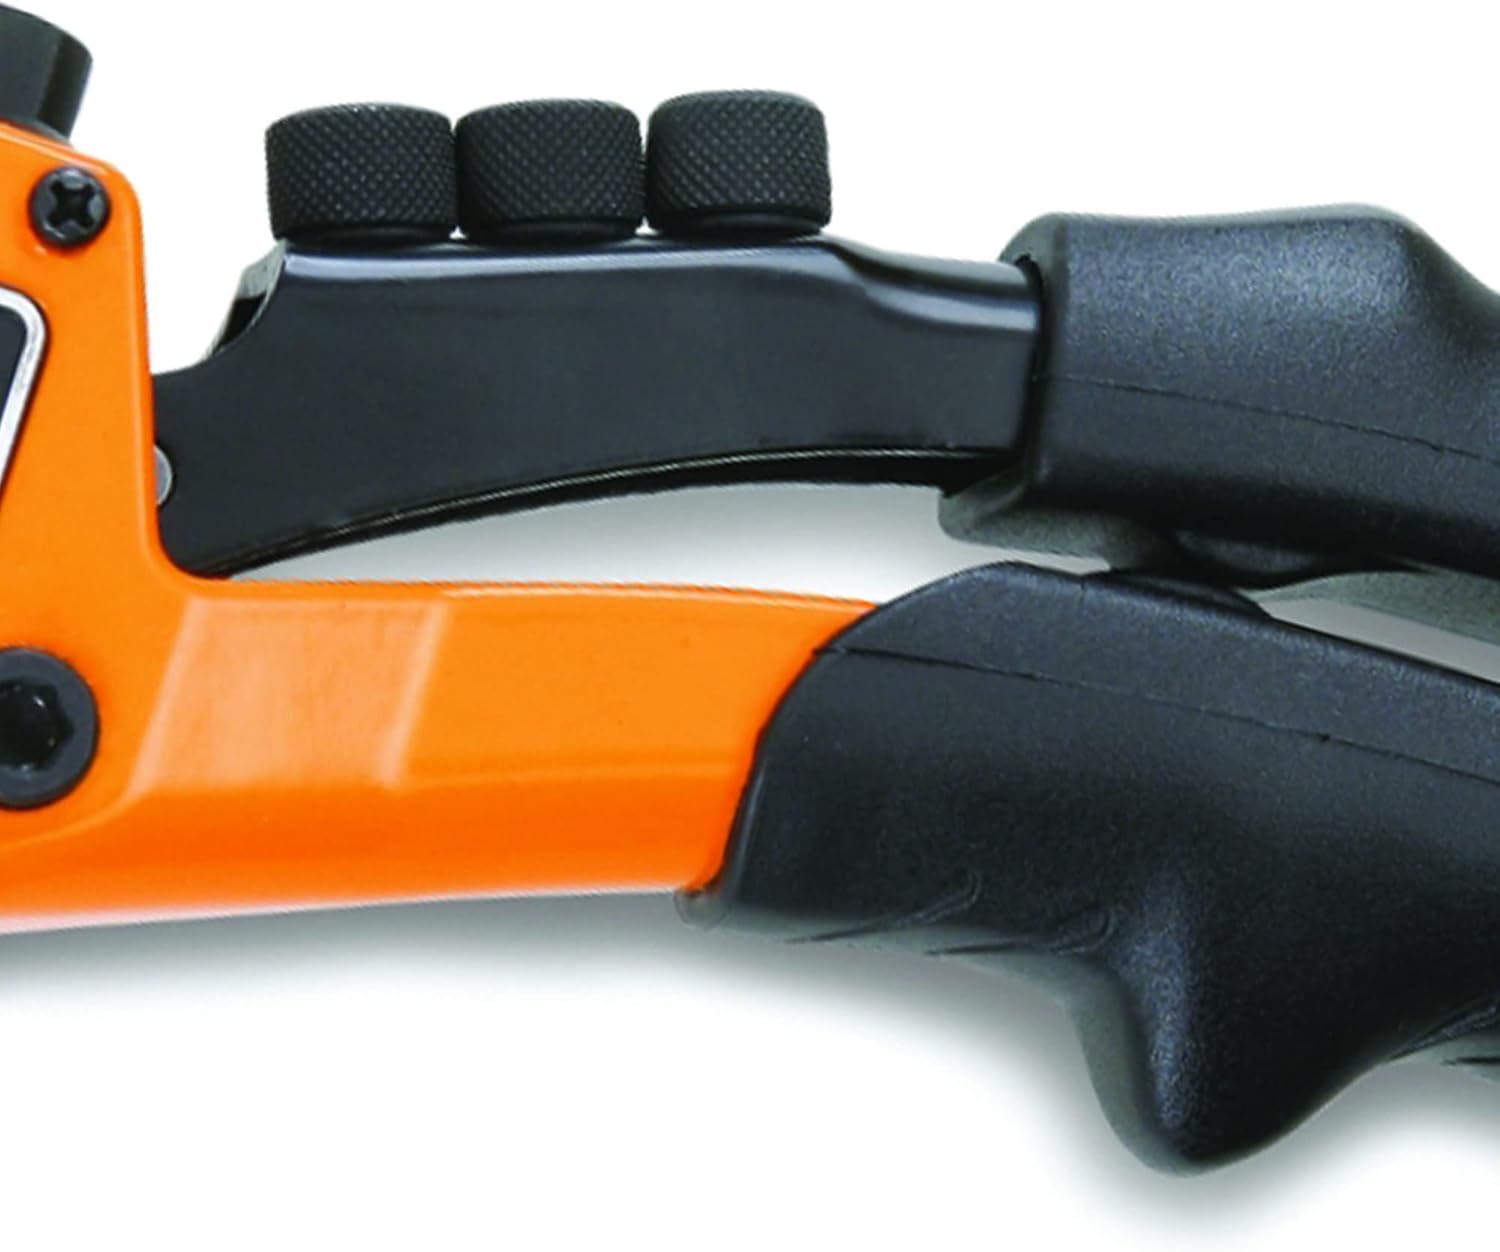
Figuur 3.2: Close-up view of the plier handles and the three interchangeable nosepieces stored on the handle. This illustrates how the different nosepiece sizes are kept with the tool.
4. Opstelling
Before riveting, select and install the correct nosepiece for your rivet size.
- Identify Rivet Size: Determine the diameter of the rivet you intend to use. The Beta 1741 U supports 2.4mm, 3.2mm, 4.0mm, and 4.8mm rivets.
- Select Nosepiece: Choose the nosepiece that matches your rivet diameter. The nosepieces are typically stored on the handle of the tool.
- Remove Current Nosepiece (if applicable): Unscrew the currently installed nosepiece from the plier head.
- Install Correct Nosepiece: Screw the selected nosepiece firmly into the plier head until it is hand-tight. Ensure it is securely seated.
5. Bedryfsinstruksies
Follow these steps to effectively use the riveting plier:
- Berei werkstuk voor: Drill a hole in the materials to be joined that matches the rivet diameter. Ensure the hole is clean and free of burrs.
- Voeg klinknagel in: Place the rivet through the prepared holes in the workpiece.
- Load Rivet into Plier: Insert the rivet mandrel (the pin) into the nosepiece of the riveting plier until the rivet head rests against the nosepiece.
- Position Plier: Place the rivet head firmly against the workpiece surface.
- Adjust Force (if necessary): The Beta 1741 U features an adjustable force mechanism. Rotate the knurled ring near the nosepiece to increase (+) or decrease (-) the pulling force. Adjusting the force can help achieve a consistent set for different rivet materials and thicknesses.
- Operate Plier: Squeeze the handles of the plier together firmly and steadily. You may need to squeeze multiple times until the rivet mandrel snaps off.
- Release Handles: Once the mandrel snaps, release the handles. The spent mandrel will be collected in the tool's internal collector.
- Inspect Rivet: Verify that the rivet is securely set and flush with the workpiece surface.

Figuur 5.1: Gedetailleerd view of the adjustable force mechanism. Turning the ring clockwise (towards '+') increases the pulling force, while turning it counter-clockwise (towards '-') decreases it.
6. Onderhoud
Regular maintenance ensures the longevity and optimal performance of your riveting plier.
- Maak gereeld skoon: After each use, wipe down the tool with a clean, dry cloth to remove dust, debris, and metal shavings.
- Empty Mandrel Collector: Periodically empty the spent rivet mandrels from the collector. This prevents jamming and ensures smooth operation.
- Smering: Apply a small amount of light machine oil to moving parts and pivot points occasionally to ensure smooth action.
- Inspect Nosepieces: Check nosepieces for wear or damage. Replace them if they are worn or if rivets are not seating properly.
- Berging: Store the plier in a dry environment to prevent rust. Use the handle lock to keep the handles closed for compact and safe storage.

Figuur 6.1: View of the metal handle lock. This clip keeps the handles closed for secure storage and prevents accidental opening.
7. Probleemoplossing
Indien u probleme ondervind, verwys na die volgende algemene probleme en oplossings:
| Probleem | Moontlike oorsaak | Oplossing |
|---|---|---|
| Rivet mandrel does not snap off. |
|
|
| Rivet does not set properly (loose or deformed). |
|
|
| Mandrel jams in the tool. |
|
|
8. Spesifikasies
| Kenmerk | Detail |
|---|---|
| Modelnommer | 1741U |
| Rivet Diameters Supported | 2.4 mm - 4.8 mm |
| Verstelbare krag | Ja |
| Materiaal | Werkzeugstahl (Tool Steel) |
| Hanteer Materiaal | Plastiek |
| Produk afmetings | 10.63"L x 3.94"B |
| Item gewig | 0.45 kilogram (ongeveer 15.8 onse) |
| Kleur | Oranje |
| Spesifieke gebruike | Professioneel |
9. Waarborg en Ondersteuning
For warranty information or technical support, please contact Beta customer service through their official website or authorized distributors. Keep your purchase receipt as proof of purchase.
Vervaardiger: Beta
Onderdeelnommer: 1741 U