Inleiding
This manual provides detailed instructions for the safe and proper installation, operation, and maintenance of your Progress Lighting Inspire Collection 9-Light Off-White Linen Shade Traditional Chandelier in Brushed Nickel. Please read all instructions carefully before beginning installation and retain this manual for future reference.
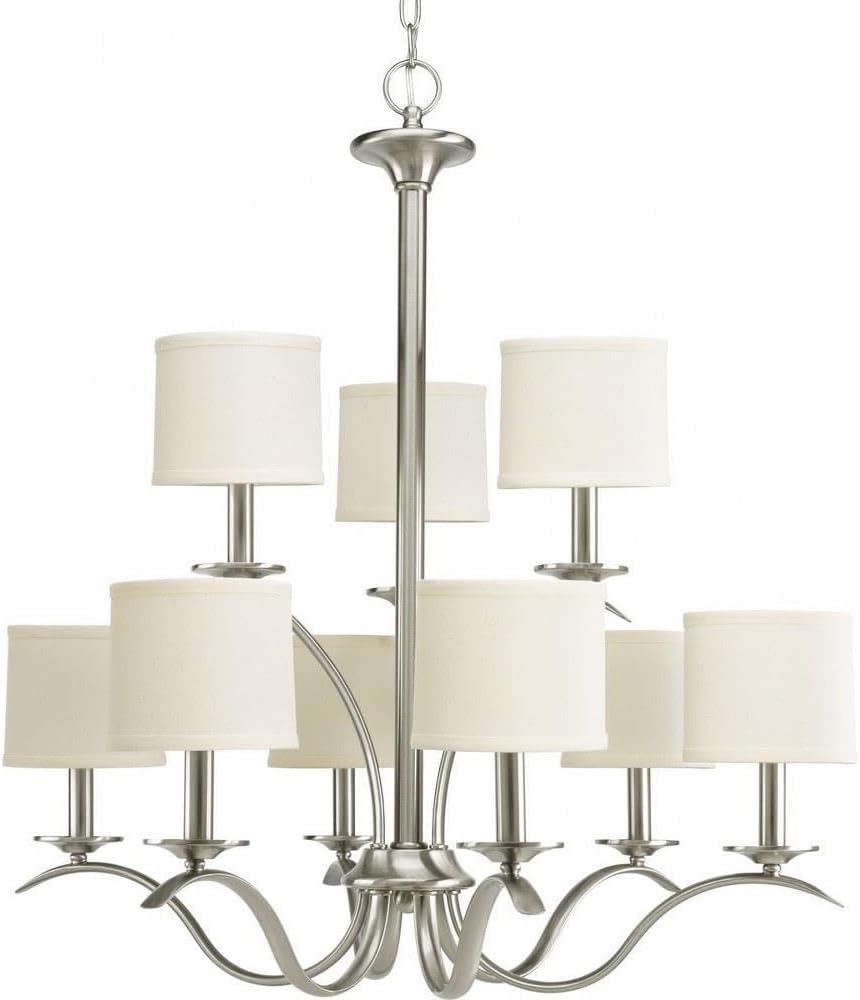
Image: The Inspire Collection 9-Light Chandelier featuring a brushed nickel finish and off-white linen shades.
Veiligheidsinligting
WAARSKUWING: To reduce the risk of fire, electric shock, or personal injury, always turn off the main power supply at the circuit breaker before installation, removal, or servicing. This product requires professional installation. Always consult a qualified electrician if you are unsure about the installation process.
Proposisie 65 Waarskuwing: Hierdie produk kan chemikalieë bevat wat aan die staat Kalifornië bekend is om kanker en geboortedefekte of ander reproduktiewe skade te veroorsaak. Was hande na hantering.
- Ensure all electrical connections are in accordance with local codes and ordinances.
- Gebruik slegs die gespesifiseerde tipe gloeilamp en wattage om oorverhitting te voorkom.
- Do not hang anything from the fixture.
Pakketinhoud
Verifieer dat alle komponente teenwoordig is voordat u met die installasie begin:
- Chandelier fixture assembly
- 9 Off-white linen shades
- Ceiling chain (6 feet of 9 gauge chain supplied)
- Elektriese bedrading
- Mounting hardware (may require additional screws not included)
- Installasieblad
Opstelling en installasie
Professional installation is recommended for this chandelier. Follow these general steps, referring to the included installation sheet for specific details.
1. Berei voor vir installasie
- Skakel krag by die stroombreker af.
- Carefully unpack the fixture and components.
- Determine the desired hanging height. For an 8-foot ceiling, the bottom of the chandelier should be 30-36 inches above a dining table. For higher ceilings, divide the vertical space into thirds and position the chandelier two-thirds of the distance from the floor, ensuring at least 7 feet of clearance from the floor in areas where people walk underneath.
2. Mount the Fixture
- Attach the mounting bracket to the junction box in the ceiling.
- Adjust the chain length as needed. The supplied chain is 6 feet long.
- Ryg die elektriese drade deur die ketting en afdak.
3. Elektriese verbindings
- Connect the fixture's ground wire to the ground wire from the junction box.
- Connect the fixture's 'white or identified' wire (often with ridges) to the white (neutral) wire from the junction box.
- Connect the fixture's 'plain or black' wire to the black (hot) wire from the junction box.
- Bevestig alle verbindings met draadmoere en elektriese band.
4. Finale Vergadering
- Secure the canopy to the ceiling.
- Install 9 candelabra-shaped bulbs (E26 base, maximum 60 watts each). Note: Only candelabra-shaped bulbs can be used with the shades.
- Attach the off-white linen shades to each light socket.
- Herstel krag by die stroombreker.
Visuele installasiegids
Video: 'n Omvattende oorsigview of chandelier installation by Progress Lighting, demonstrating key steps and considerations for proper setup.
Produk afmetings

Image: Dimensional drawing of the chandelier, indicating a width of 29.38 inches and a height of 31 inches.
Bedryfsinstruksies
Once properly installed, your chandelier can be operated using a standard wall switch. If your electrical setup includes a dimmer switch, ensure it is compatible with incandescent bulbs for optimal performance.
The fixture's switch type is listed as 'Pull Chain' in some specifications, however, the primary control is typically via a wall switch for chandeliers of this design. Please refer to your specific home wiring and switch setup.
Onderhoud
Skoonmaak
- Skakel altyd die krag af voor skoonmaak.
- Vee die toebehore af met 'n sagte, droë lap.
- Moenie skuurmiddels of oplosmiddels gebruik nie, aangesien dit die afwerking kan beskadig.
- The linen shades can be gently dusted or spot cleaned with a damp lap indien nodig.
Gloeilamp vervanging
- Ensure power is off and bulbs have cooled before replacing.
- Unscrew old bulbs and screw in new E26 candelabra-shaped bulbs.
- Moenie die maksimum wat oorskry nietage van 60 watt per gloeilamp.
Probleemoplossing
If your chandelier is not functioning correctly, refer to the following common issues:
- Geen lig: Check the circuit breaker, ensure bulbs are securely screwed in, and verify all electrical connections are tight.
- Flikkerende ligte: Ensure bulbs are fully tightened. If using a dimmer, confirm it is compatible with the bulb type and that the bulbs are dimmable.
- Loose Fixture: Re-check mounting hardware and ensure it is securely fastened to the ceiling junction box.
Indien probleme voortduur, raadpleeg 'n gekwalifiseerde elektrisiën.
Spesifikasies
| Handelsmerk | Progress Lighting |
| Model Naam | Inspireer |
| Deelnommer | P4638-09 |
| Kleur | Geborselde nikkel |
| Materiaal | Allooi staal |
| Skadu Materiaal | Linne |
| Styl | Oorgang |
| Liggaamvorm | Kandelaar |
| Produk afmetings | 29.38 cm L x 29.38 cm B x 31 cm H |
| Item gewig | 15 pond |
| Aantal ligbronne | 9 |
| Gloeilamp basis | E26 |
| Wattage | 60 watt (per gloeilamp) |
| Voltage | 120 Volt |
| Binne/buiteluggebruik | Binneshuise |
| Spesiale kenmerk | UL gelys |
Waarborg inligting
This Progress Lighting product is covered by a 1 jaar beperkte waarborg. This warranty guarantees your complete satisfaction with your purchase and includes professional after-sales customer service support. Please retain your proof of purchase for warranty claims.
Kliënte ondersteuning
For further assistance, technical support, or warranty inquiries, please visit the official Progress Lighting website or contact their customer service department. Refer to the packaging or the Progress Lighting webwebwerf vir huidige kontakinligting.