Inleiding
Dankie vir die aankoopasing the SENTRY CL933 Big Screen Weather Alarm Clock. This device combines a digital alarm clock with a large LCD display, providing essential information such as time, date, indoor temperature, humidity, and a weather forecast. This manual will guide you through the setup, operation, and maintenance of your new alarm clock.
Veiligheidsinligting
- Moenie die eenheid blootstel aan uiterste temperature, direkte sonlig of hoë humiditeit nie.
- Vermy om die eenheid te laat val of aan harde impakte bloot te stel.
- Moenie ou en nuwe batterye, of verskillende tipes batterye meng nie.
- Verwyder batterye as die eenheid vir 'n lang tydperk nie gebruik gaan word nie.
- Maak die eenheid skoon met 'n sagte, droë lap. Moenie skuurmiddels of oplosmiddels gebruik nie.
- Hierdie produk is slegs vir binnenshuise gebruik.
Pakketinhoud
Kontroleer asseblief dat alle items teenwoordig is:
- SENTRY CL933 Big Screen Weather Alarm Clock
- Gebruikershandleiding (hierdie dokument)
Produk verbyview
The SENTRY CL933 features a large, easy-to-read LCD display and intuitive controls. Familiarize yourself with the main components:
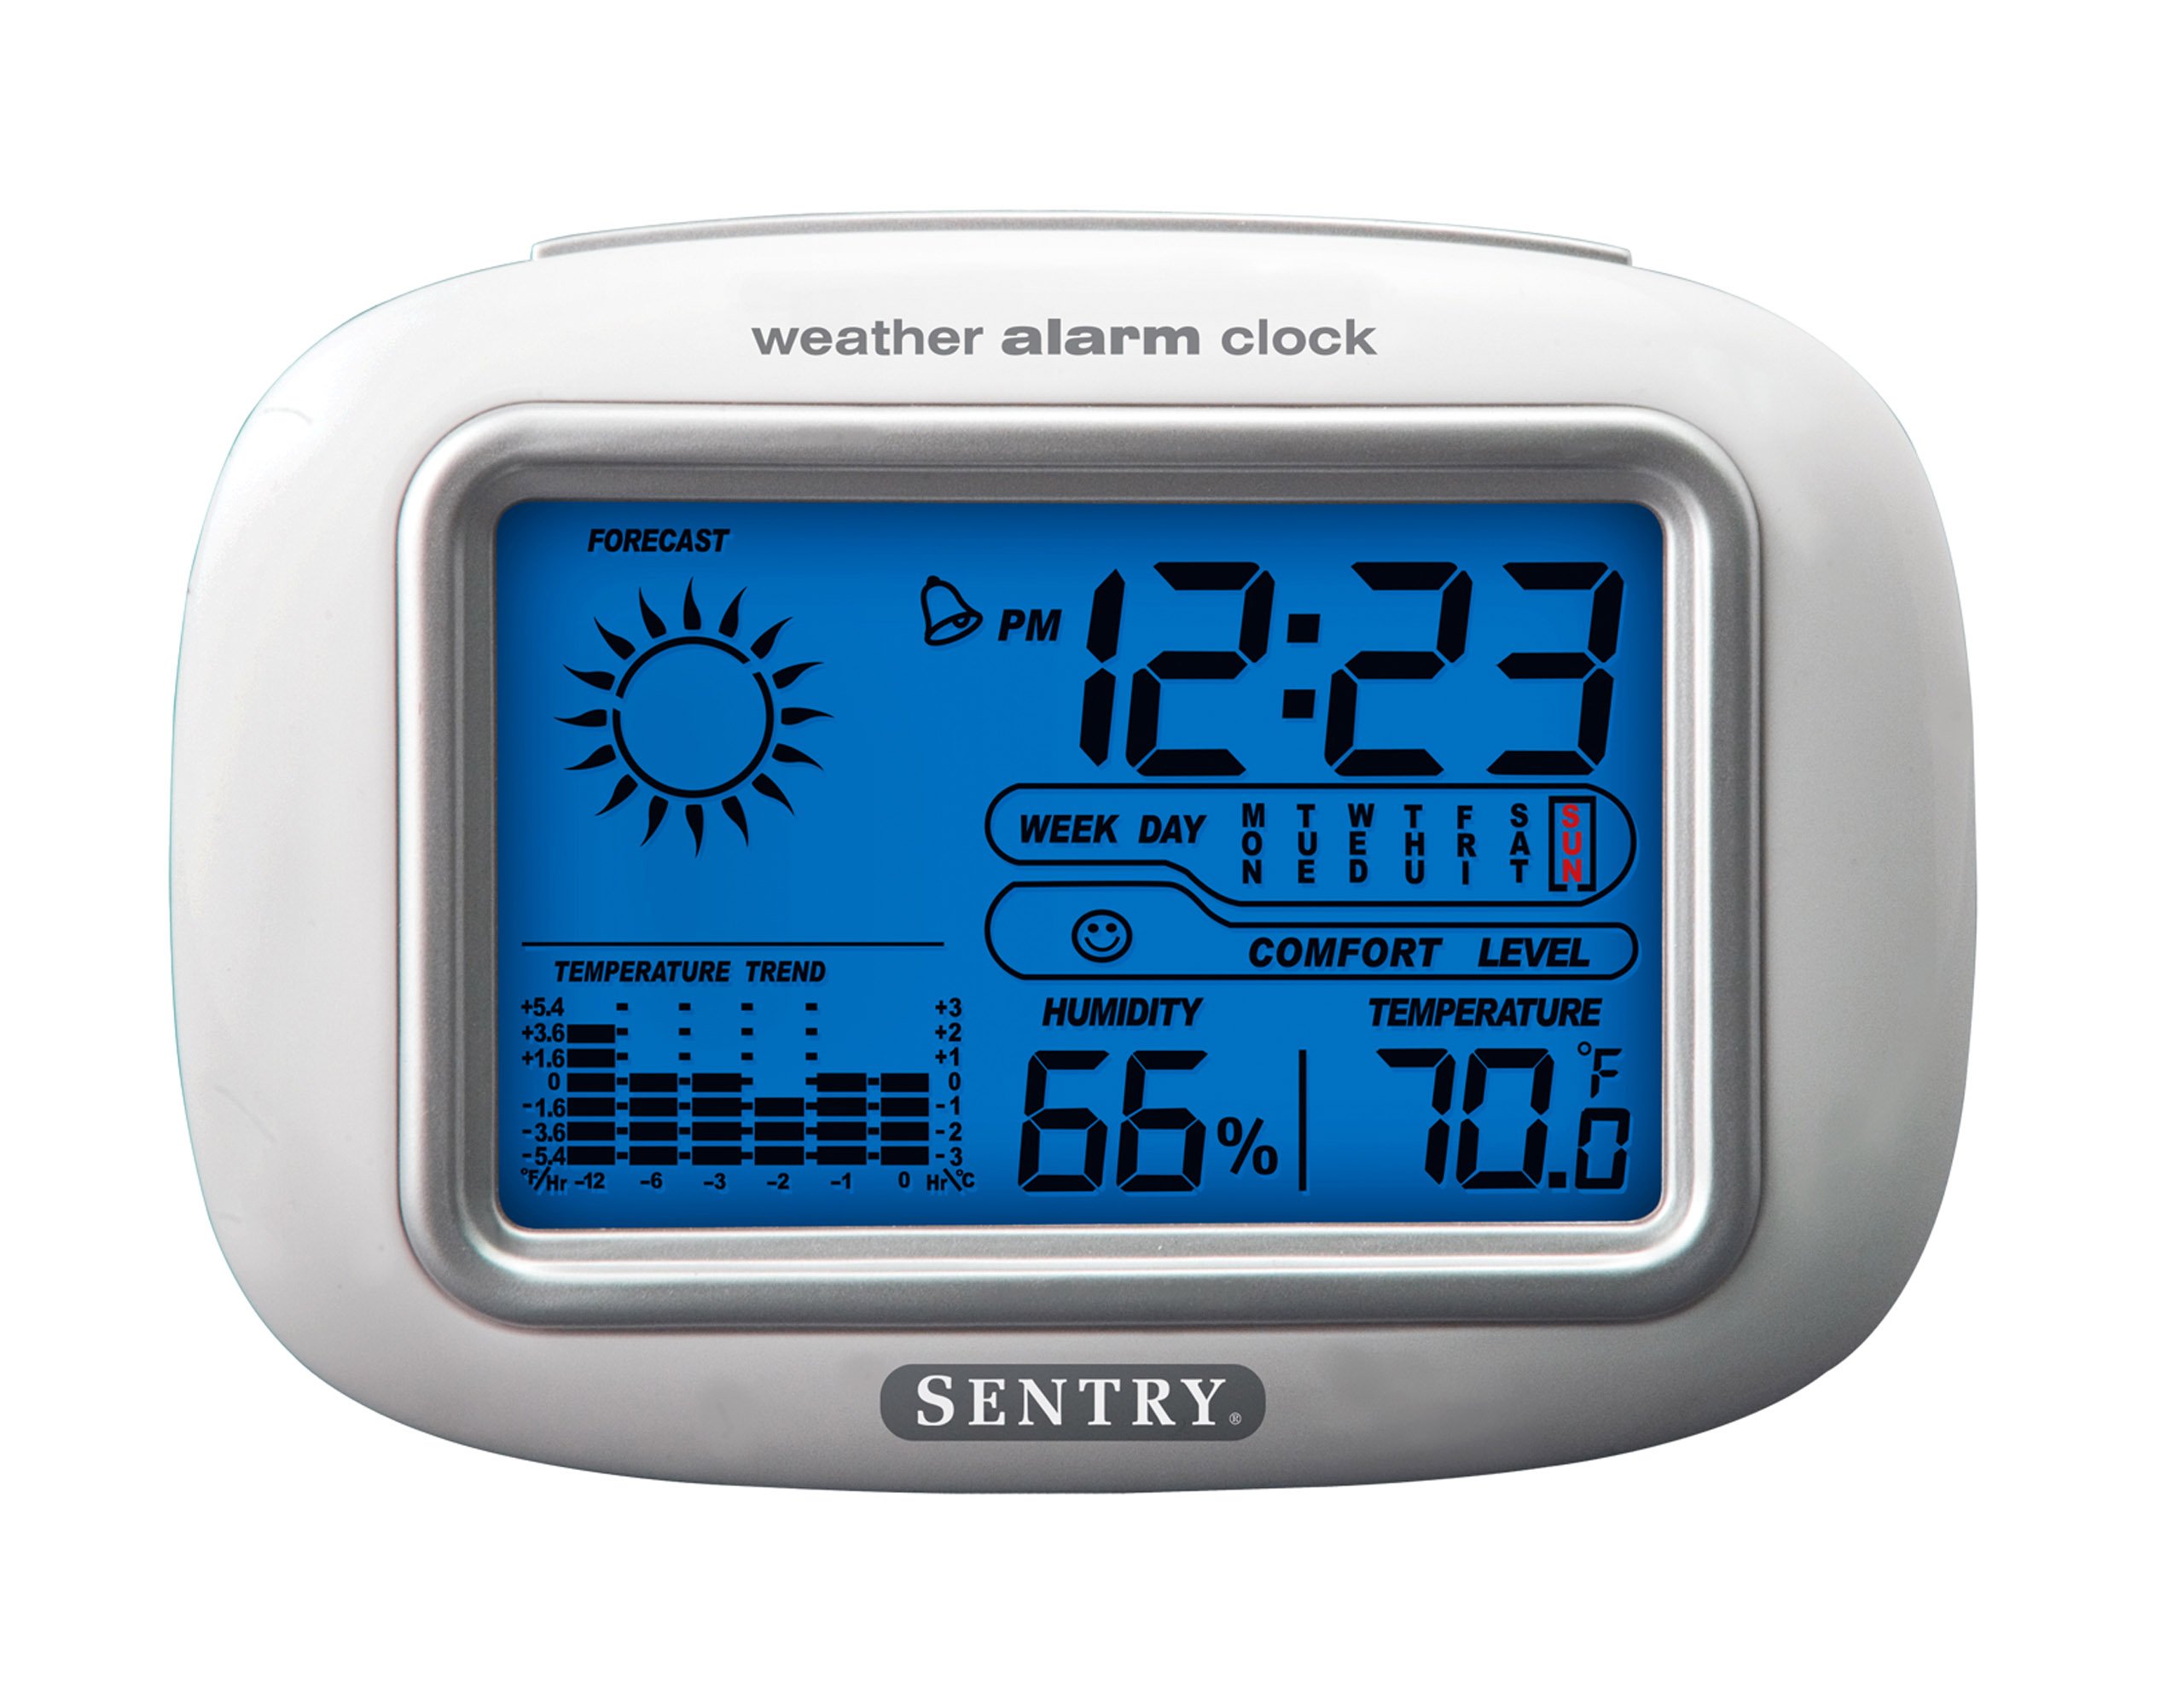
The SENTRY CL933 Big Screen Weather Alarm Clock displayed in its retail packaging, showing the clock face with time, weather forecast, humidity, and temperature readings.
Vertoon elemente:
- Tydvertoning: Shows current time (12/24 hour format).
- Date & Day of Week: Displays the current date and day.
- Weervoorspelling-ikoon: Indicates predicted weather conditions (e.g., sunny, cloudy, rainy).
- Moon Phase Icon: Toon die huidige maanfase.
- Temperatuur vertoon: Shows indoor temperature in Celsius or Fahrenheit.
- Humiditeit vertoon: Shows indoor humidity percentage.
- Comfort Level Icon: Indicates the comfort level based on temperature and humidity.
- Temperatuur neiging aanwyser: Shows if the temperature is rising, falling, or stable over the last 12 hours.
- Alarm-ikoon: Indicates when the alarm is set.
Control Buttons (typically on the back or sides):
- MODUS/SET-knoppie: Used to switch between display modes and enter setting mode.
- OP/AF-knoppies: Used to adjust values during setting and sometimes to toggle display options.
- ALARM-knoppie: Used to set or activate/deactivate the alarm.
- SNOOZE/LIGHT Button: Activates the backlight and functions as the snooze button when the alarm sounds.
- °C/°F-knoppie: Wissel tussen Celsius- en Fahrenheit-temperatuurvertoning.
Opstelling
1. Battery Installasie
- Vind die batteryklepdeksel aan die agterkant van die eenheid.
- Verwyder die deksel deur dit te skuif of op te lig.
- Insert two (2) new AAA batteries (not included) according to the polarity indicators (+ and -) inside the compartment.
- Plaas die batterykompartement se deksel veilig terug.
- The clock will power on and the display will activate.
2. Aanvanklike Plasing
Place the alarm clock on a stable, flat surface away from direct heat sources, strong vibrations, or areas with extreme temperature fluctuations for accurate readings.
Bedryfsinstruksies
1. Stel tyd en datum in
- Druk en hou die MODUS/STEL button for approximately 3 seconds to enter time setting mode. The hour digit will start flashing.
- Gebruik die UP or AF knoppies om die uur aan te pas.
- Druk MODUS/STEL weer om die uur te bevestig en na die minuutinstelling oor te skakel.
- Repeat steps 2 and 3 for minutes, year, month, and day.
- Nadat die dag ingestel is, druk MODUS/STEL een laaste keer om die instellingsmodus te verlaat.
- To switch between 12-hour and 24-hour time format, press the UP knoppie terwyl die uur flikker tydens tydinstelling.
2. Stel die alarm in
- Druk die ALARM knoppie een keer om die huidige alarmtyd te vertoon.
- Druk en hou die ALARM button for approximately 3 seconds. The alarm hour digit will start flashing.
- Gebruik die UP or AF knoppies om die wekker uur aan te pas.
- Druk ALARM weer om die uur te bevestig en na die alarmminuutinstelling te gaan.
- Gebruik die UP or AF knoppies om die alarmminuut aan te pas.
- Druk ALARM een laaste keer om te bevestig en alarminstellingsmodus te verlaat.
- Om die alarm te aktiveer of deaktiveer, druk die ALARM button briefly when the current time is displayed. An alarm icon will appear on the display when the alarm is active.
3. Snooze Function and Backlight
- As die alarm klink, druk die SNOOZE / LIG button to activate the snooze function. The alarm will temporarily stop and sound again after a few minutes (typically 5-10 minutes).
- Om die alarm heeltemal af te skakel, druk enige ander knoppie (bv. ALARM, MODUS/STEL) when the alarm is sounding.
- Druk die SNOOZE / LIG button at any time to activate the backlight for a few seconds, illuminating the display for easy viewing in low light conditions. The backlight is not designed to stay on continuously to conserve battery life.
4. Keuse van temperatuureenheid (°C/°F)
Druk die ° C / ° F. button (usually located on the back or side) to toggle the temperature display between Celsius and Fahrenheit.
5. Understanding Weather and Environmental Displays
- Weervoorspelling: The icon (e.g., sun, clouds, rain) represents a prediction of the weather for the next 12-24 hours based on atmospheric pressure changes detected by the internal sensor. This is an estimate and may not always match official weather reports.
- Humiditeit: Displays the current indoor relative humidity percentage.
- Geriefsvlak: An icon (e.g., smiley face, neutral face, frowny face) indicates the indoor comfort level based on the combination of temperature and humidity.
- Temperature Trend: The arrow indicator shows if the indoor temperature has been rising, falling, or remaining stable over the past 12 hours.
- Maanfase: The moon icon changes to reflect the current phase of the moon.
Onderhoud
- Skoonmaak: Vee die eenheid af met 'n sagte, effense damp lap. Moenie harde chemikalieë of skuurmateriaal gebruik nie.
- Battery vervanging: When the display becomes dim or functions become erratic, replace the two AAA batteries. Ensure correct polarity.
- Berging: Indien die horlosie vir 'n lang tydperk gestoor word, verwyder die batterye om lekkasie te voorkom.
Probleemoplossing
| Probleem | Moontlike oorsaak/oplossing |
|---|---|
| Die skerm is leeg of dof. | Batterye is laag of verkeerd geïnstalleer. Vervang met nuwe AAA-batterye en maak seker dat die polariteit korrek is. |
| Tyd/Datum kan nie ingestel word nie. | Maak seker dat jy die MODUS/STEL knoppie vir 3 sekondes om instelmodus te betree. |
| Die alarm lui nie. | The alarm may not be activated. Press the ALARM button briefly to ensure the alarm icon is displayed. Check alarm time setting. |
| Inaccurate temperature/humidity. | The unit may be placed near a heat source, vent, or in direct sunlight. Move the clock to a more stable environment. Readings are for indoor conditions only. |
| Weervoorspelling lyk verkeerd. | The weather forecast is an estimate based on internal barometric pressure changes and may not always align with local weather reports. It is a general trend indicator. |
Spesifikasies
- Model: CL933
- Handelsmerk: SENTRY
- Vertoon tipe: Digitale LCD met agtergrondbeligting
- Kragbron: Battery aangedrewe
- Batterye benodig: 2 x AAA (nie ingesluit nie)
- Afmetings: 6.5 x 2.25 x 4.25 duim (16.5 x 5.7 x 10.8 cm)
- Gewig: 6.2 onse (176 gram)
- Kenmerke: Time, Date, Day of Week, Alarm, Snooze, Indoor Temperature (°C/°F), Indoor Humidity, Weather Forecast Icons, Moon Phase, Comfort Level Indicator, 12-hour Temperature Trend.
- Montage tipe: Tafelblad
Waarborg en Ondersteuning
SENTRY products are designed for reliability and performance. For any questions, technical support, or warranty inquiries, please refer to the contact information provided with your purchase or visit the official SENTRY webwebwerf. Bewaar asseblief u bewys van aankoop vir waarborgeise.