Inleiding
This user manual provides detailed instructions for the Rollei Flexline 200 digital camera. Please read this manual carefully before using your camera to ensure proper operation and to maximize its performance. Keep this manual in a safe place for future reference.
Pakketinhoud
Verifieer dat al die items wat hieronder gelys word in jou kamerapakket ingesluit is:
- Rollei Flexline 200 Digital Camera
- Gebruikershandleiding
- CD-ROM Software (Zoner Photo-Studio 9 Express)
- 2 x Lithium-ion Rechargeable Batteries
- Herlaai-stasie
- Connection Cable (USB)
- Polsband
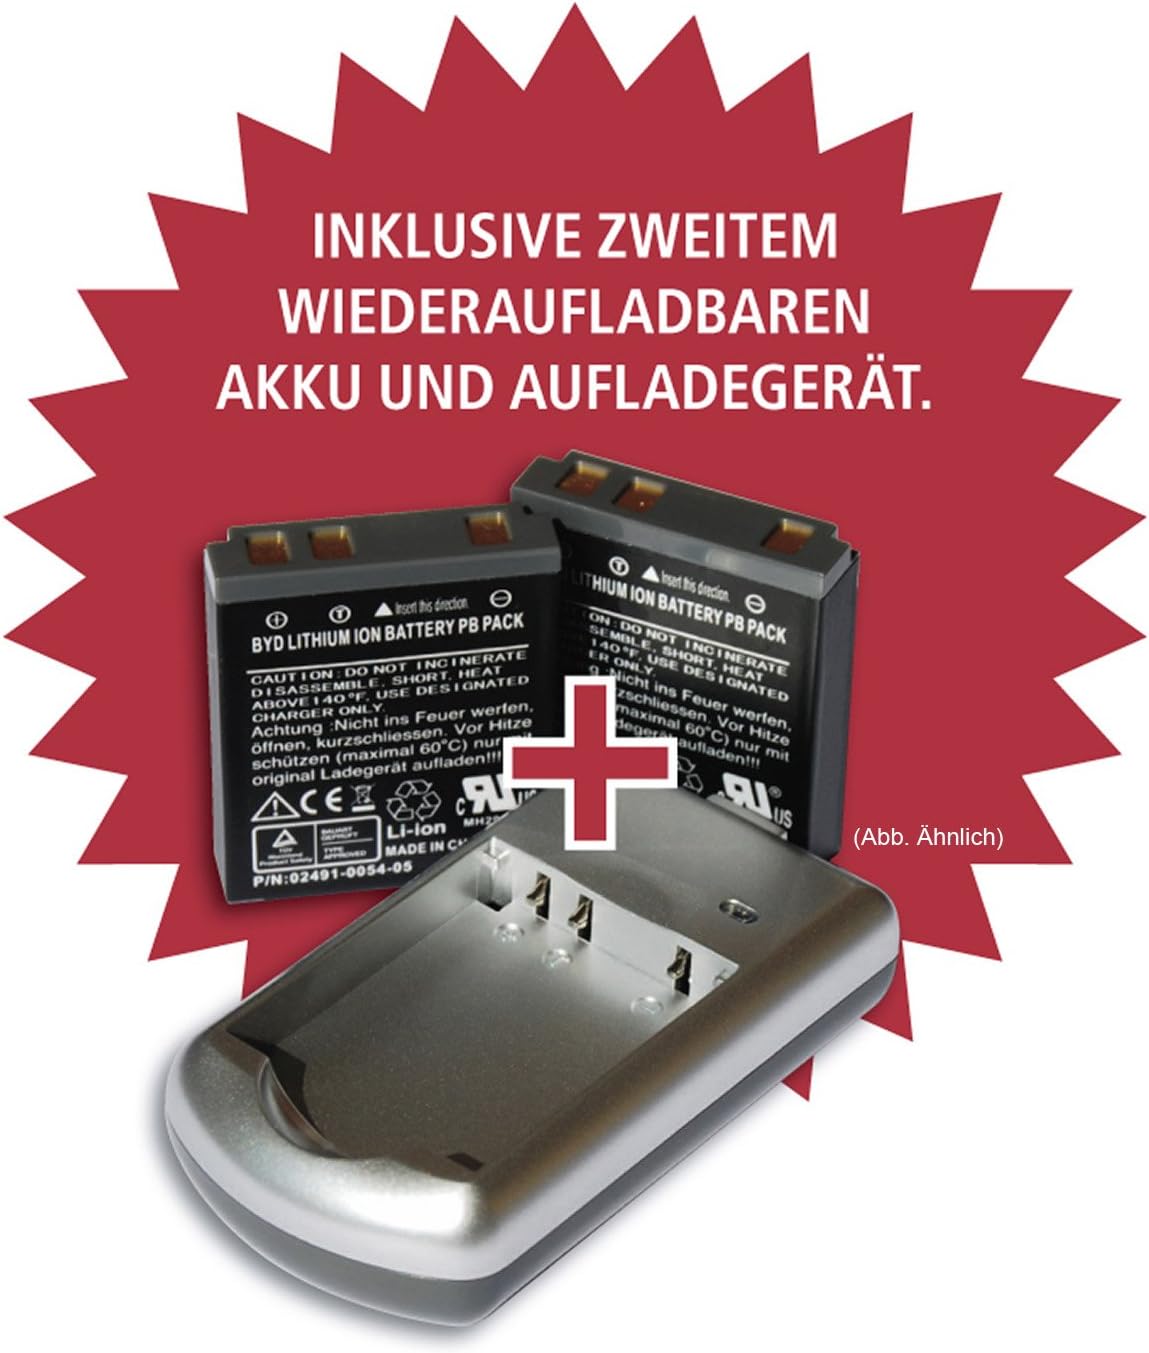
Image: Included rechargeable batteries and charging station.
Image: Zoner PhotoStudio 9 Express software for image editing.
Kamera verbyview
Familiarize yourself with the various parts of your Rollei Flexline 200 camera.
Voorkant View
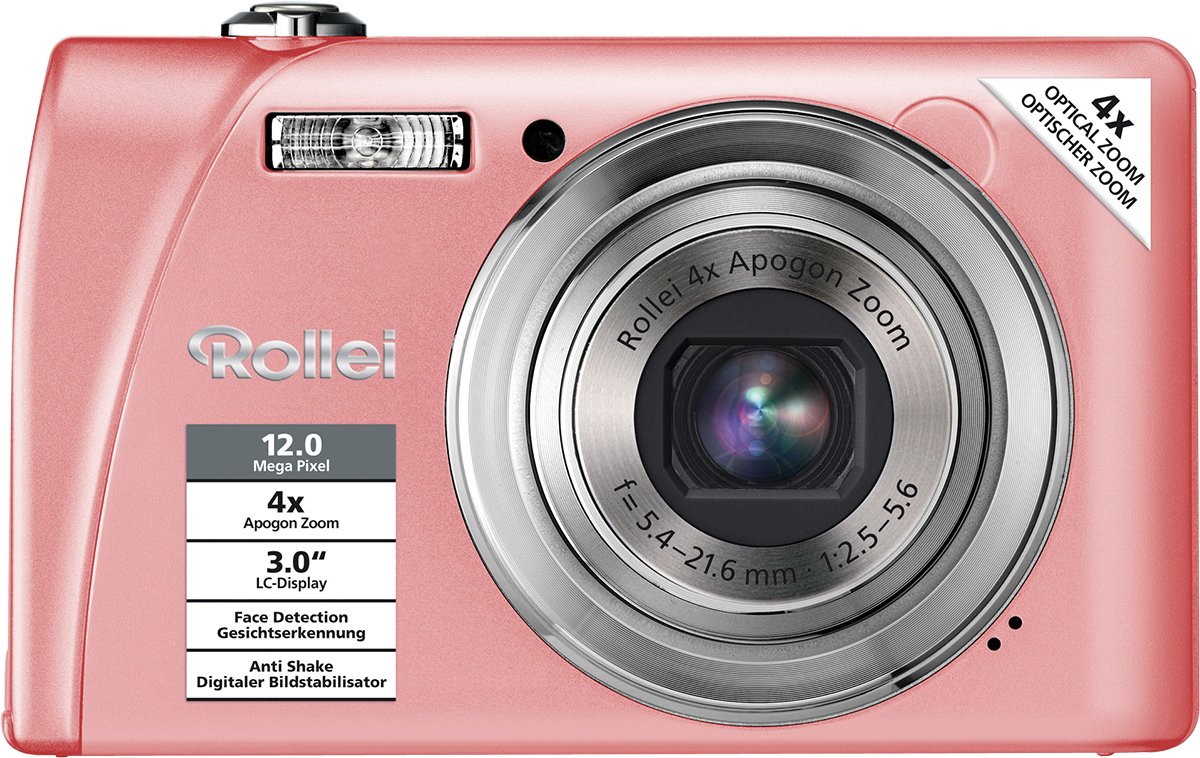
Beeld: Voorkant view of the camera, highlighting the lens, flash, and key features like 12 Megapixel resolution and 4x Optical Zoom.
Agter View
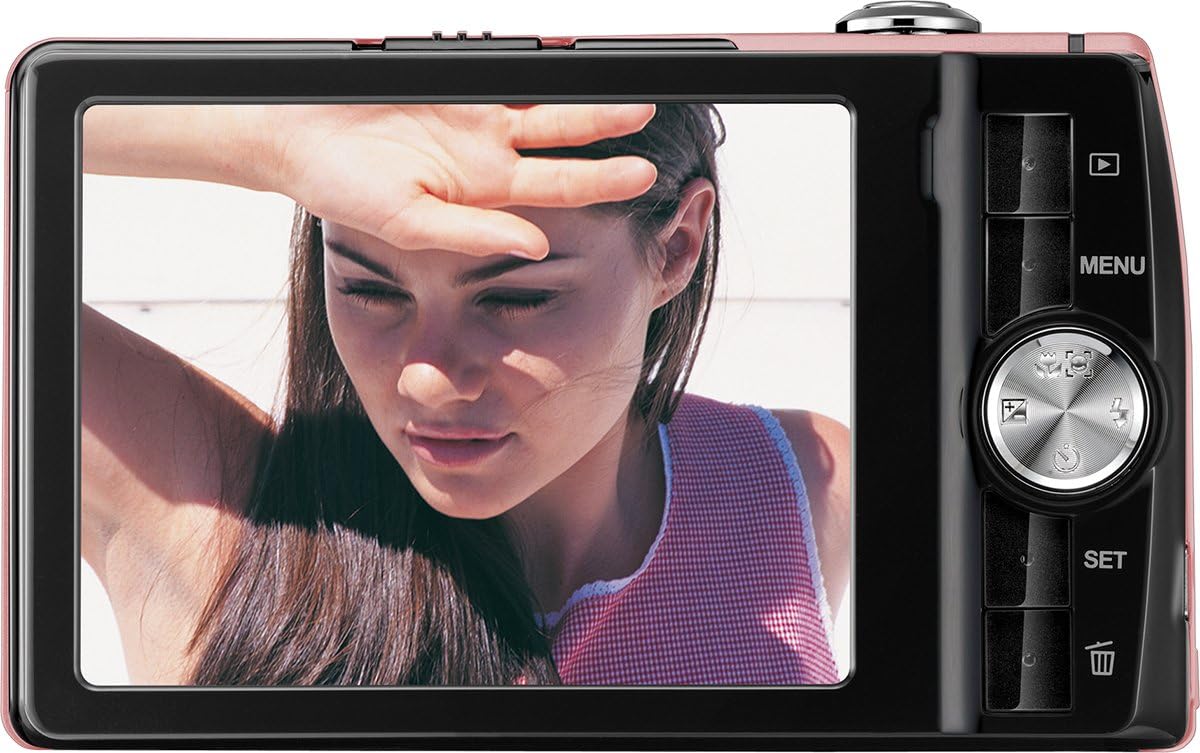
Beeld: Agter view of the camera, displaying the LCD screen and control panel with navigation buttons and menu access.
Opstelling
1. Battery Installasie
- Maak die batteryklep oop wat aan die onderkant van die kamera geleë is.
- Insert a fully charged Lithium-ion battery into the compartment, ensuring the correct orientation as indicated by the diagram inside.
- Maak die batteryklep se deksel stewig toe totdat dit in plek klik.
2. Laai die battery
- Place the Lithium-ion battery into the provided charging station.
- Connect the charging station to a power outlet using the appropriate cable.
- The indicator light on the charger will show the charging status. Charge until the battery is full.
3. Geheuekaartinstallasie
The camera supports SDHC memory cards.
- Locate the memory card slot, usually next to the battery compartment.
- Insert the SDHC card with the metal contacts facing the correct direction, pushing it gently until it clicks into place.
- Om te verwyder, druk die kaart weer in totdat dit effens uitspring, en trek dit dan uit.
4. Aanvanklike aanskakeling
- Druk die Power-knoppie om die kamera aan te skakel.
- Volg die aanwysings op die skerm om die datum, tyd en taal in te stel.
Bedien die kamera
Krag aan/af
Druk die Krag knoppie bo-op die kamera om dit aan of af te skakel.
Neem Foto's
- Skakel die kamera aan.
- Raam jou foto met die 3.0" LCD-skerm.
- Gebruik die zoomhefboom om die 4x optiese zoom aan te pas.
- Press the shutter button halfway down to activate autofocus. The focus frame will turn green when focus is achieved.
- Druk die sluiterknoppie heeltemal in om die foto te neem.
Mode seleksie
The camera offers various shooting modes, including 21 scene programs (e.g., Night Shot, Sport) and a Panorama function. Access these modes via the camera's menu or dedicated mode button (if available).
Video-opname
- Switch to video recording mode (refer to the on-screen menu).
- Druk die ontspanknoppie om op te neem.
- Press the shutter button again to stop recording. Videos are saved in MP4 format.
Afspeelmodus
Druk die Afspeel button (often indicated by a triangle icon) to view your captured photos and videos. Use the navigation buttons to scroll through your media.
Spyskaartnavigasie
Druk die SPYSKAART button to access camera settings. Use the directional pad to navigate through options and the STEL knoppie om keuses te bevestig.
Spesiale kenmerke
- Beeldstabilisasie: Verminder onscherpte veroorsaak deur kameraskudding.
- Gesigbespeuring: Automatically detects and focuses on faces in the frame.
- Glimlagopsporing: Neem outomaties 'n foto wanneer 'n glimlag bespeur word.
- Rooi-oog vermindering: Minimaliseer rooi-oog-effek in flitsfotografie.
- Selfontspanner: Delays the shutter release for self-portraits or group shots.
- Burstfunksie: Neem verskeie foto's vinnig agtereenvolgens.
Onderhoud
Skoonmaak
- Kameraliggaam: Vee af met 'n sagte, droë lap. Moenie harde chemikalieë of oplosmiddels gebruik nie.
- Lens: Gebruik 'n lensborsel of 'n sagte, pluisvrye lap wat spesifiek vir kameralense ontwerp is. Vermy dit om die lensoppervlak met jou vingers aan te raak.
- LCD skerm: Gently wipe with a soft, clean cloth.
Berging
Wanneer dit nie gebruik word nie, bêre die kamera op 'n koel, droë plek, weg van direkte sonlig en uiterste temperature. Verwyder die battery as die kamera nie vir 'n lang tydperk gebruik gaan word nie.
Probleemoplossing
Kamera skakel nie aan nie
- Maak seker dat die battery volledig gelaai en korrek geplaas is.
- Try using the second provided battery.
Pictures Are Blurry
- Kyk of die lens skoon is.
- Ensure the camera is focusing correctly by pressing the shutter button halfway.
- Hold the camera steady or use a tripod, especially in low light.
Geheuekaartfout
- Maak seker dat die geheuekaart korrek ingesit is.
- Try formatting the memory card (this will erase all data).
- Test with a different compatible SDHC memory card.
Spesifikasies
| Model Naam | Flexline 200 |
| Beeldsensor | 12 Megapixels (BSI CMOS) |
| Optiese zoom | 4x |
| Digitale zoom | 6x |
| Vertoon | 3.0" (7.62 cm) TFT Color LCD |
| Beeldstabilisasie | Opties |
| Video-opname | MP4, 1080p, 24 fps |
| Bergingsmedia | SDHC compatible |
| Konnektiwiteit | USB |
| Battery Tipe | Litium-ioon |
| Afmetings (L x B x H) | 1.9 x 9.4 x 5.7 cm |
| Gewig | 126 gram |
| Outofokus | Yes (Contrast Detection, Continuous Servo AF) |
| Self-Timer | Ja |
Waarborg en Ondersteuning
The Rollei Flexline 200 camera comes with a 24-month warranty and replacement service. For technical support or warranty claims, please contact the Rollei Service Hotline.

Image: Rollei 24-month warranty and replacement service seal.
Please refer to the official Rollei webwebwerf of die kontakinligting wat in u produkverpakking verskaf word vir die mees onlangse ondersteuningsbesonderhede.