Inleiding
This manual provides detailed instructions for the safe and efficient operation, maintenance, and troubleshooting of your Mr. Coffee TF6 5-Cup Switch Coffeemaker. Designed for convenience, this coffeemaker is ideal for small households or office use, featuring a compact design and a "Pause 'n Serve" function.
Sleutel kenmerke
- On/Off Indicator Light: Clearly shows when the coffeemaker is operating.
- Verwyderbare filtermandjie: Lifts out for easy filling with ground coffee and simple cleaning.
- Brewing Pause 'n Serve: Allows you to pour a cup of coffee before the brewing cycle is complete.
- Dual Water Window: Bied 'n duidelike view of the water level in the reservoir for accurate filling.
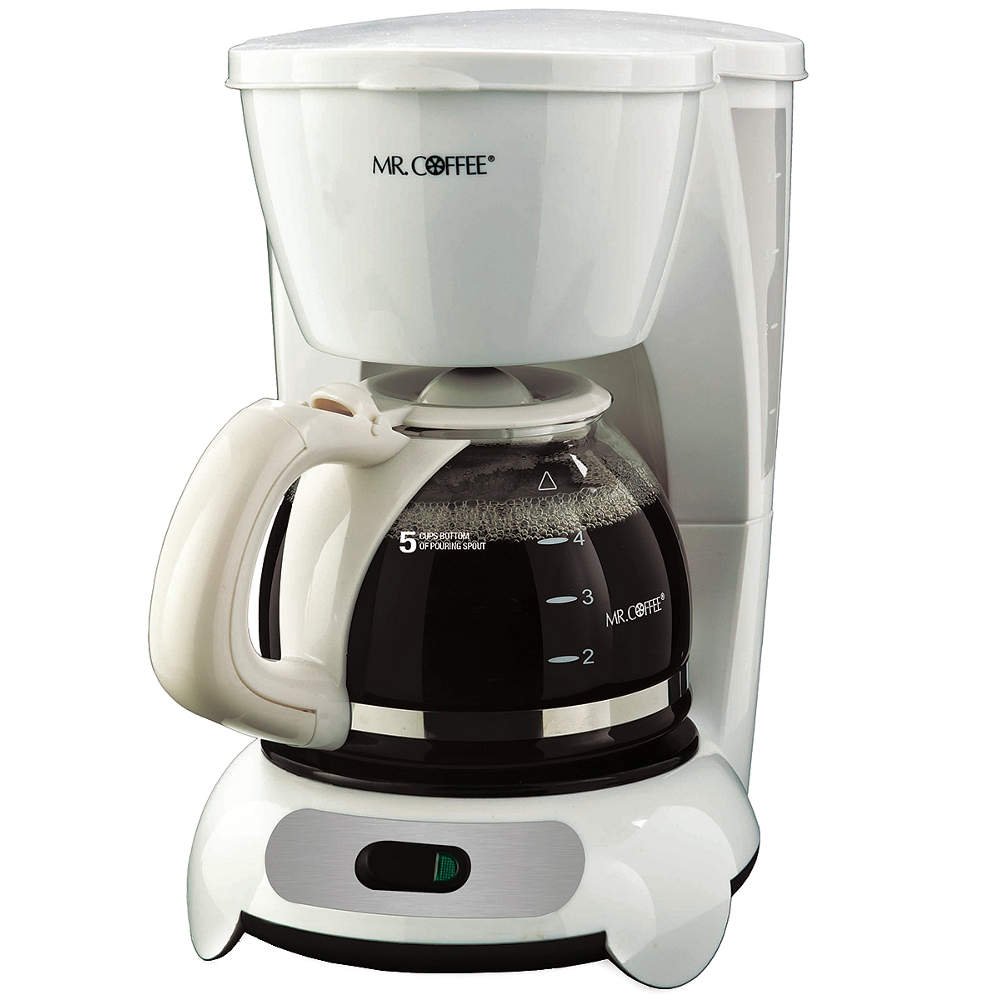
Image: Mr. Coffee TF6 5-Cup Switch Coffeemaker in white, showcasing its compact design and glass carafe.
Belangrike veiligheidsinligting
Please read all instructions carefully before using this appliance. Basic safety precautions should always be followed to reduce the risk of fire, electric shock, and/or injury to persons.
- Moenie aan warm oppervlaktes raak nie. Gebruik handvatsels of knoppe.
- To protect against electric shock, do not immerse cord, plugs, or coffeemaker in water or other liquid.
- Noukeurige toesig is nodig wanneer enige toestel deur of naby kinders gebruik word.
- Trek uit die stopcontact wanneer dit nie gebruik word nie en voor skoonmaak. Laat afkoel voor jy onderdele aan- of afhaal, en voordat jy die toestel skoonmaak.
- Moenie enige toestel gebruik met 'n beskadigde koord of prop of nadat die toestel wanfunksioneer, of op enige manier beskadig is nie.
- Die gebruik van bykomstighede wat nie deur die toestelvervaardiger aanbeveel word nie, kan brand, elektriese skok of beserings aan persone tot gevolg hê.
- Moenie buite gebruik nie.
- Moenie dat koord oor die rand van tafel of toonbank hang, of aan warm oppervlaktes raak nie.
- Moenie op of naby 'n warm gas- of elektriese brander, of in 'n verhitte oond plaas nie.
- Om te ontkoppel, draai enige beheer na "af" en verwyder dan die prop uit die muursok.
- Moenie die toestel vir ander as die bedoeling gebruik nie.
- Brandwonde kan voorkom as die deksel tydens die brousiklus verwyder word.
Onderdele-identifikasie
Familiarize yourself with the components of your coffeemaker before first use.
- Deksel: Bedek die waterreservoir en filtermandjie-area.
- Waterreservoir: Holds the water for brewing. Features a dual water window.
- Filtermandjie: Removable basket that holds the coffee filter and ground coffee.
- Spuitkop: Distributes hot water evenly over coffee grounds.
- Glas karaf: Collects the brewed coffee. Features a handle and pouring spout.
- Verwarmingsplaat: Hou die gebroude koffie warm.
- AAN/UIT -skakelaar: Illuminates when the coffeemaker is on.
- Kragkabel: Connects the coffeemaker to an electrical outlet.
Opstelling en eerste gebruik
Before brewing your first pot of coffee, it is important to clean the coffeemaker.
- Pak uit: Remove all packing materials and any labels from your coffeemaker.
- Clean Carafe and Filter Basket: Wash the glass carafe and removable filter basket in warm, soapy water. Rinse thoroughly and place them back into the coffeemaker.
- Aanvanklike skoonmaaksiklus: Fill the water reservoir with cold water up to the 5-cup mark. Do not add coffee. Place the empty filter basket into its position. Close the lid.
- Brew Water: Place the empty carafe on the warming plate. Plug the power cord into an electrical outlet. Press the ON/OFF switch to the ON position. Allow the coffeemaker to complete a full brewing cycle.
- Gooi water weg: Once the cycle is complete, turn the coffeemaker OFF and discard the water from the carafe. Let the unit cool for 5 minutes.
- Herhaal: Repeat steps 3-5 once more to ensure the coffeemaker is thoroughly cleaned. Your coffeemaker is now ready for use.
Bedryfsinstruksies
Follow these steps to brew a fresh pot of coffee.
- Vul waterreservoir: Open the coffeemaker lid. Fill the glass carafe with the desired amount of cold, fresh water (up to 5 cups). Pour the water into the water reservoir. The dual water window will help you measure accurately.
- Voeg filter in: Place a standard basket-style paper filter (or a reusable gold-tone filter, if preferred) into the removable filter basket.
- Voeg koffiegronde by: Voeg die verlangde hoeveelheid gemaalde koffie by die filter. 'n Algemene riglyn is een eetlepel gemaalde koffie per koppie, maar pas dit aan na jou smaak.
- Position Filter Basket: Slide the filter basket firmly into its position. Close the coffeemaker lid securely.
- Plek Karaf: Ensure the empty glass carafe is properly seated on the warming plate.
- Begin brou: Plug the power cord into an electrical outlet. Press the ON/OFF switch to the ON position. The indicator light will illuminate, and brewing will begin.
- Pause 'n Serve (Optional): If you wish to pour a cup before brewing is complete, carefully remove the carafe. The flow of coffee will temporarily stop. Return the carafe to the warming plate within 20 seconds to prevent overflow.
- Geniet: Once brewing is complete, the coffeemaker will keep the coffee warm on the warming plate. For optimal flavor, serve coffee immediately after brewing.
Onderhoud en Skoonmaak
Gereelde skoonmaak verseker optimale werkverrigting en verleng die lewensduur van jou koffiemasjien.
Daaglikse skoonmaak
- Ontkoppel en verkoel: Ontkoppel altyd die koffiemasjien en laat dit heeltemal afkoel voordat jy dit skoonmaak.
- Discard Grounds and Filter: Remove and discard the used coffee grounds and paper filter (or empty and rinse reusable filter).
- Was verwyderbare dele: Wash the glass carafe and filter basket in warm, soapy water. Rinse thoroughly. These parts are not dishwasher safe.
- Vee buitekant af: Vee die buitekant van die koffiemasjien af met 'n sagte, damp lap. Moenie skuurskoonmakers of skuursponsies gebruik nie.
- Droog: Maak seker dat alle dele heeltemal droog is voordat dit weer aanmekaargesit of gestoor word.
Ontkalking (Maandeliks of soos nodig)
Mineral deposits (calcium) can build up in your coffeemaker, affecting its performance. Decalcify regularly.
- Berei oplossing voor: Gooi 4 koppies onverdunde wit huishoudelike asyn in die waterreservoir.
- Brew Half: Place an empty paper filter in the filter basket and close the lid. Place the empty carafe on the warming plate. Turn the coffeemaker ON and allow half of the vinegar solution to brew through.
- Week: Turn the coffeemaker OFF and let it soak for at least 30 minutes.
- Complete Brew: Turn the coffeemaker ON again and allow the remaining vinegar solution to brew through.
- Spoelsiklusse: Discard the vinegar solution. Fill the water reservoir with fresh, cold water and brew through a full cycle. Repeat this rinsing cycle two more times with fresh water to remove any residual vinegar taste.
Probleemoplossing
Verwys na hierdie afdeling vir algemene probleme en hul oplossings.
| Probleem | Moontlike oorsaak | Oplossing |
|---|---|---|
| Koffiemasjien brou nie. | Not plugged in; ON/OFF switch not activated; power outage. | Ensure unit is plugged in and switch is ON. Check household circuit breaker. |
| Koffie loop oor uit die filtermandjie. | Too much coffee grounds; filter basket not seated correctly; carafe not on warming plate; clogged spray head. | Use less coffee. Ensure filter basket and carafe are correctly positioned. Clean spray head. |
| Koffie smaak swak of te sterk. | Verkeerde koffie-tot-water-verhouding; ou koffiegronde. | Adjust coffee amount to taste. Use fresh coffee grounds. |
| Brou is stadig. | Mineraalopbou (verkalking). | Decalcify the coffeemaker as per the maintenance instructions. |
Spesifikasies
| Spesifikasie | Detail |
|---|---|
| Handelsmerk | Meneer Koffie |
| Modelnommer | TF6 |
| Kleur | Wit |
| Kapasiteit | 5 Koppies |
| Koffiemaker Tipe | Drup koffie masjien |
| Spesiale kenmerk | Manual, Permanent Filter (optional) |
| Aanbevole gebruike | Home Use, Office Use |
| Bedryfsmodus | Volledig outomaties |
| Voltage | 110 Volt |
| Kragbron | AC-adapter |
| Koffie-invoertipe | Gemaalde Koffie |
| Produk afmetings | 9 x 7.2 x 11.1 duim |
| Item gewig | 3 pond |
| Is skottelgoedwasser veilig | Nee (vir verwyderbare dele) |
Waarborg en Ondersteuning
For warranty information and customer support, please refer to the warranty card included with your product or visit the official Mr. Coffee webwebwerf. Bewaar u aankoopbewys as bewys van aankoop vir enige waarborgeise.